Google Authentication (SSO) Guide
Google OAuth allows Agents and Users to sign into the helpdesk with their Google account. Please note, you must have the OAuth2 Plugin installed and enabled beforehand.
Configuration
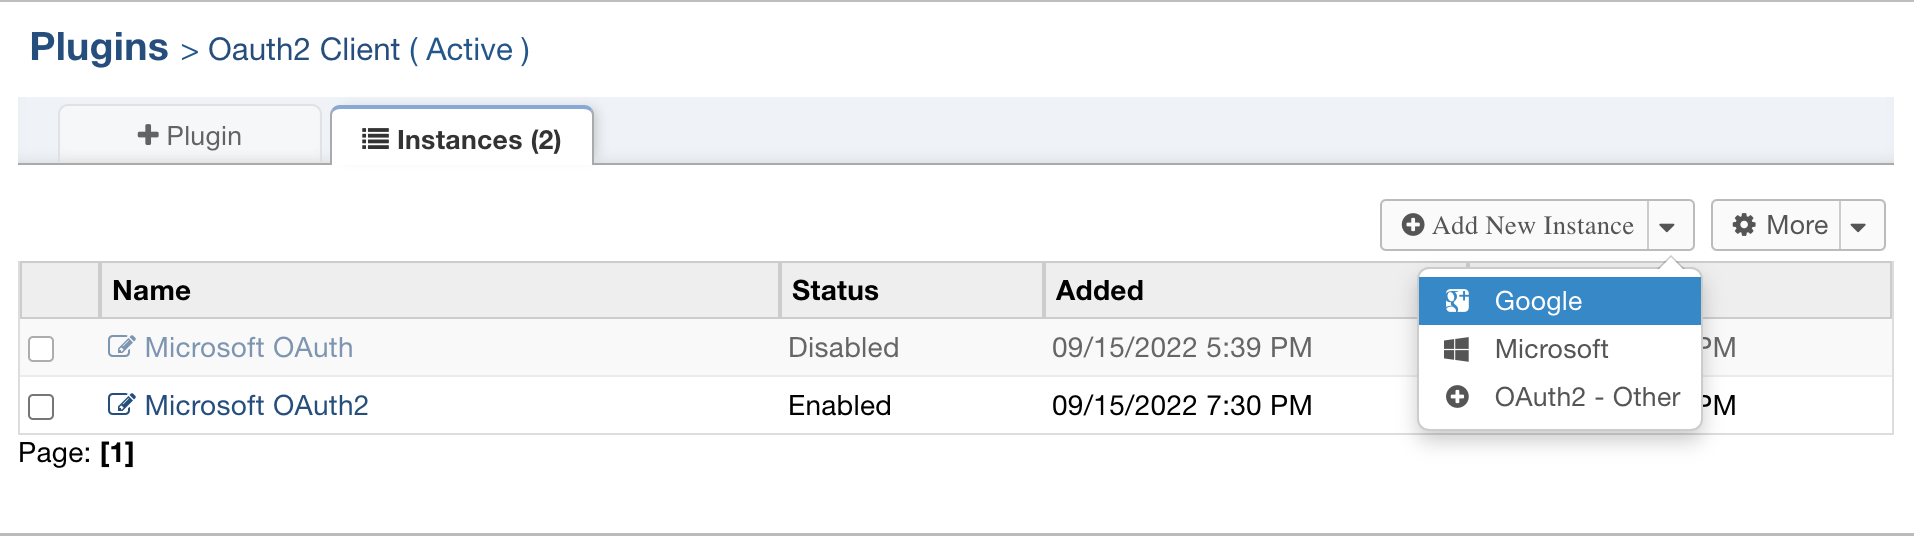
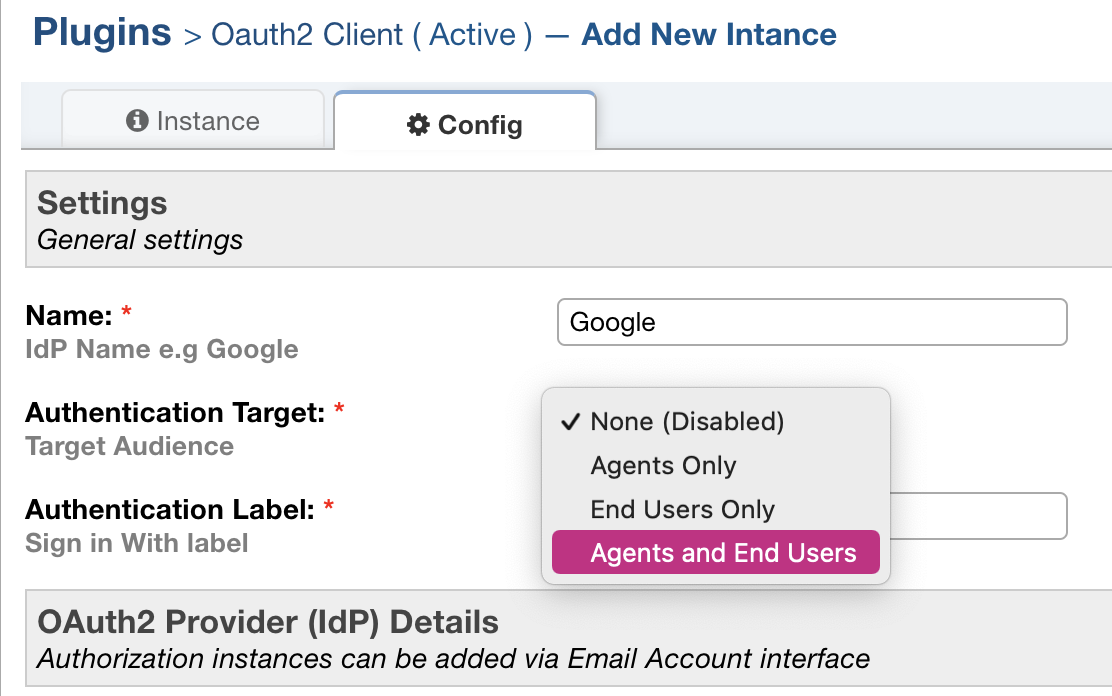
Choose ‘Google’ in the ‘Add New Instance’ menu
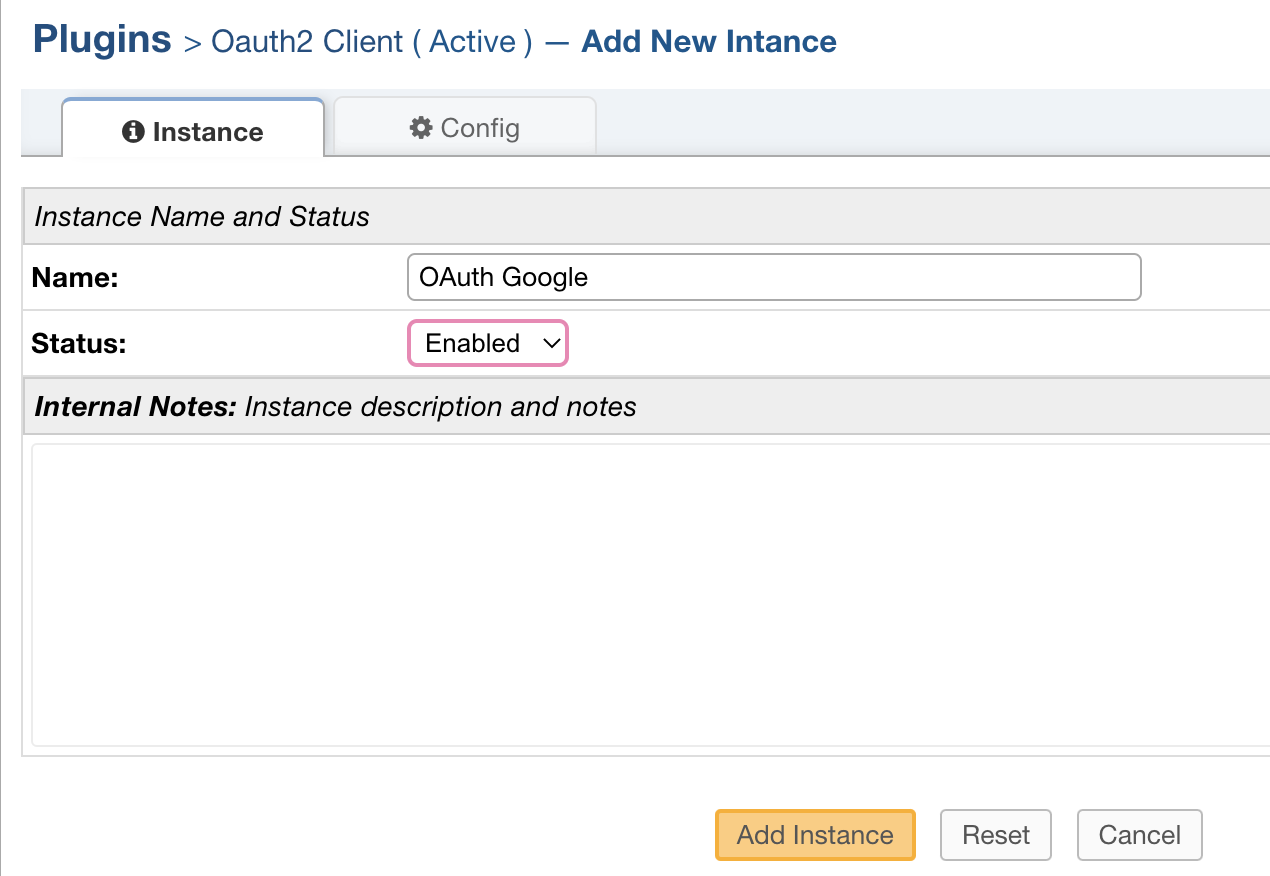
Give the instance a name that lets you know which provider is selected and select ‘Enabled’ for the status.
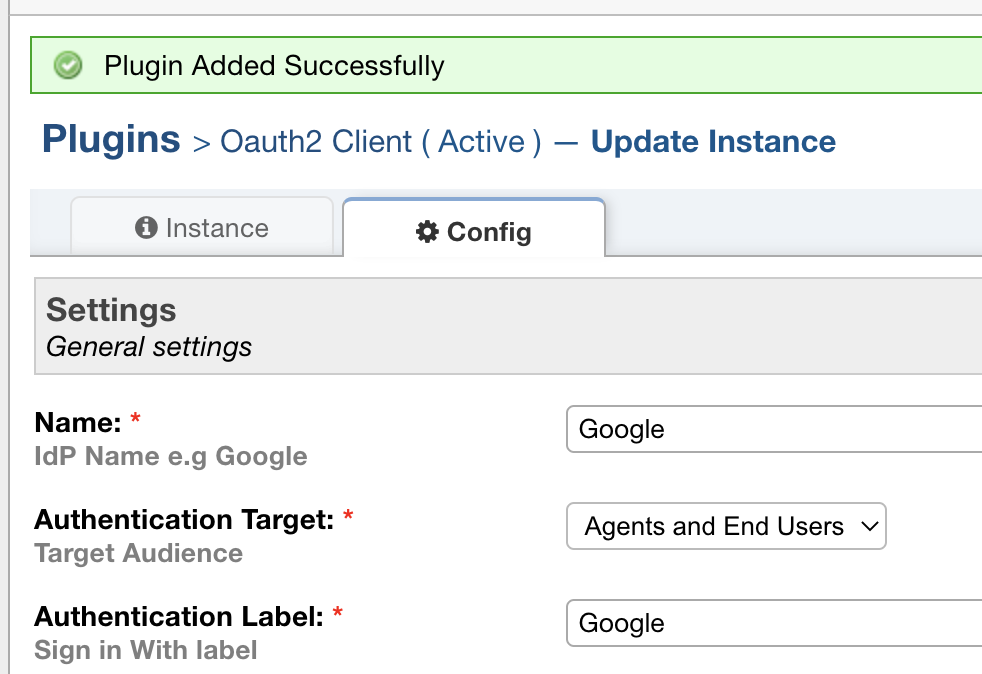
Go to the ‘Config’ tab to set up this provider. Some of the default information will be autofilled.
Note: The ‘Authentication Label’ field is the text that will be displayed to the User or Agent when they sign into the helpdesk.
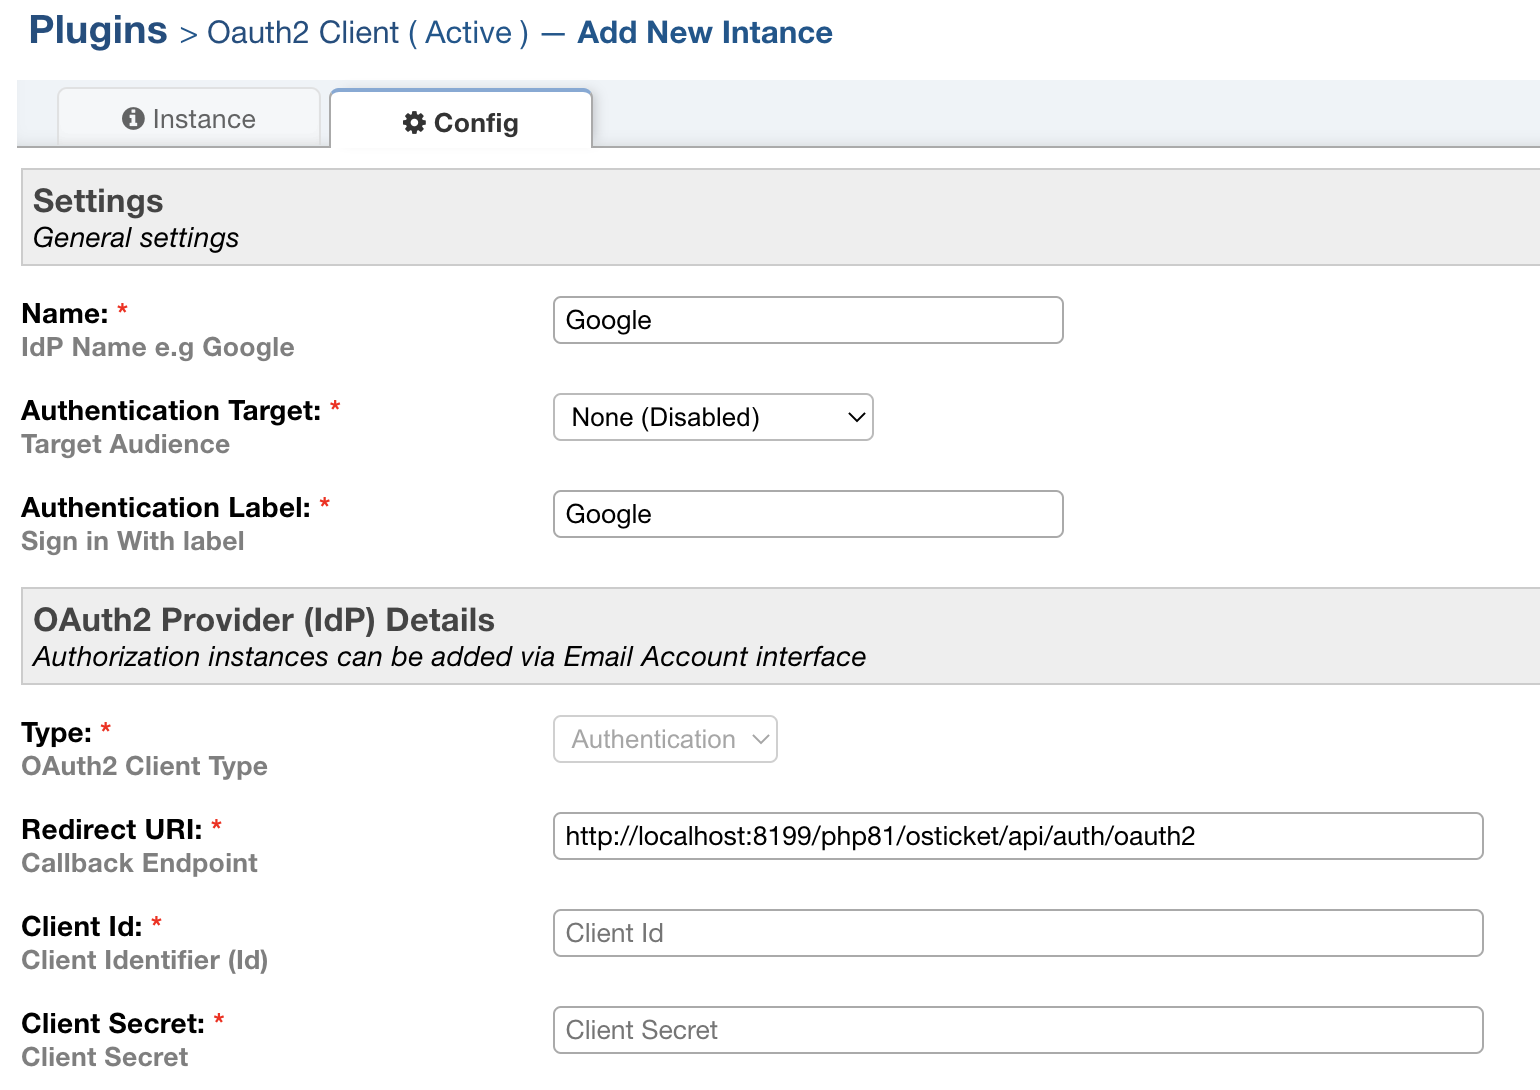
Choose an Authentication Target to specify who should be able to use this provider.
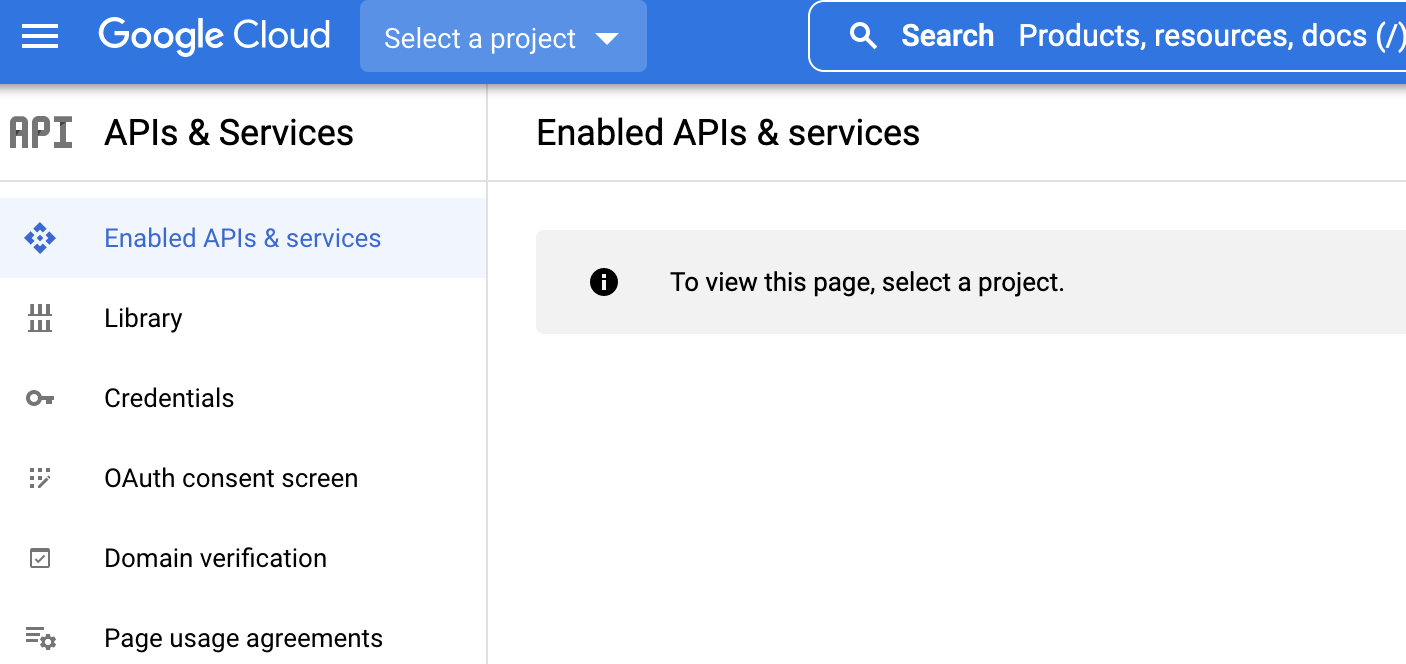
Now you need to set up a project using the Google Developer Console.
Once you are in the console, click ‘Select a Project’ to get started.
Note: If you already have a project set up for your Google account, its name will be displayed here.
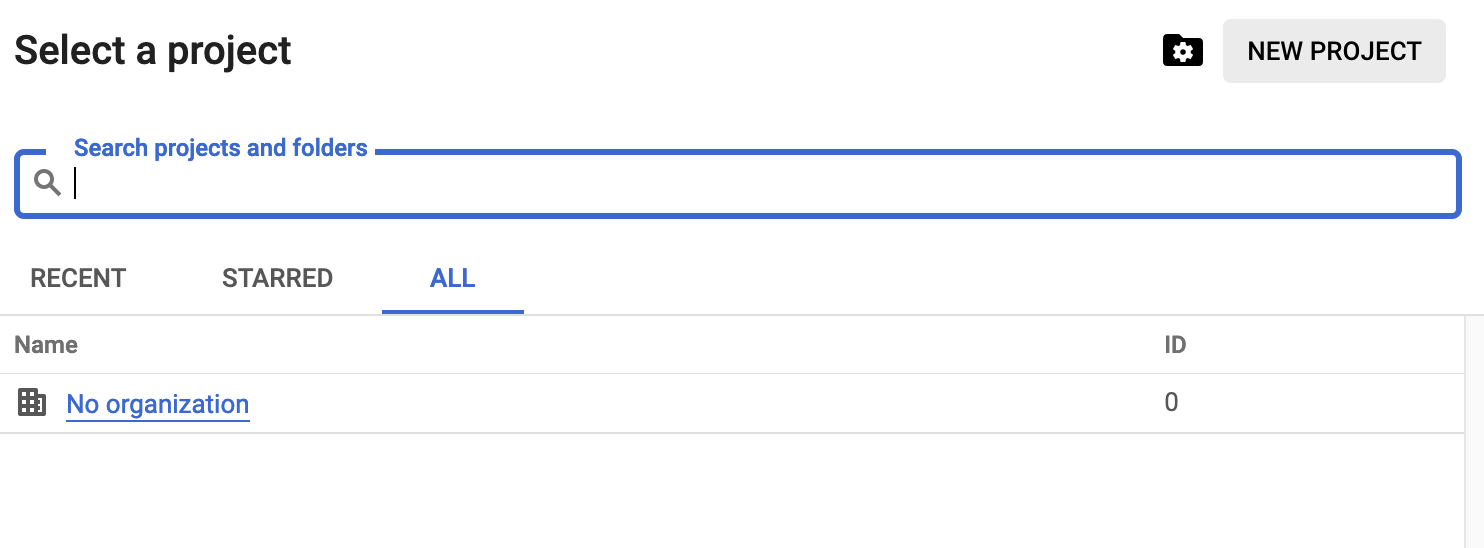
Click ‘New Project’ in the modal:
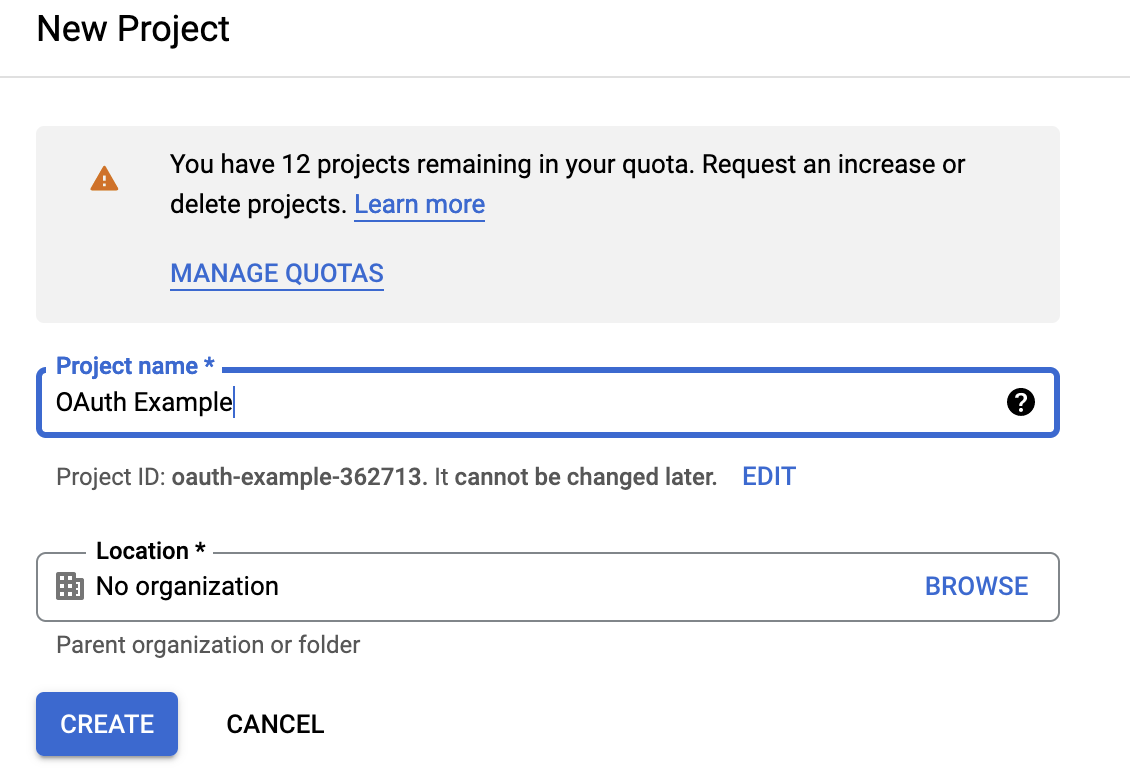
Give the project a name and click ‘Create’
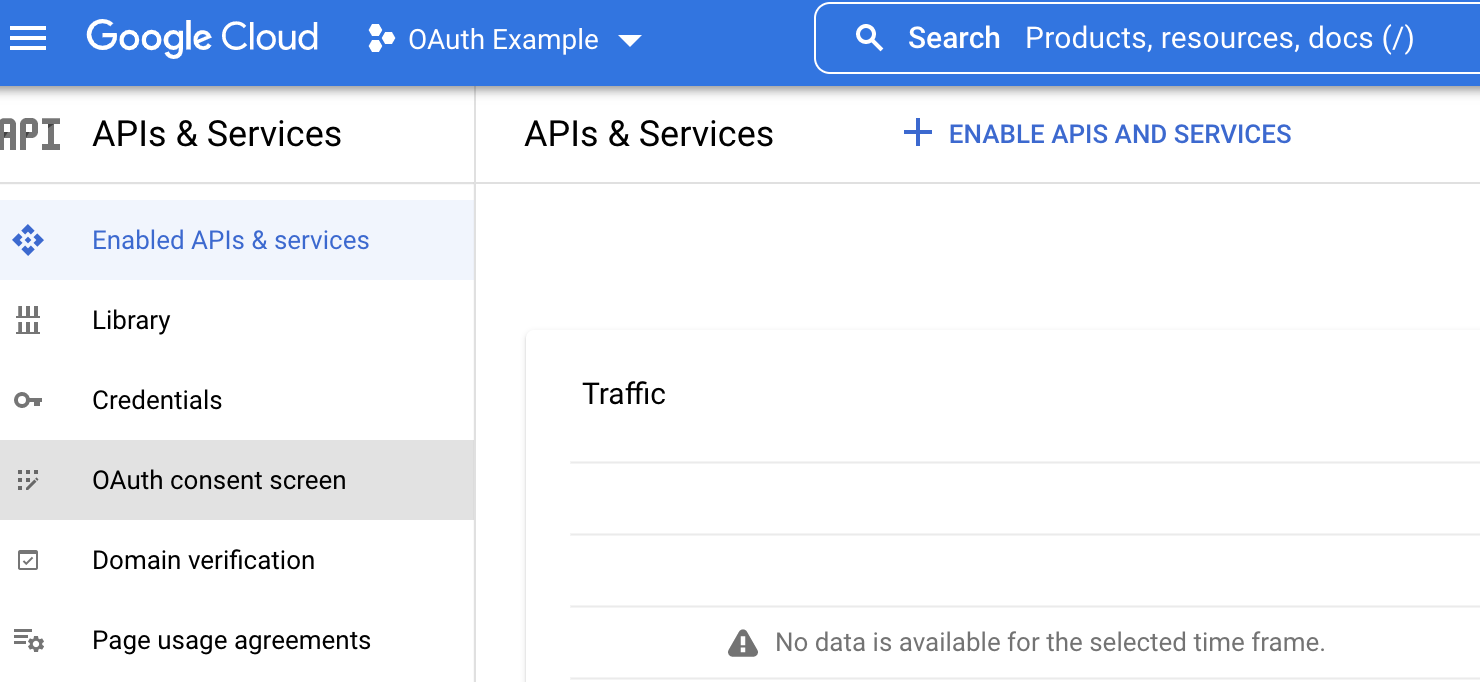
Click ‘OAuth consent screen’
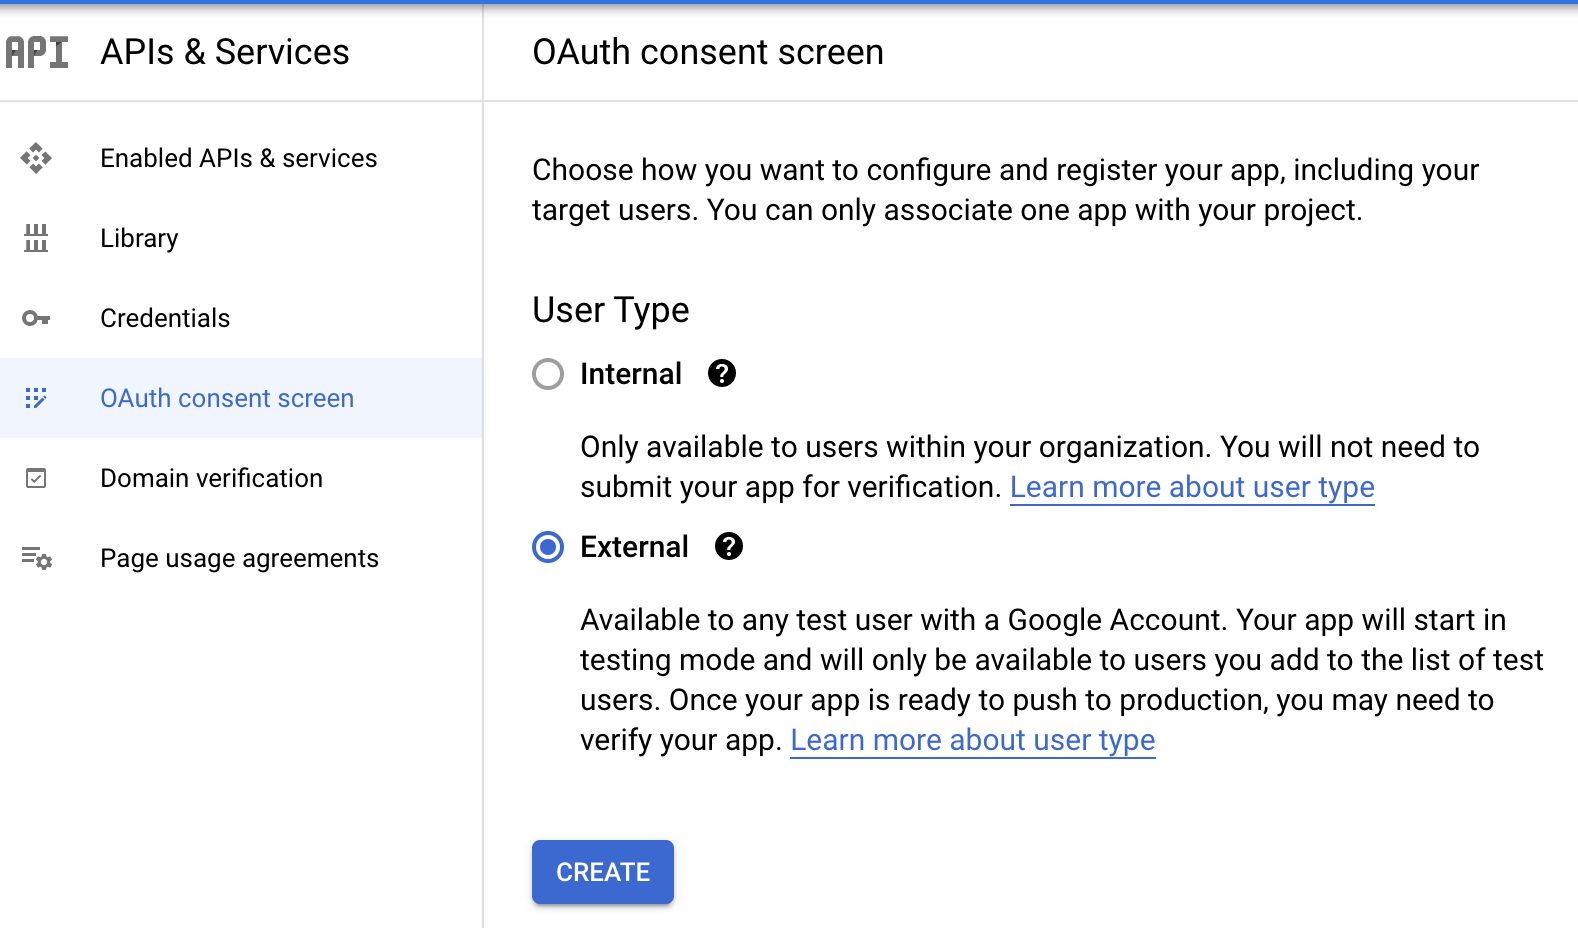
Here you will select a User Type of Internal or External. If you do not have a Google Workspace account you will be limited to External only. Please note, if you select Internal only users within your Organization will be able to authenticate. If you select External anyone with a Google account can authenticate, however, the Project will initially be in “Testing Mode”. Once you select your User Type click Create.
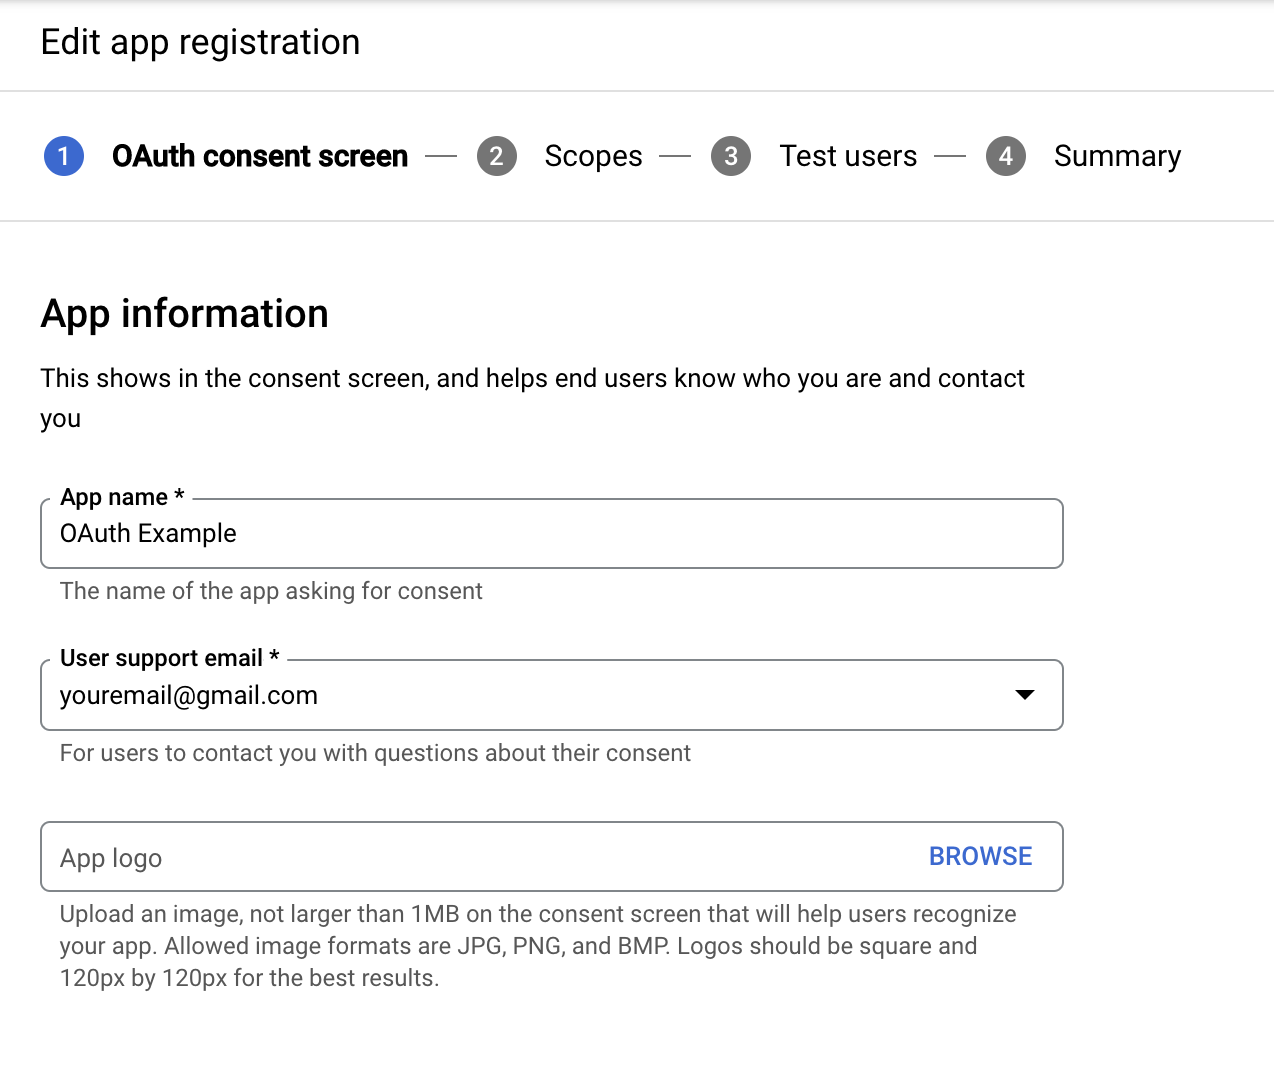
Name your app and fill in your support email. Optionally, you can upload a logo.
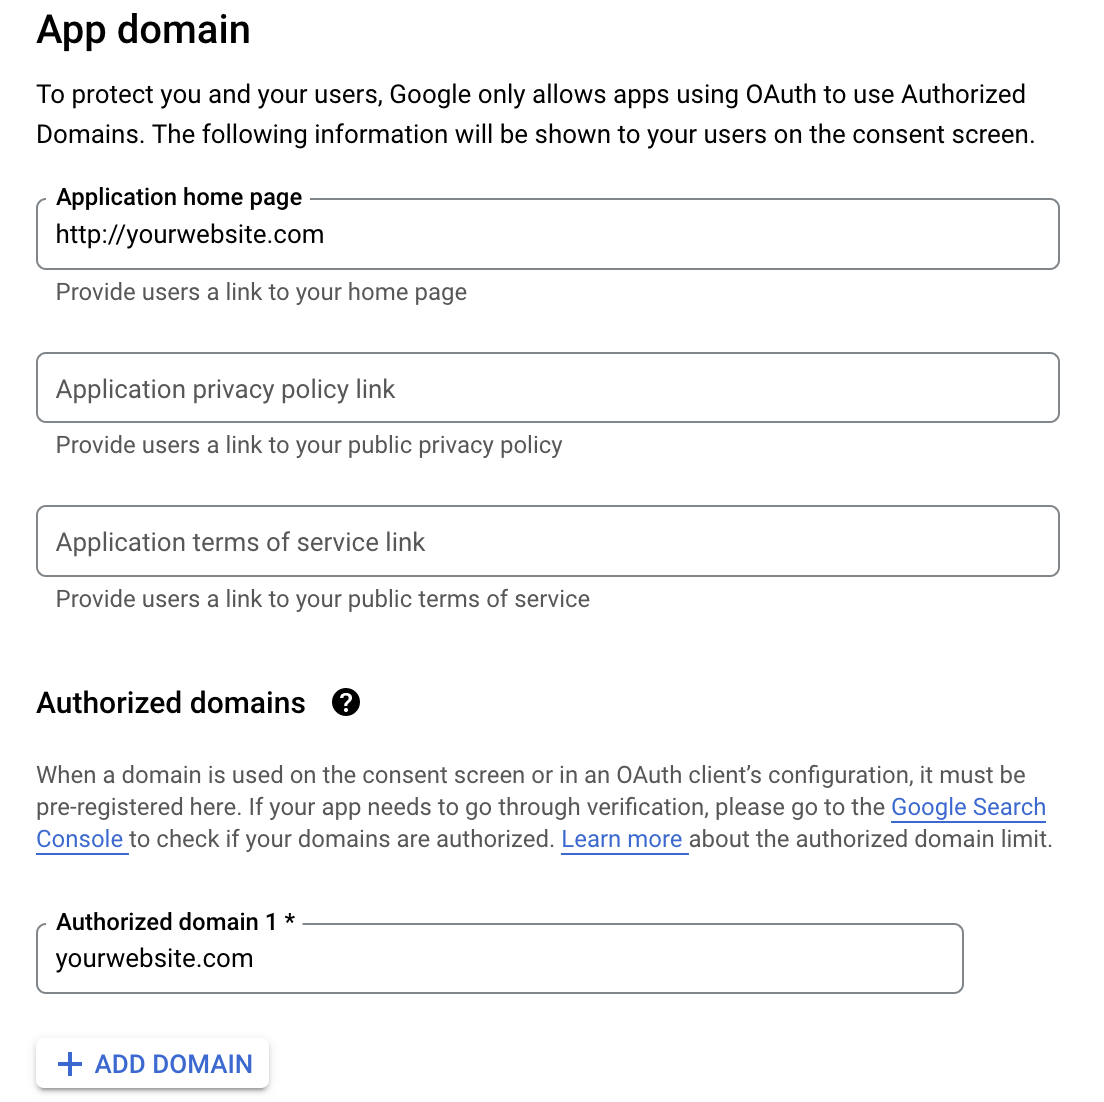
You can add your website URL if you will be using a domain that you own.
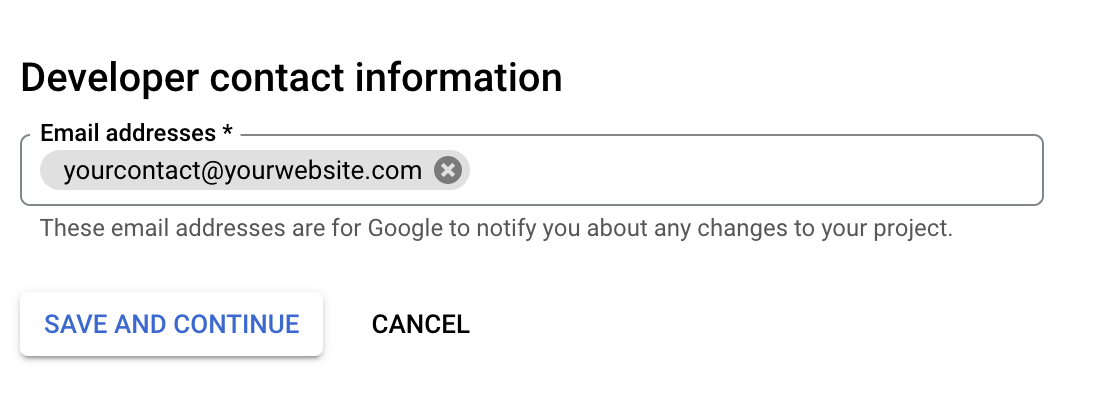
Add your contact information:
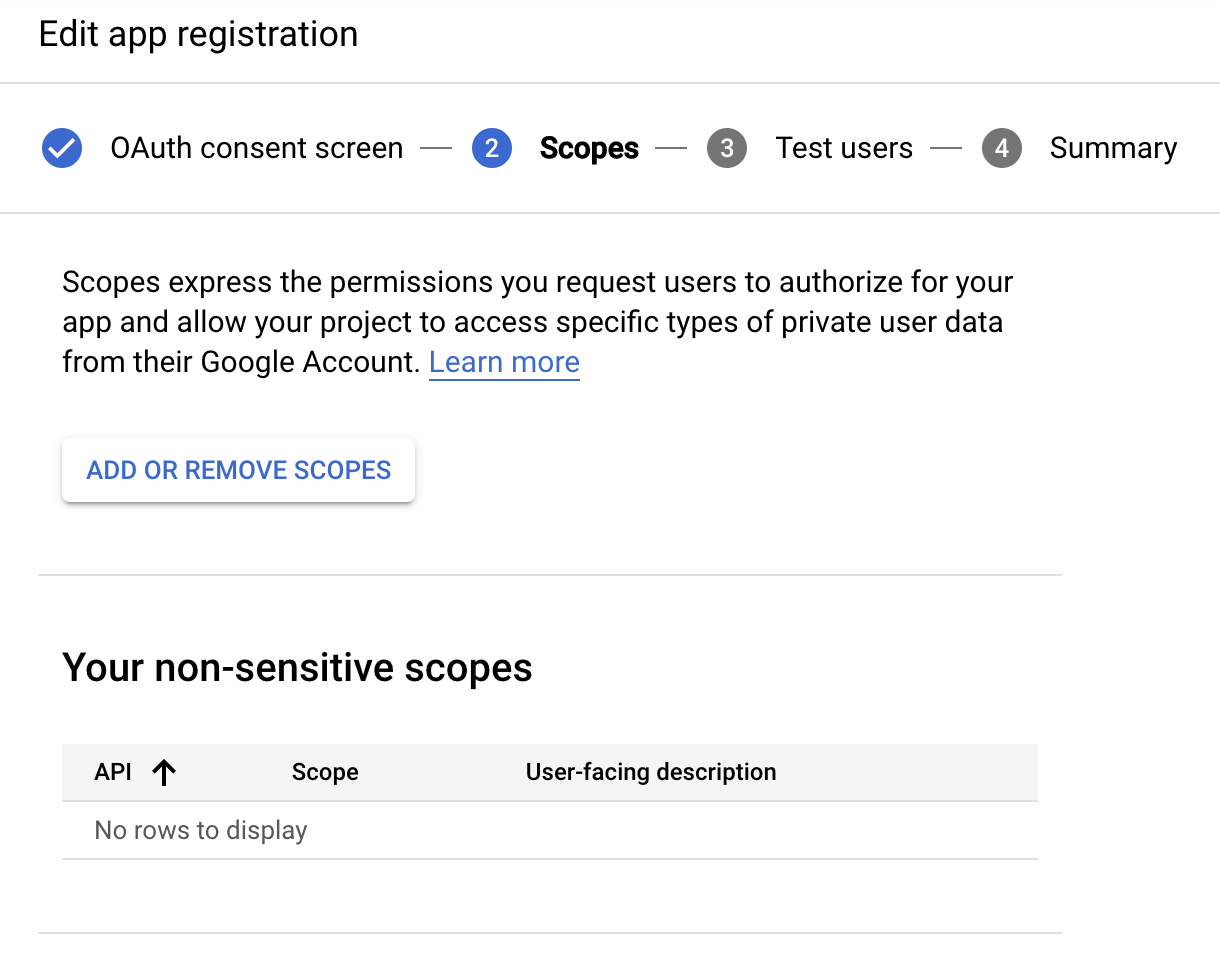
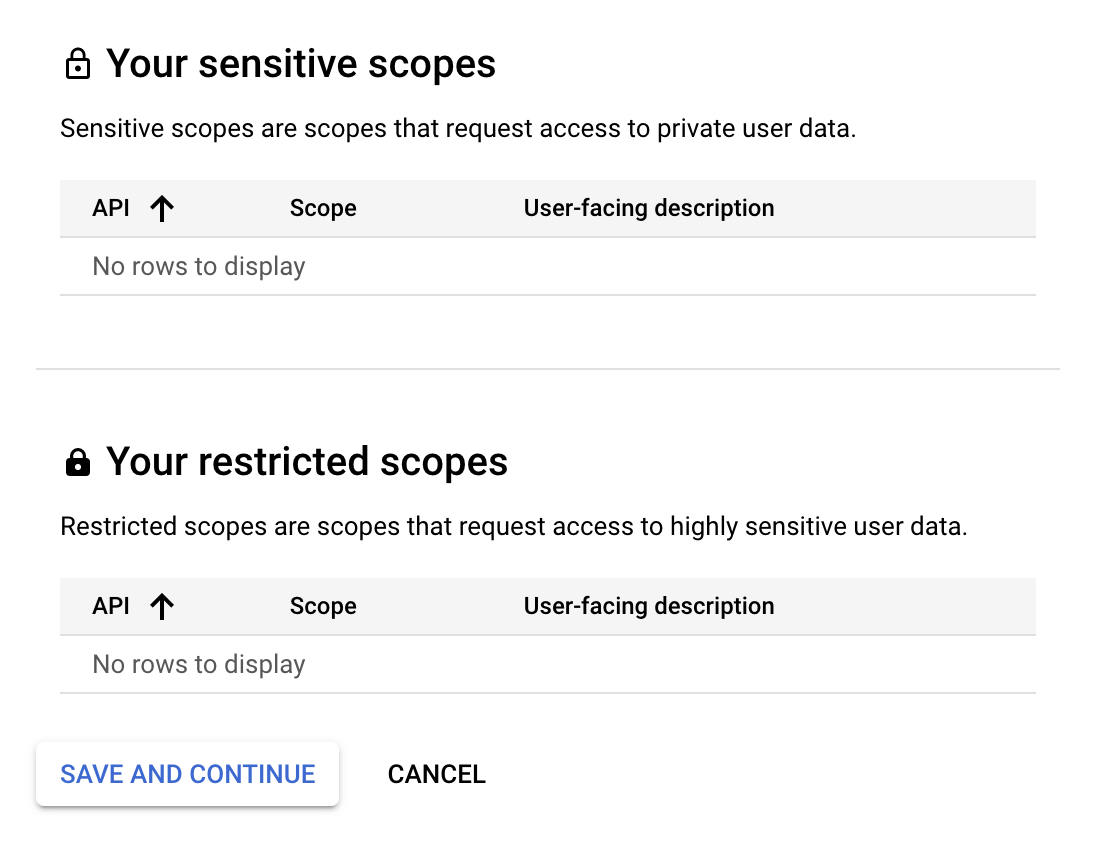
Scopes can be set to extend the permissions between your application and Gmail accounts. You do not need to add any scopes to use OAuth for a typical Gmail account.
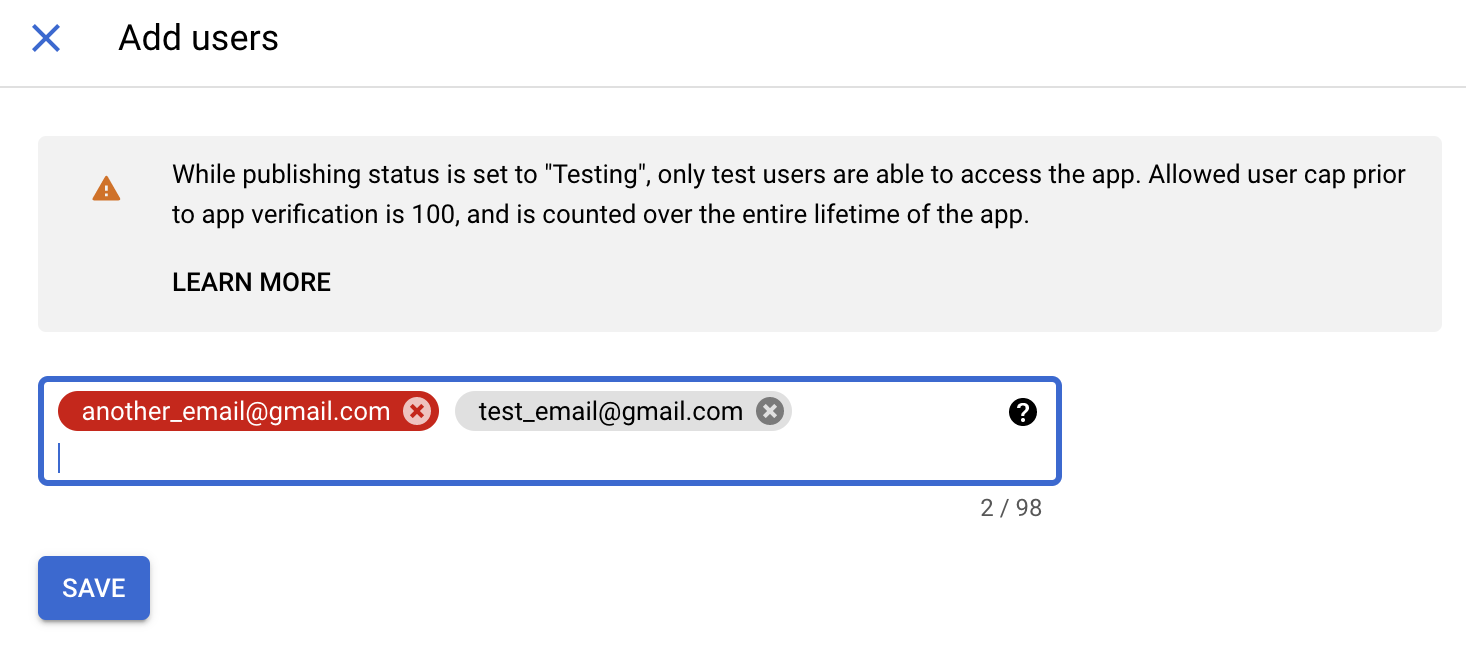
Add addresses for emails you want to test with this application. Applications that are in ‘Testing’ mode can add up to 100 test users.
Note: The addresses must be valid Gmail accounts.
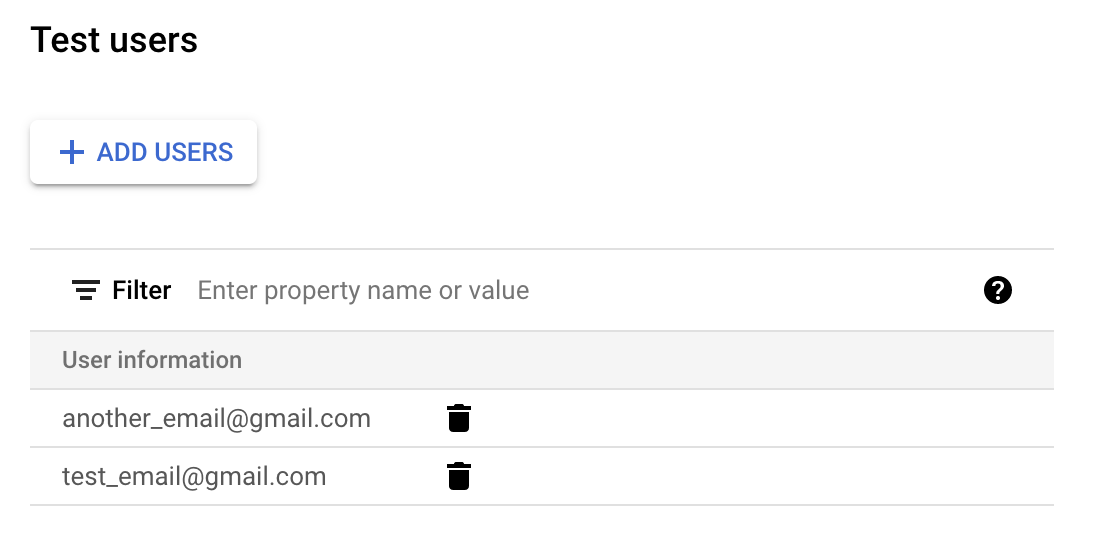
Click ‘Save and Continue’ to see an App Summary.
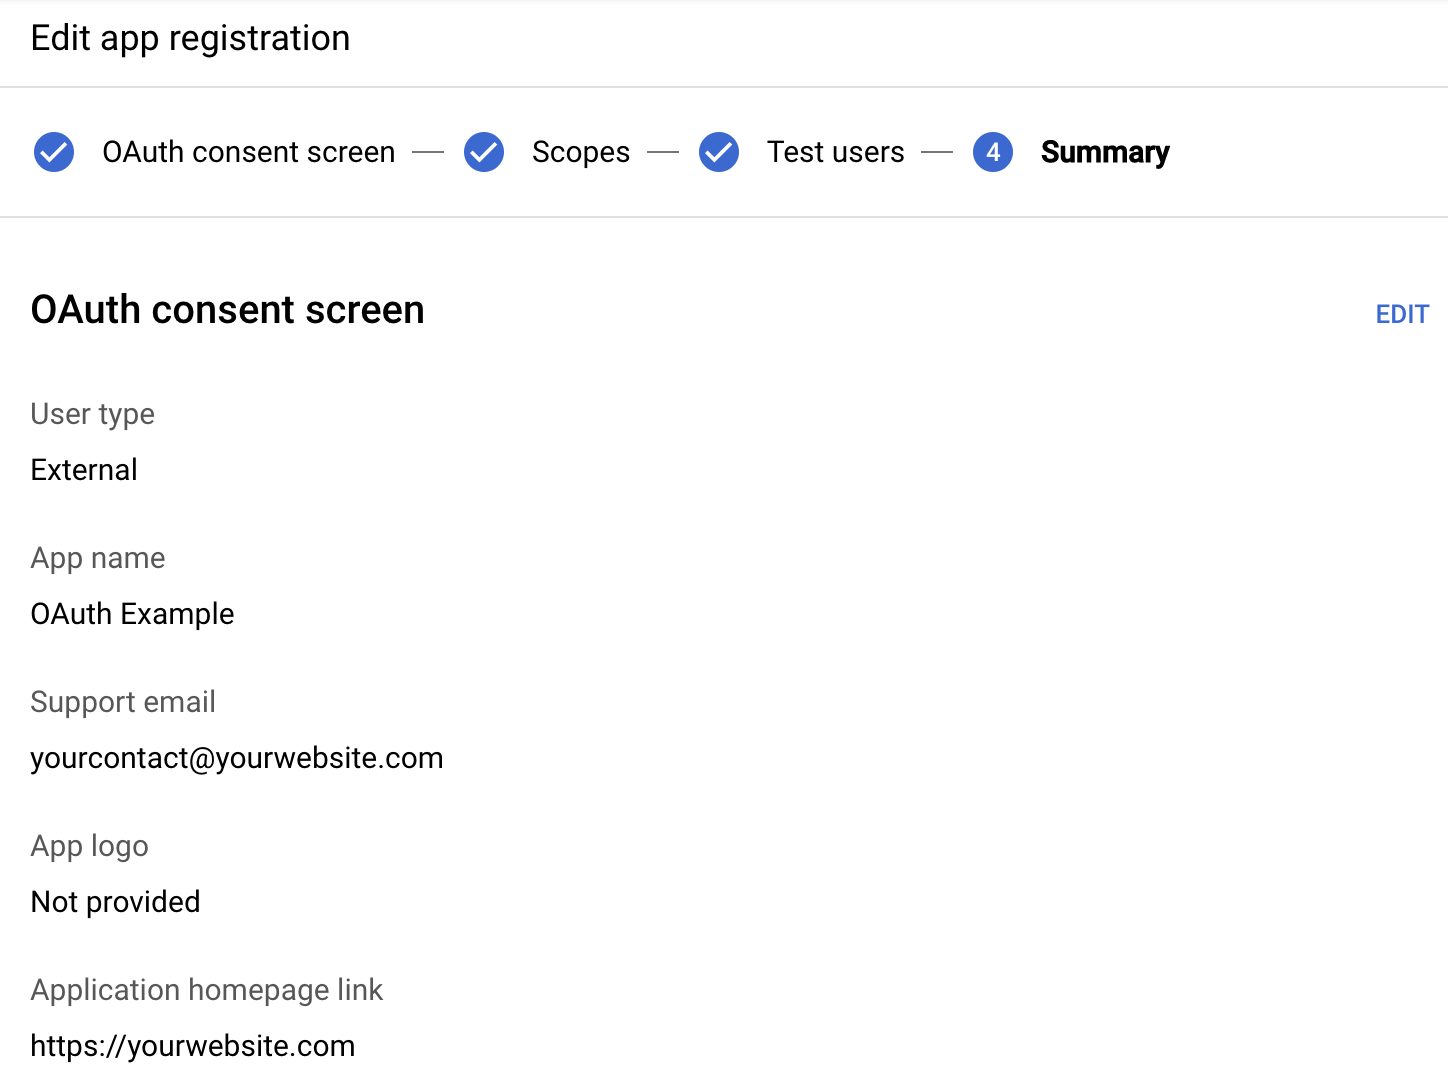
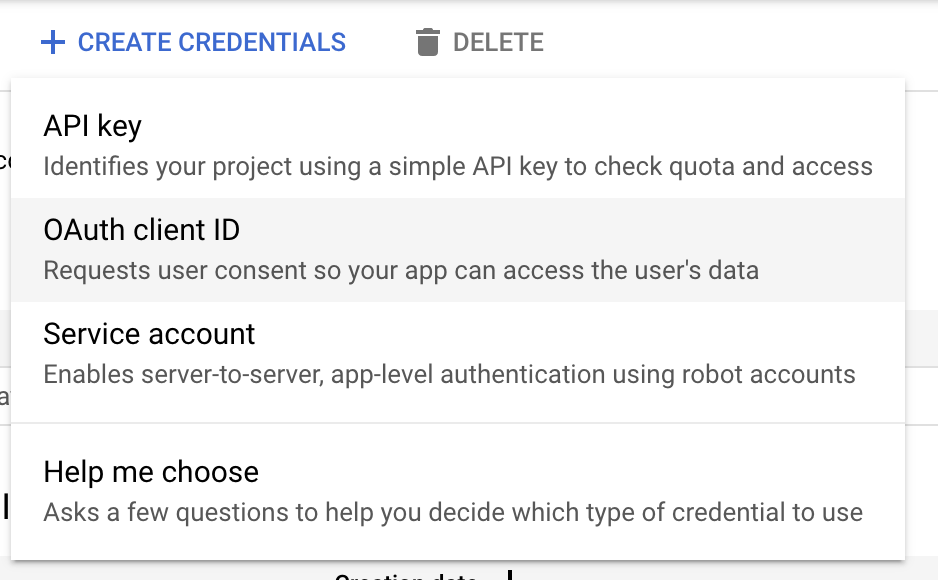
Once saved, navigate to the ‘Credentials’ section

Click ‘Create Credentials’ and select ‘OAuth client ID’
Choose ‘Web Application’ and name the App
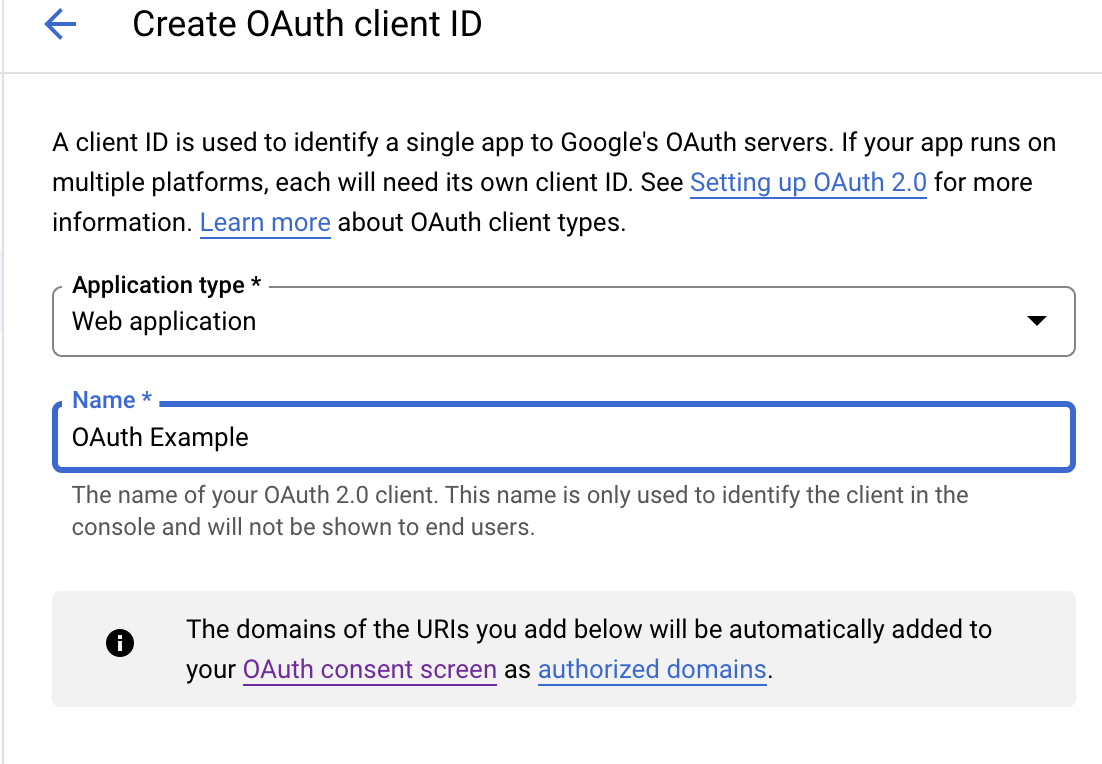
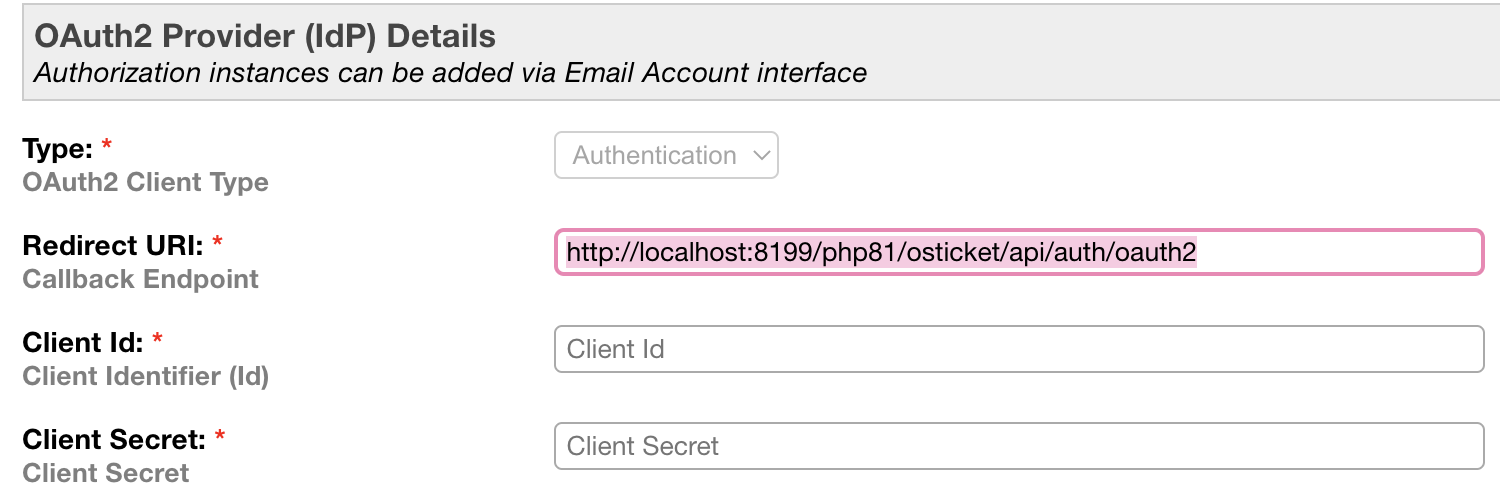
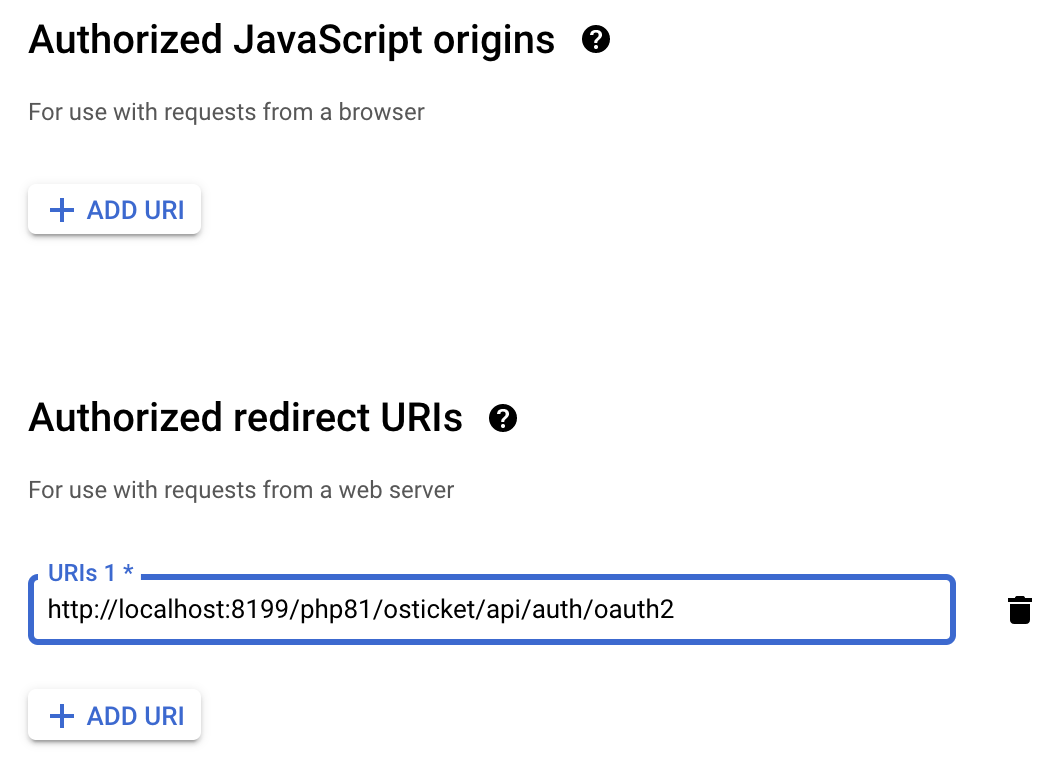
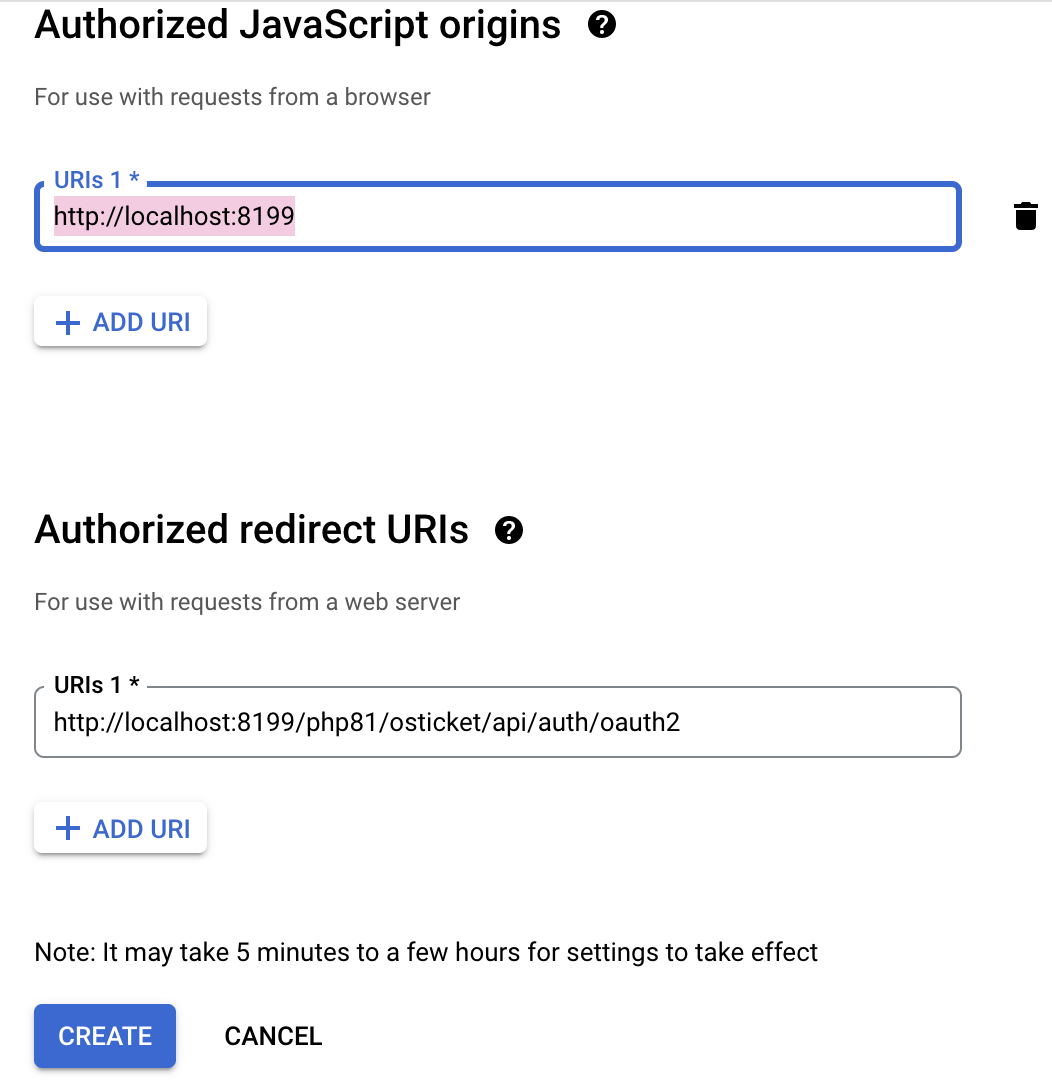
The Authorized redirect URI can be found in the plugin instance created in osTicket.
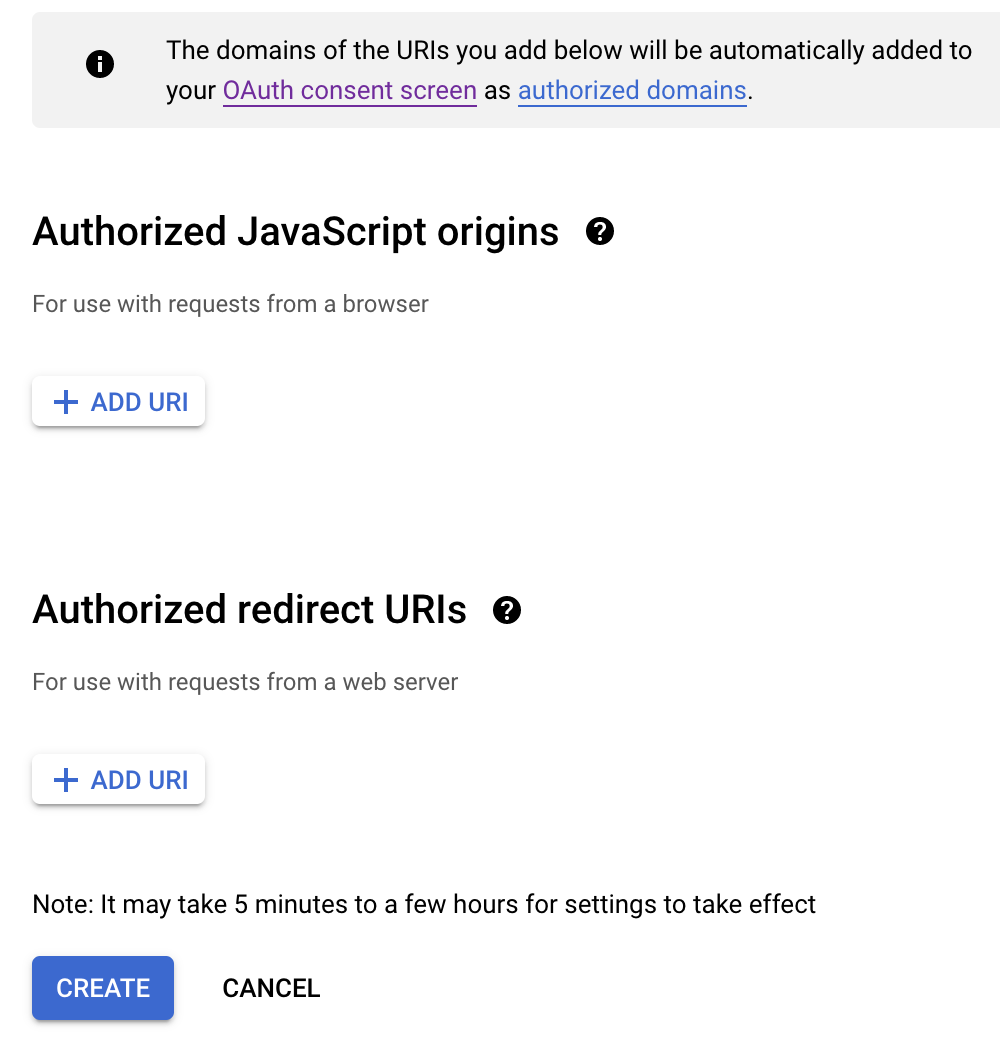
Click ‘Add URI’ from the Google console
The Authorized JavaScript is just your hostname without anything extra at the end.
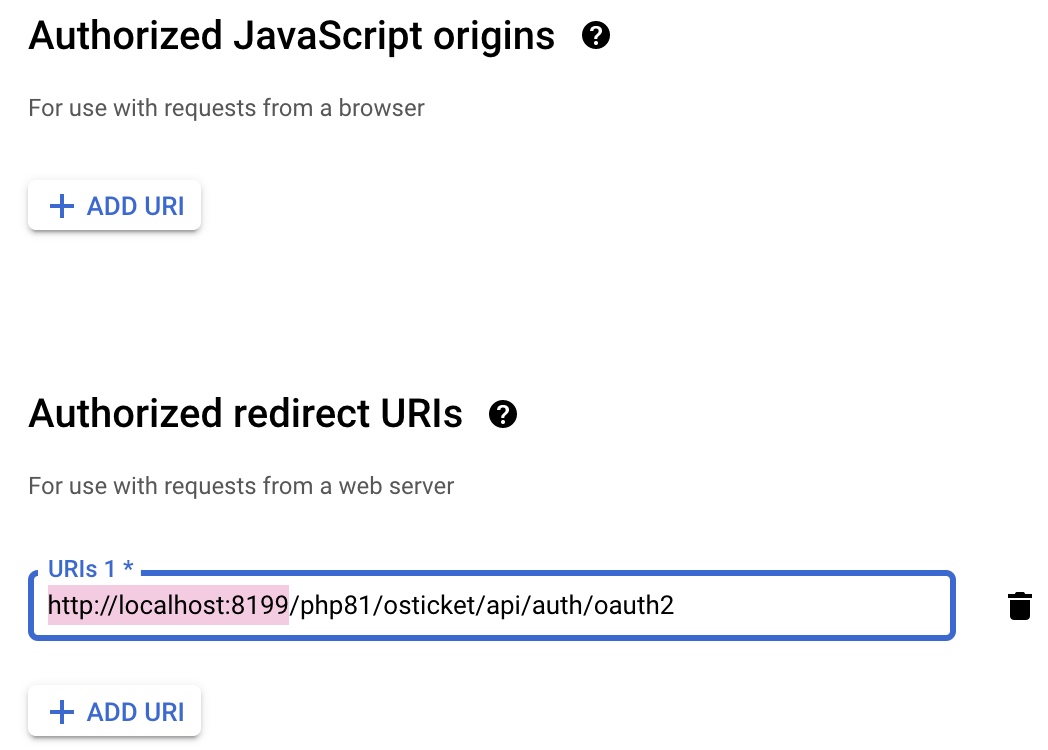
Add the JavaScript origin and click ‘Create’.
Now you will see your Client ID and Client Secret
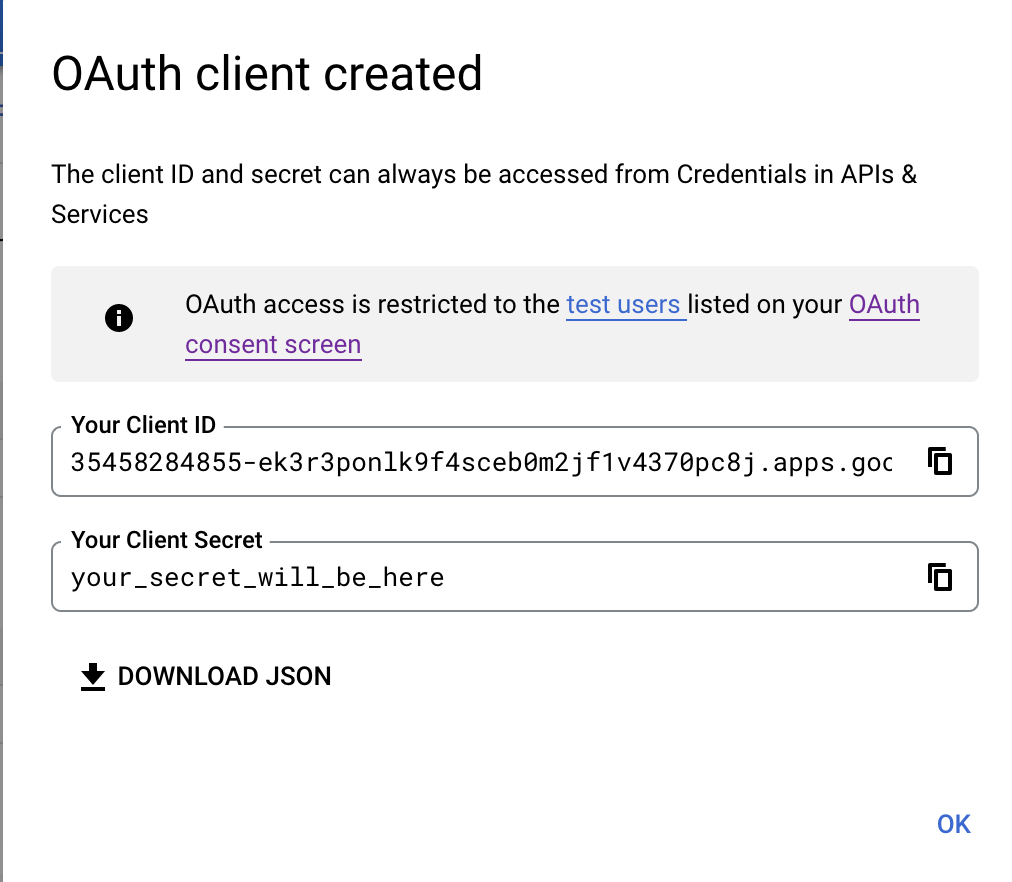
Copy the Client ID and Client Secret and paste them into the appropriate fields in the osTicket Instance:
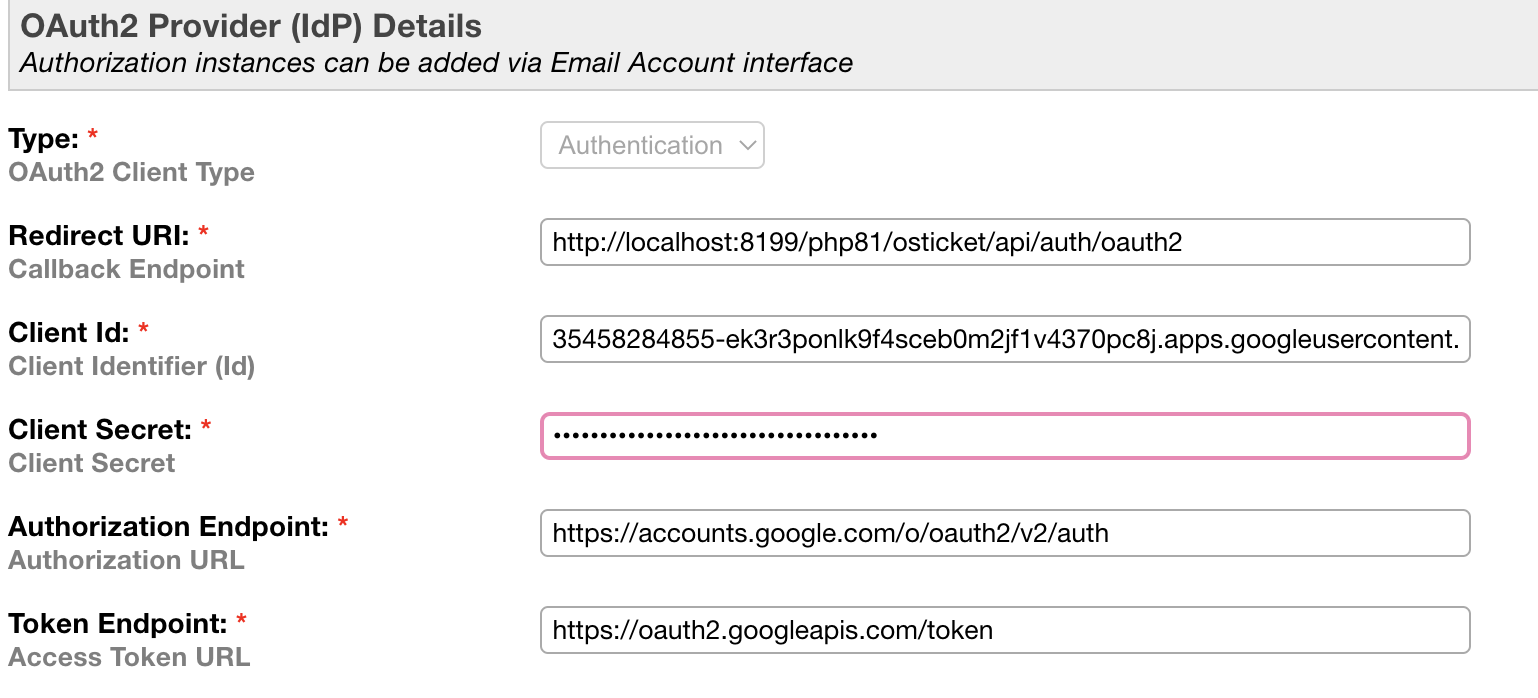
The rest of the information should be autofilled
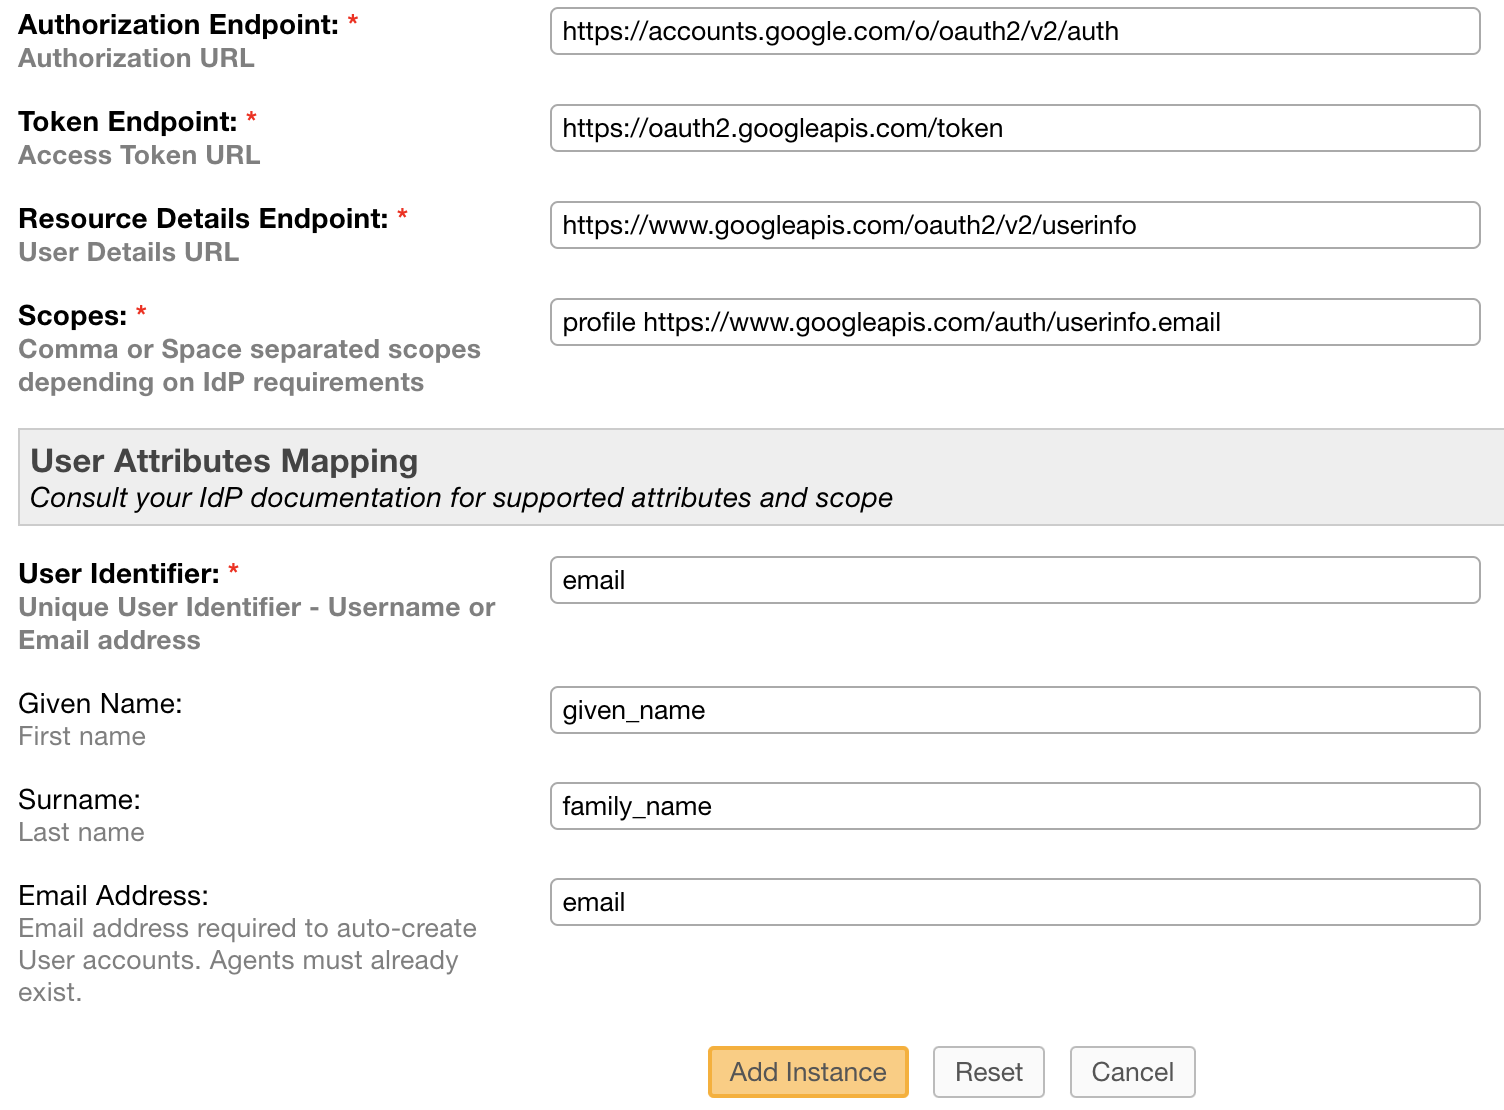
Click ‘Add Instance’
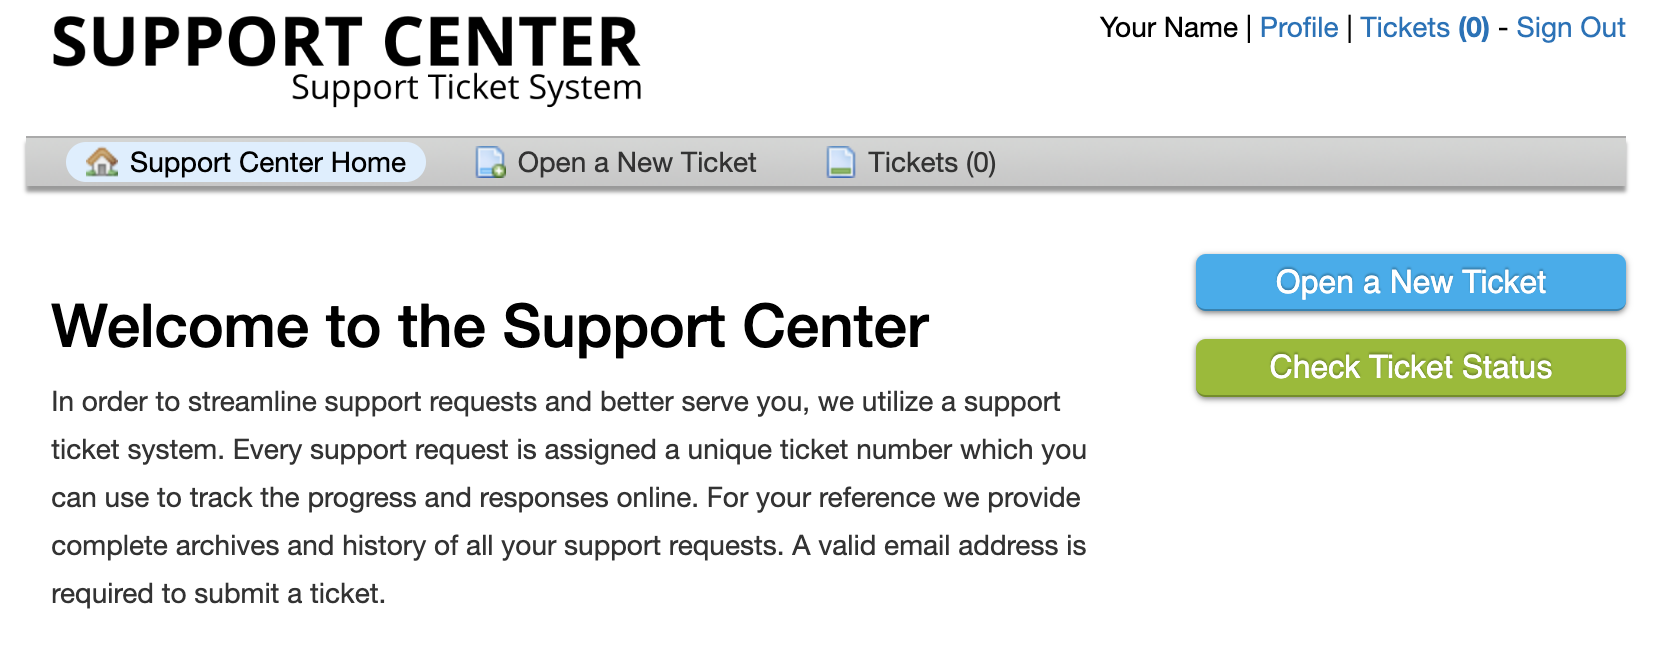
Now that the setup is complete, you should be able to use your Google account to log into the helpdesk.
Agent Login
To test the functionality for Agents, go to:
Admin Panel | Agents
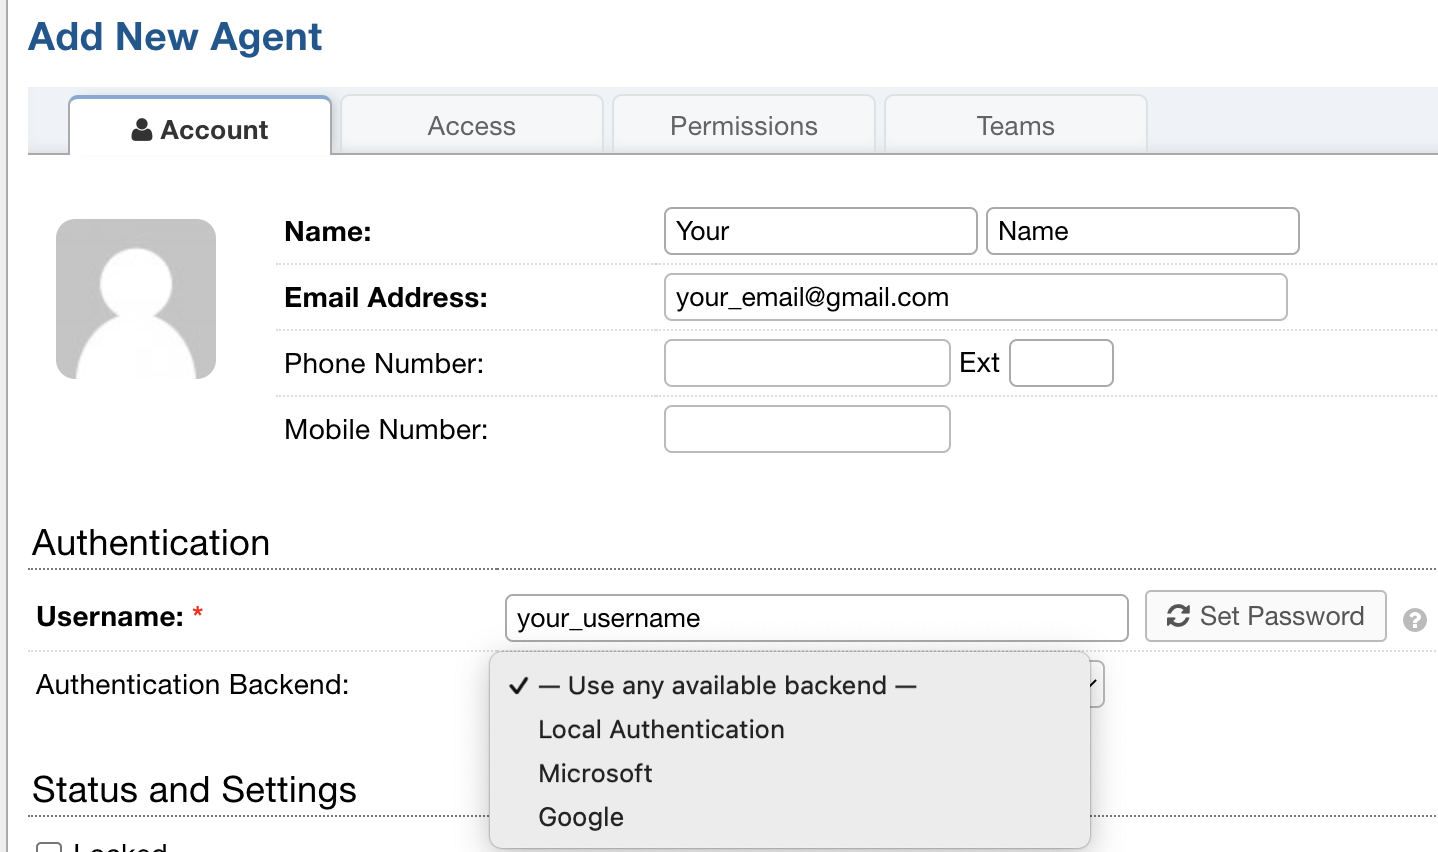
Make sure you have an Agent in your helpdesk with the same email address as the Google account you want to log in with.
You should also ensure that you see the provider that was just set up in the list. It is important, however, to make sure you choose ‘Use any available backend’ so that you can still log into your helpdesk in the event that OAuth has an error.
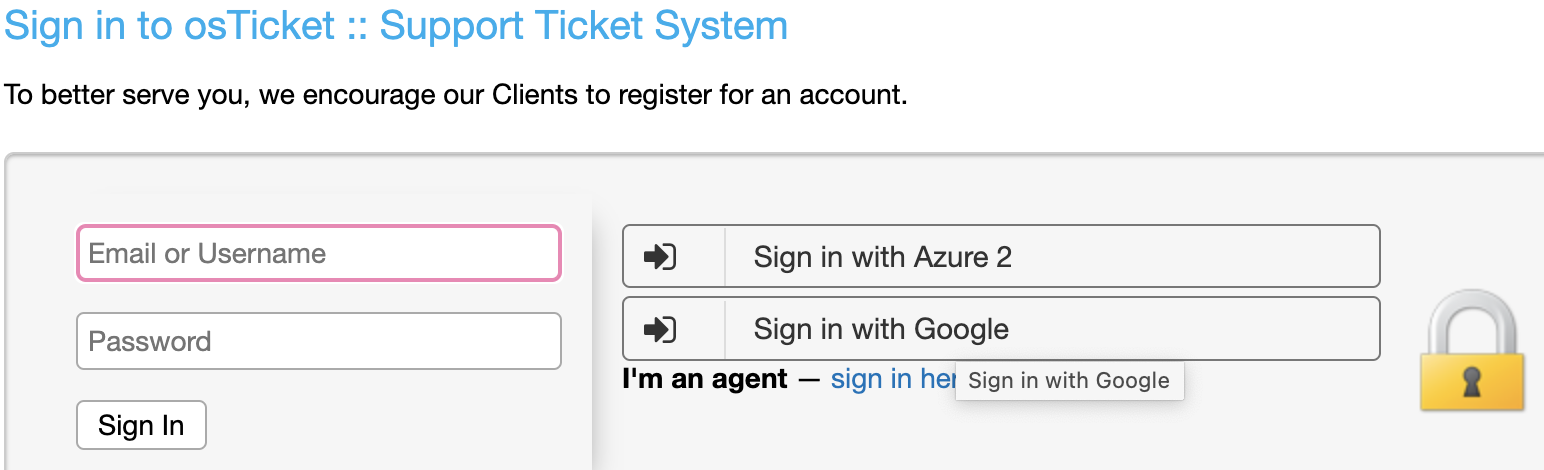
Log out of the helpdesk and go to the login screen.
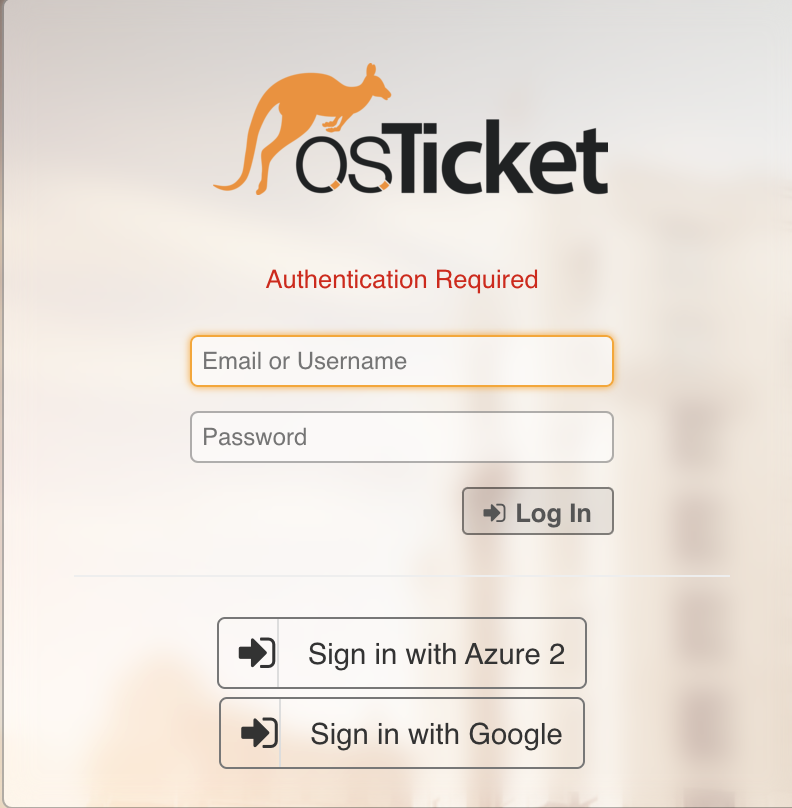
Click the ‘Sign in with Google’ button to test the OAuth set up.
Note: The sign in button text can be configured by changing the Authentication Label in the osTicket instance setup.
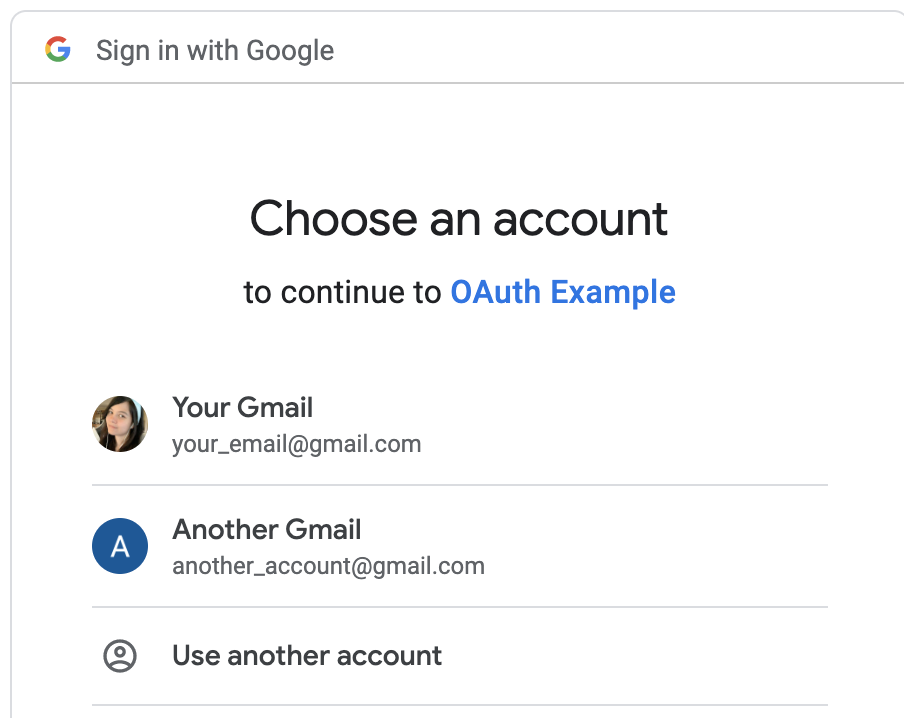
This should navigate to choose the Google account you want to sign in with
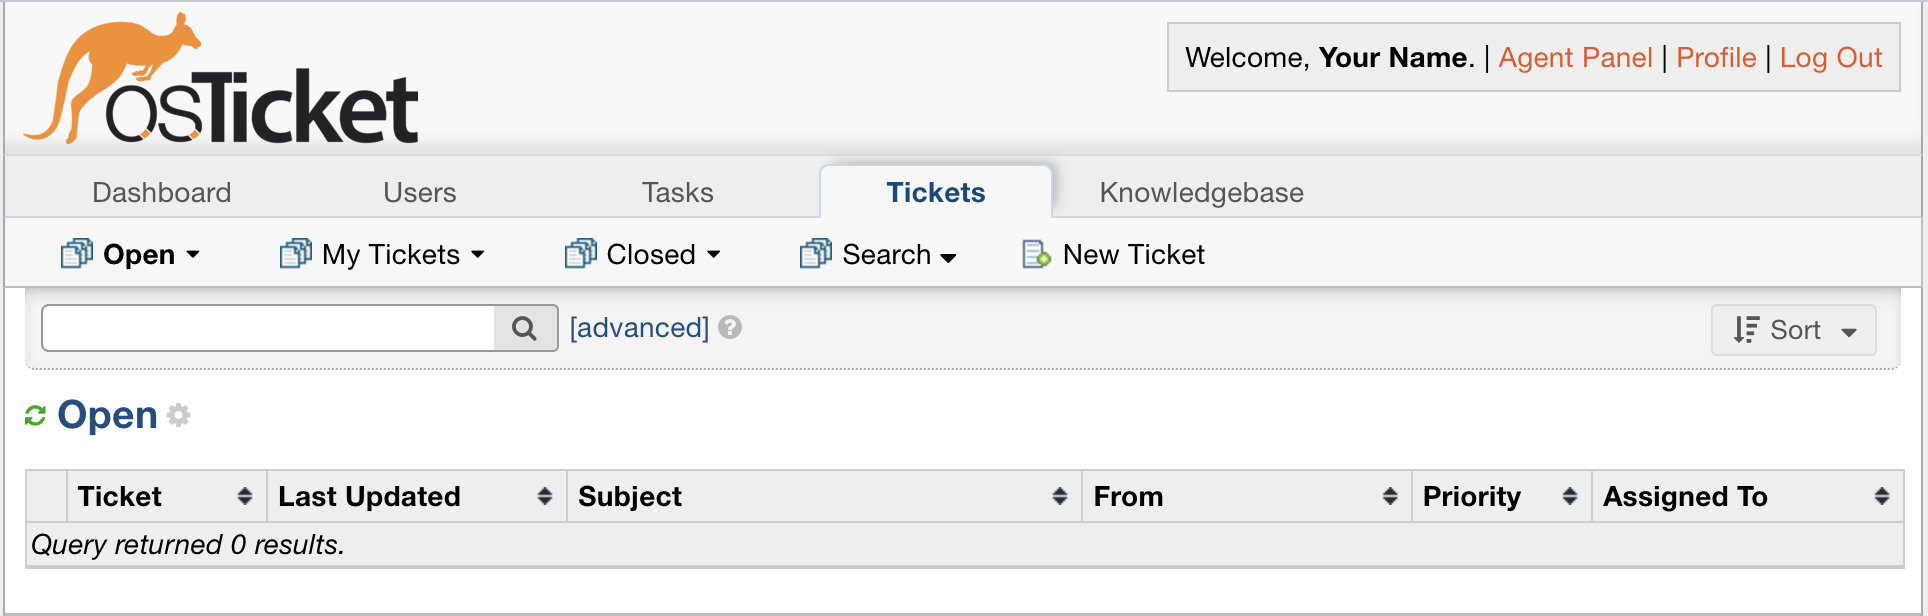
Now you should be logged into your helpdesk.
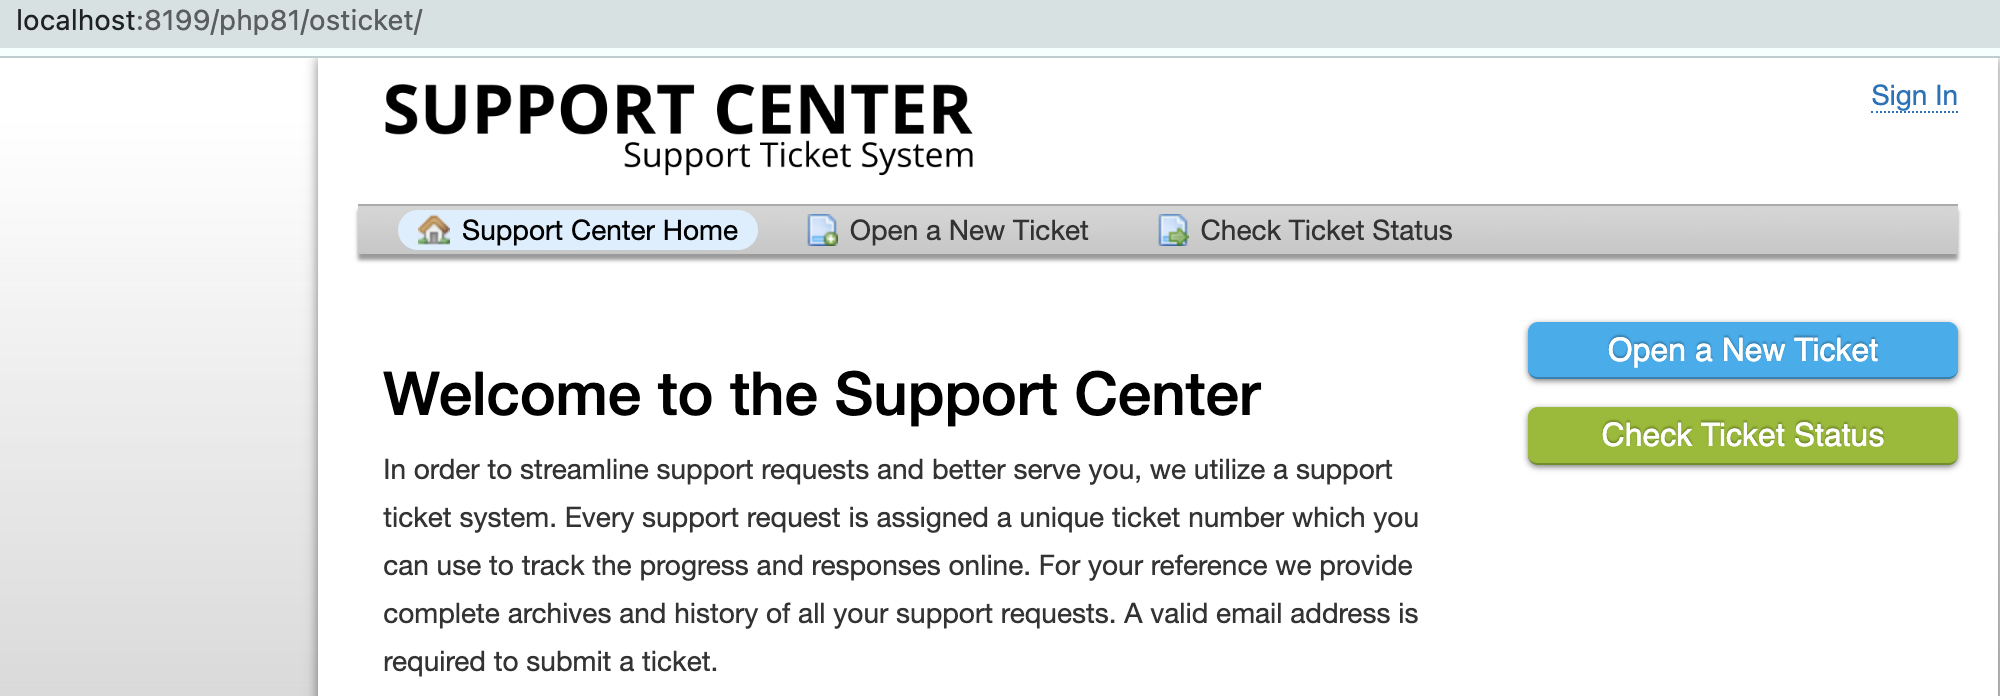
User Login
For users, logging in with a Gmail account should create a new User if one does not exist, otherwise, it will log in as an existing User.
This should also navigate to choose the Google account you want to sign in with.
Choose your account and you should be logged in as a User.