Attachments in S3
The Attachments in S3 plugin allows you to store attachments in Amazon S3 instead of the database. This can be a good option to use for helpdesks that have a heavy load of attachments that are taking up a lot of storage in the database.
First, you must download the plugin from our website. Please make sure you select the appropriate version of osTicket before proceeding to the plugin selection. Once downloaded, upload the plugin to your server and place it in the include/plugins/ folder. Make sure the plugin has appropriate file permissions and ownership so the webserver can read and execute.
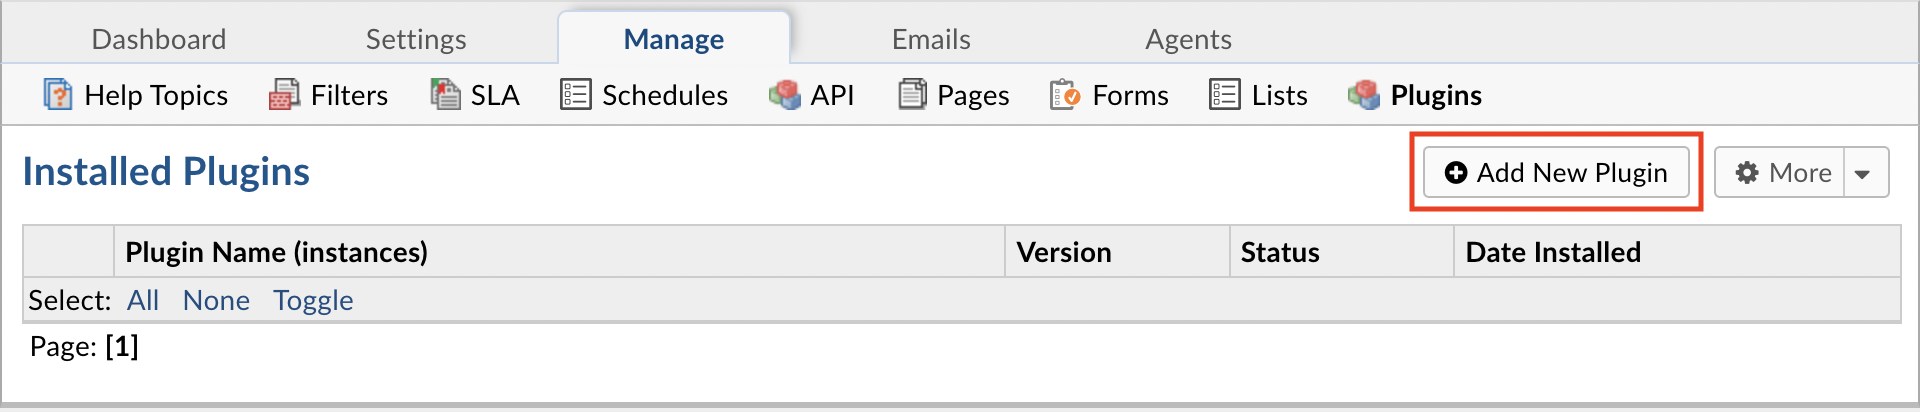
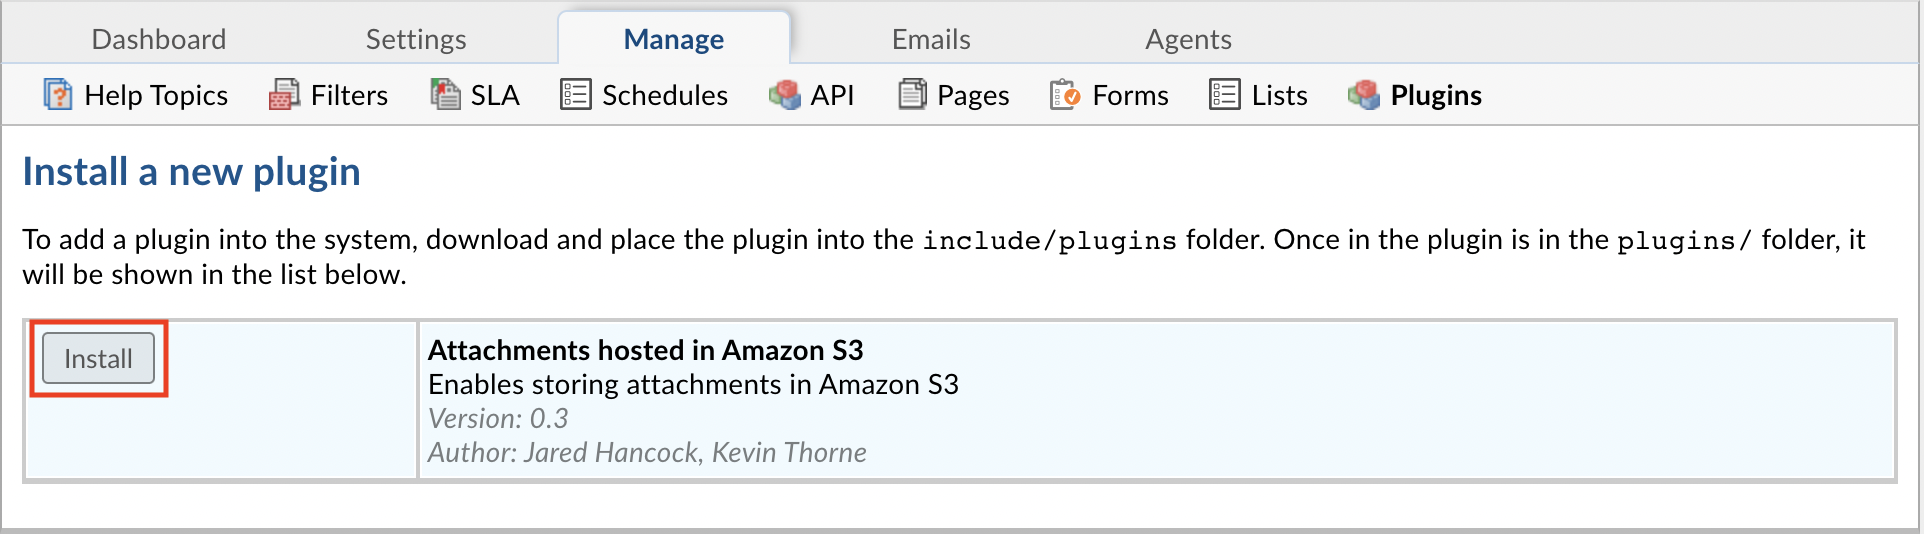
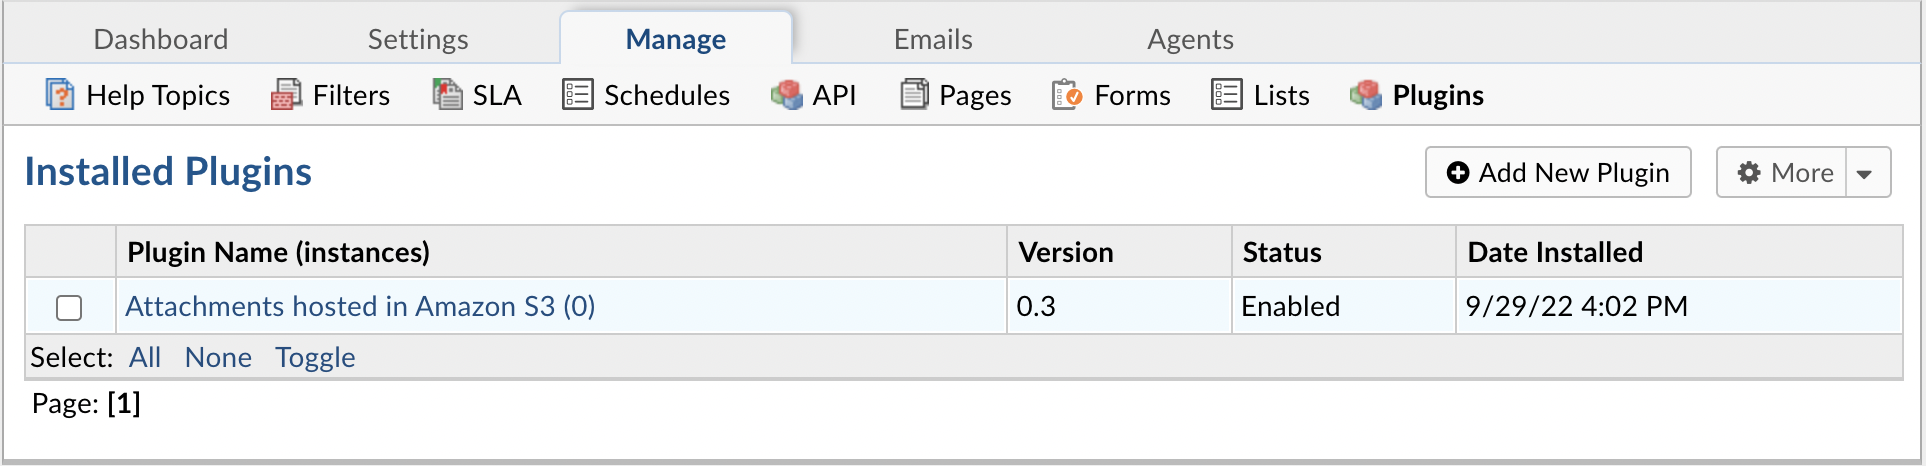
Now you can install the plugin by logging into your helpdesk and navigating to Admin Panel > Manage > Plugins. Click Add New Plugin and click Install next to the desired plugin.
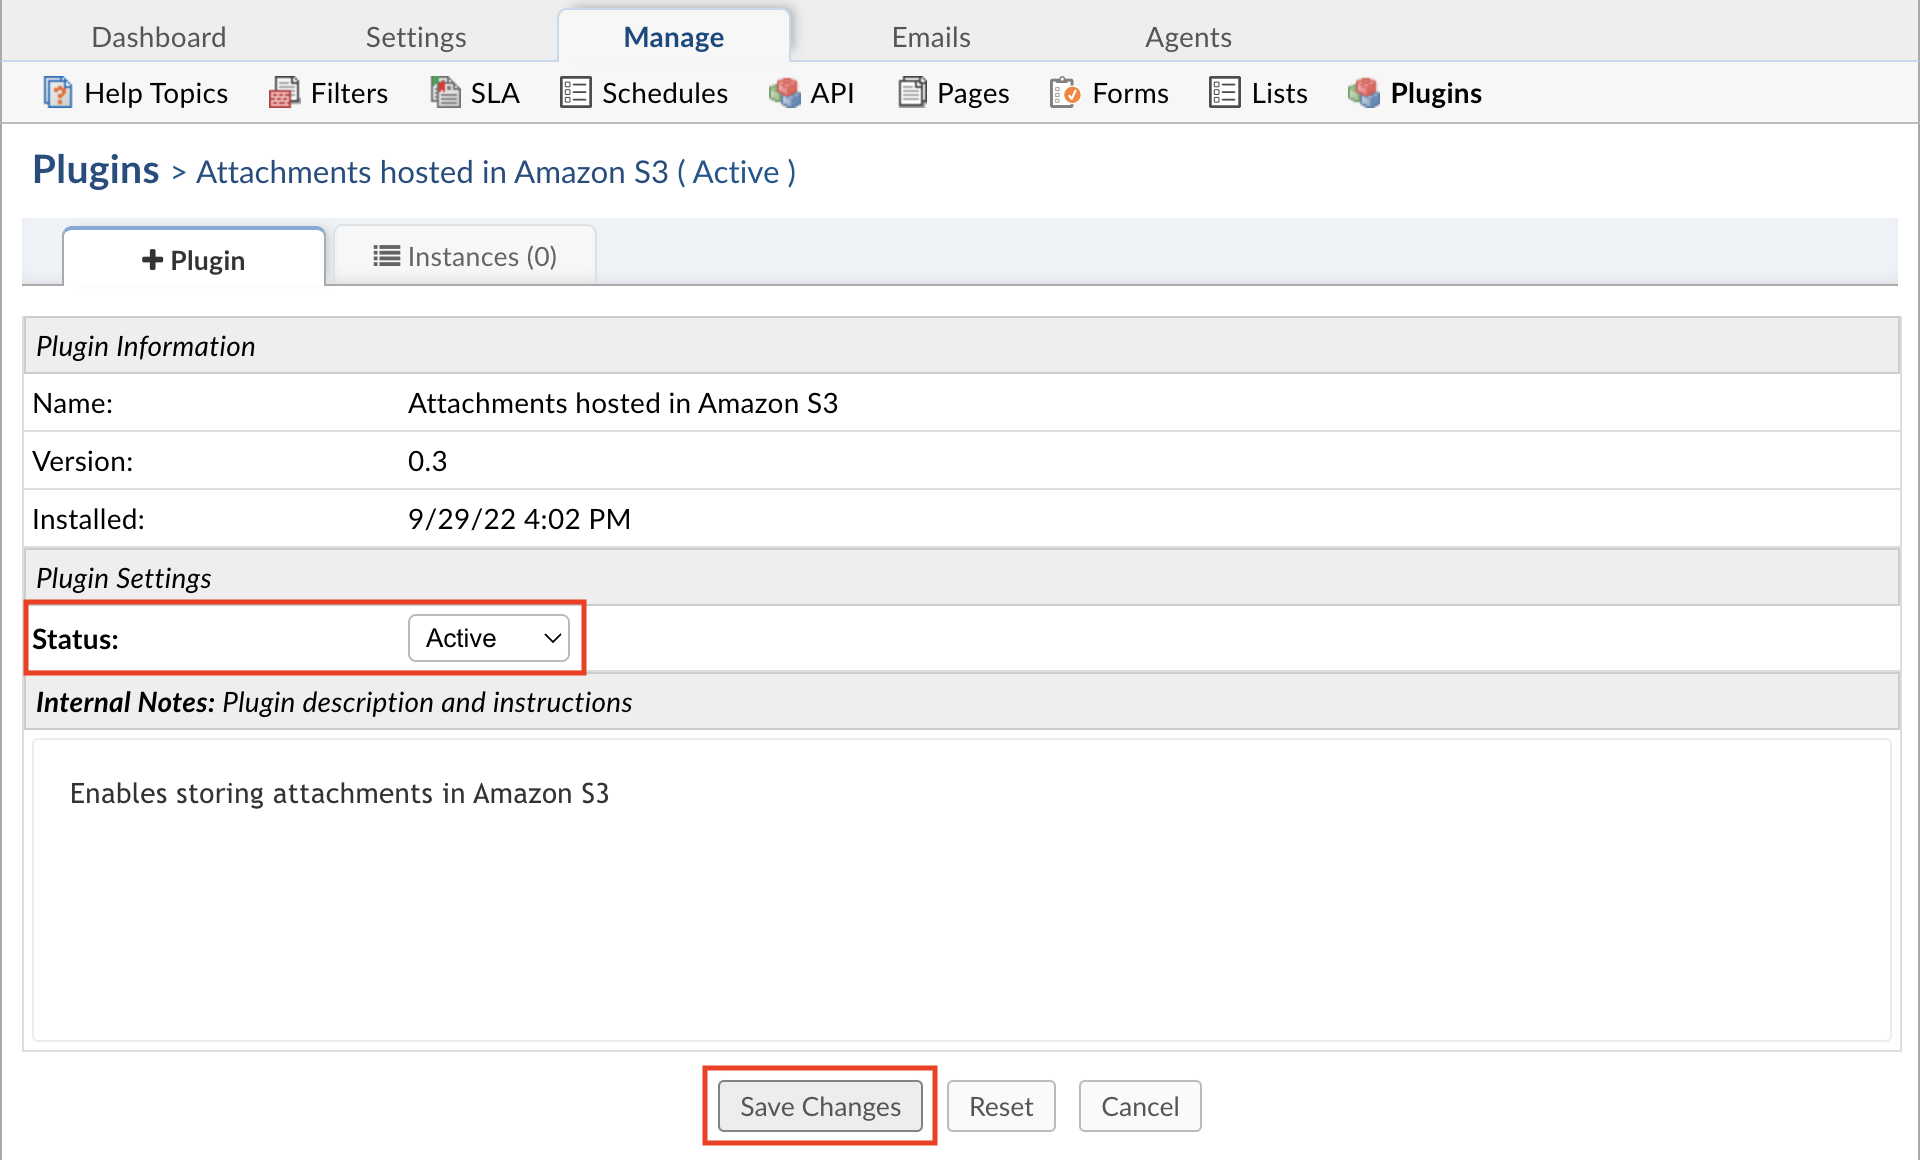
To enable the plugin click on the name of the plugin in the list of installed plugins, set Status to Active, and Save Changes.
Once the plugin has been installed and enabled, it can be configured by going to:
Admin Panel | Manage | Plugins | Attachments hosted in Amazon S3 | Instances
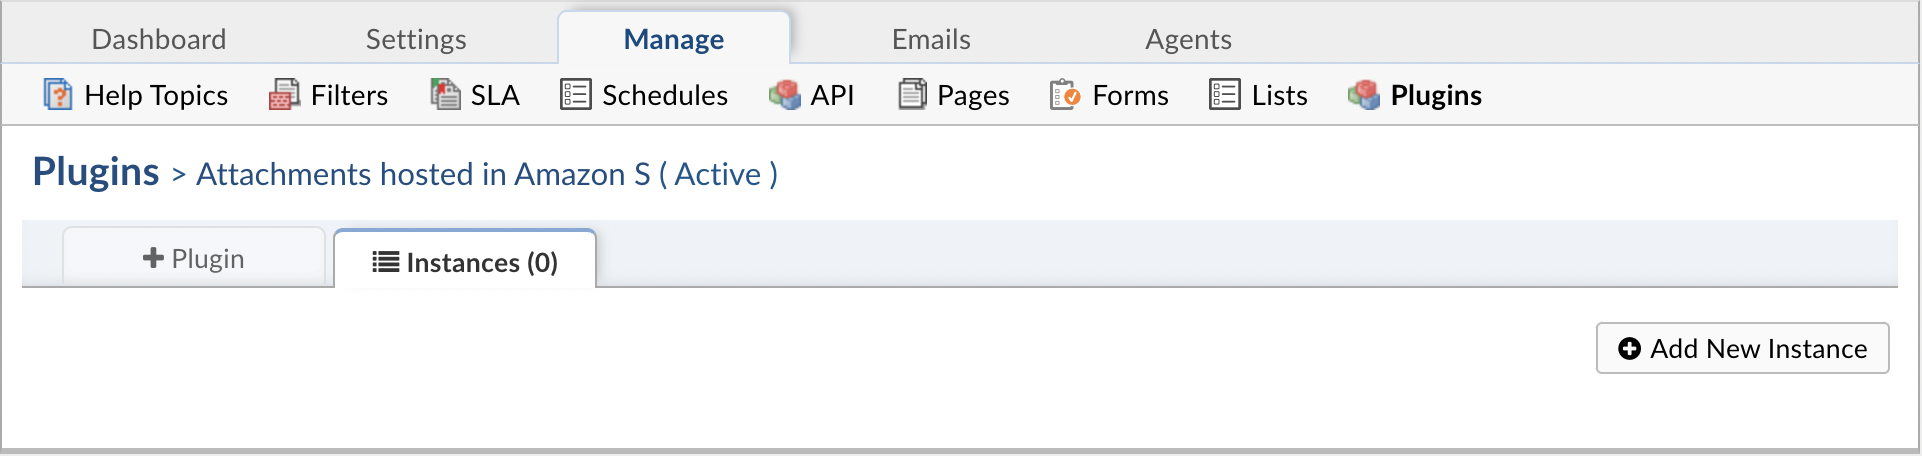
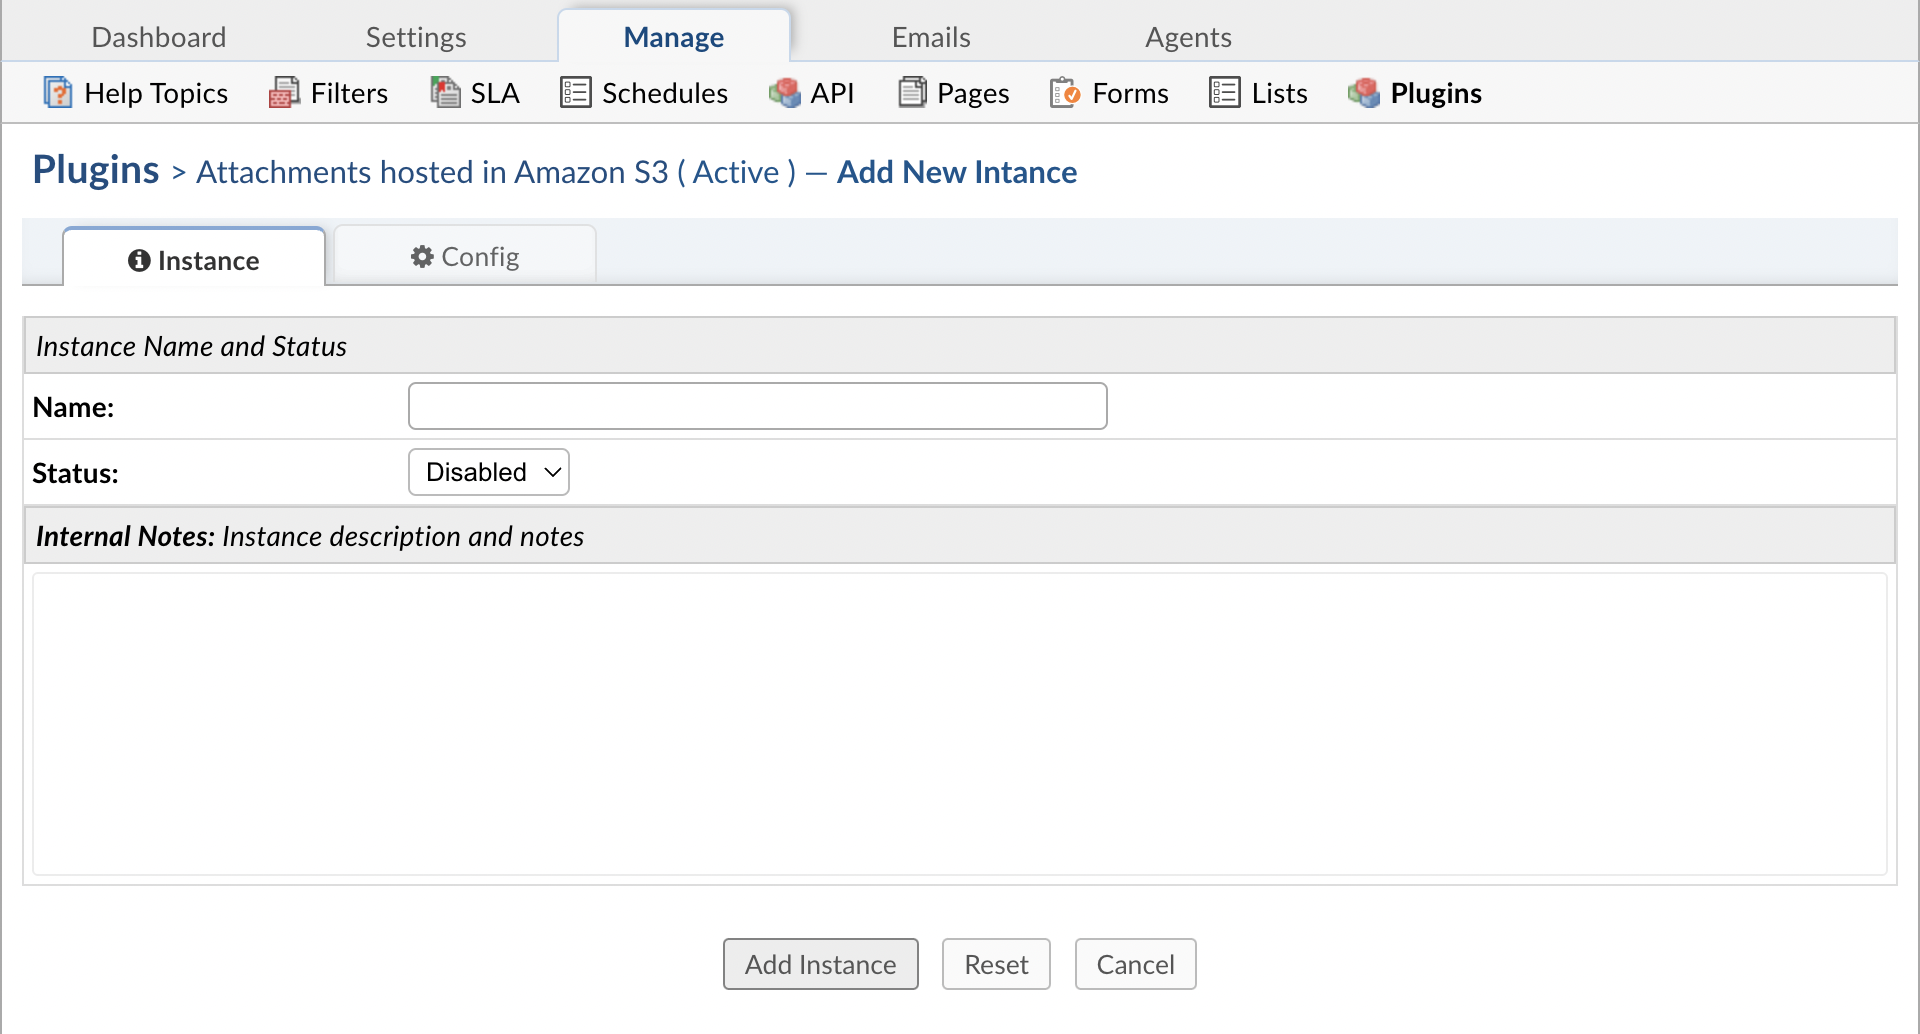
To add a new instance simply click Add New Instance. Give the new instance any Name you want, set the Status to Active, and click the Config tab to start configuring the instance.
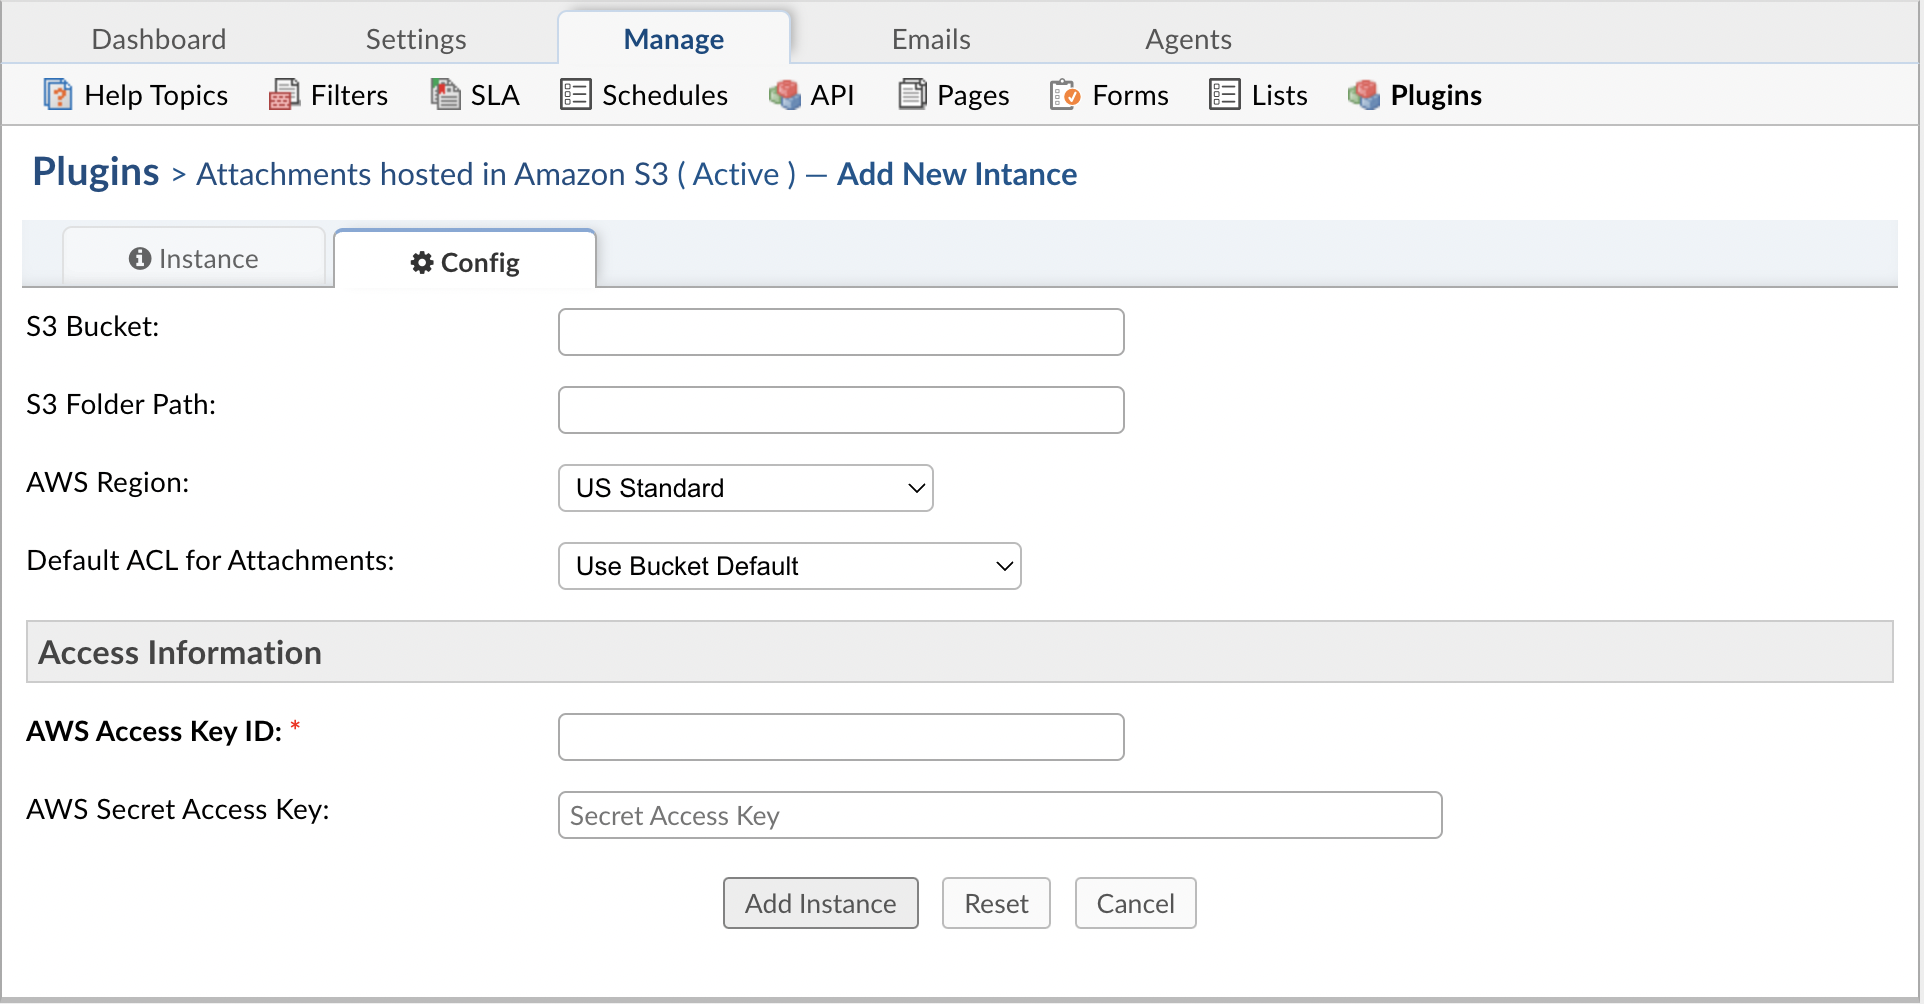
Within the configuration, you will need to provide the S3 Bucket to store files in.
The S3 Folder Path is an optional field that allows you to specify a folder or folder path within the bucket to store files in.
Note: If the folder or folder path provided does not already exist in S3, it will be created automatically.
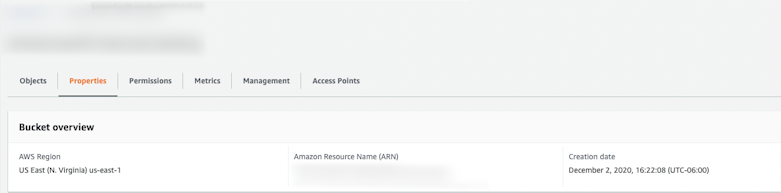
The AWS Region of your bucket can be found in S3 by going to the Bucket and clicking the Properties tab.
Default ACL for Attachments refers to the permissions you want for the files stored in S3. If you aren’t sure which option to choose, you can default to the properties already configured for the Bucket.
For the Access Information section, you need to specify IAM user credentials for a user that is set up with access to S3.
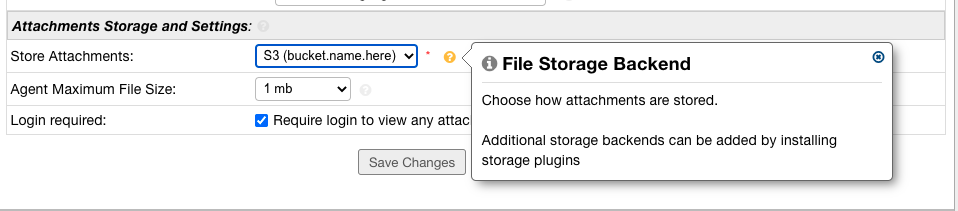
Once you have successfully configured the plugin, you will be able to have the helpdesk store attachments in the S3 by going to:
Admin Panel | Settings | System | Store Attachments
Change the ‘Store Attachments’ option to ‘S3’
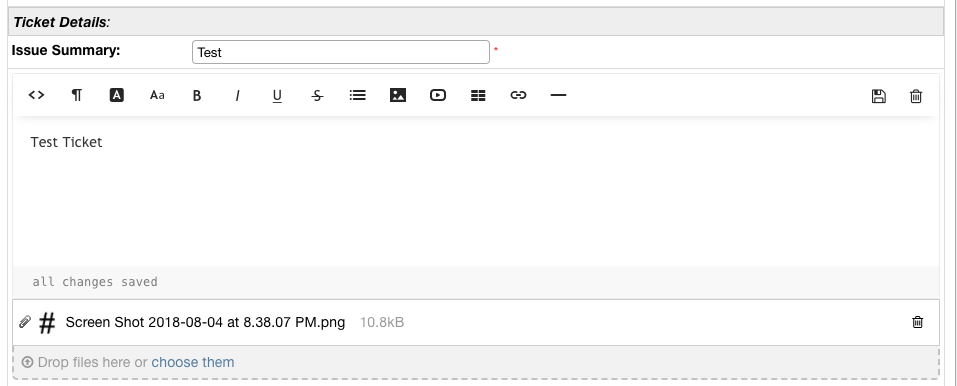
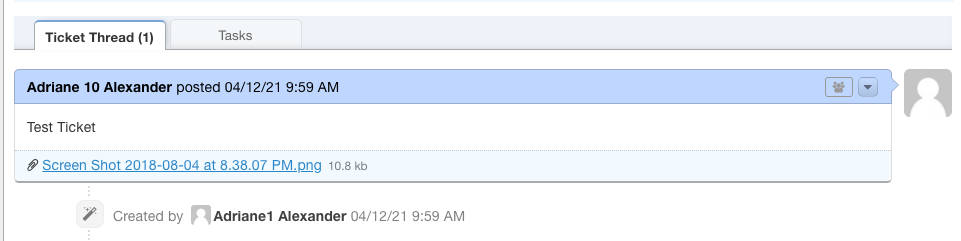
Now, when an Attachment is added in the helpdesk, it will be saved in S3.
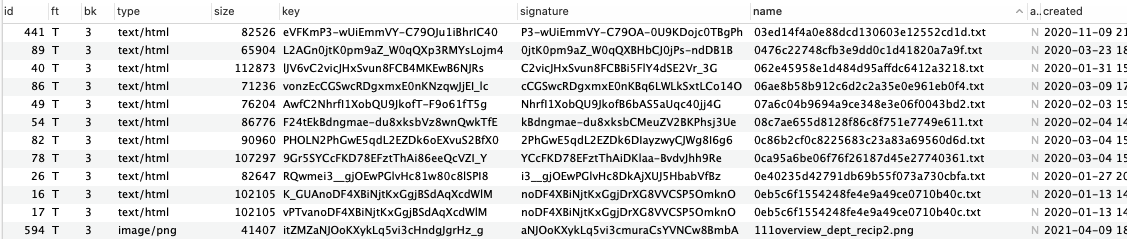
If you have access to the database, you’ll notice that attachments stored in S3 can be found in the ost_file table, where ost_ is your table prefix.
If the attachment is successfully stored in S3, there will be a 3 in the bk column. Files stored in the database have a D in the bk column.

If you have access to the server where the osTicket files are stored, you can see the available backends that can be used by running the following:
php manage.php file backends

You can migrate the files from the database to S3 by running the following command in the terminal:
php manage.php file migrate --backend D --to 3
Where backend refers to the bk column in the database, D stands for the current backend being used, Database in this case, and 3 stands for the backend you want to switch to which is S3 in this example.

Once the command has been executed, you can look back in the database and you will notice the the bk field now shows 3 for all of the attachments since they have been migrated.