Email
An unlimited number of email addresses can be routed through the help desk. You can configure IMAP or POP settings for an email so the system can fetch mail from the mailbox and create tickets. You can also configure SMTP settings for an email so the system can send mail from the address. Additional settings can be configured to change certain things on New Tickets that are fetched from the address.
Add New Email
Admin Panel > Emails > Emails > Add New Email
First, click the Add New Email button on the right-hand side of the screen. Once on the Add New Email page you can start by inputting the email address and the name you want the end Users to see as whom the email is from.

Optionally, configurations such as the Department the ticket will be routed to as well as assigning a Help Topic can be determined for this email address.

You can setup IMAP/POP by clicking Enable and filling in the information for the email address.
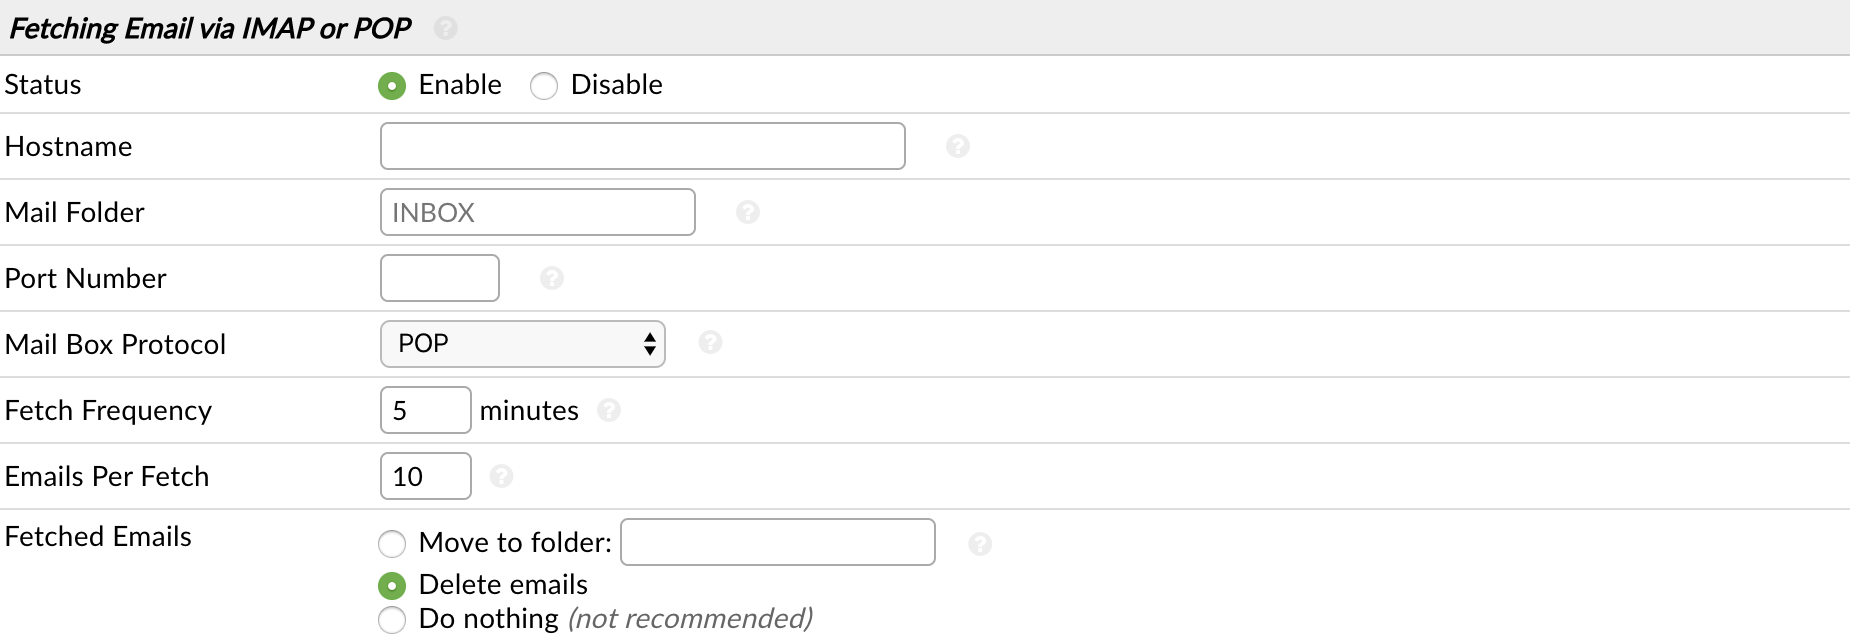
After you have configured the Mail Account Settings, be sure to enable fetching for the system at Admin Panel > Emails > Settings.

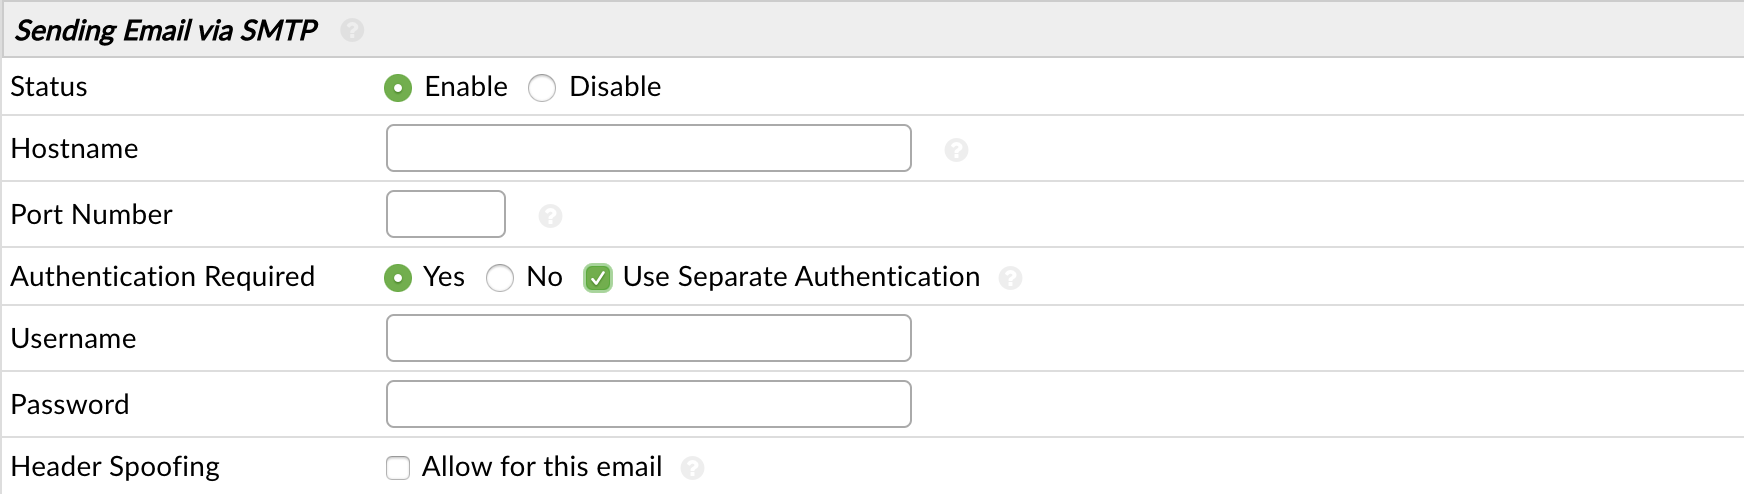
Next, you will need to setup the SMTP configurations for the email address in the last section. Click Enable and fill in the information for the email address.
Once you have the email’s SMTP setup, you will need to make it your System Default Outgoing email address by going to Admin Panel > Emails > Settings and changing the second to last box to the email address you just configured SMTP for.

If you would like this same address used for each department, you will need to assign the email address as the outgoing email address for each department individually. You can do this by going to Admin Panel > Staff > Department > (click on department name), go to the Autoresponder Settings section, and change the Auto-Response Email.
