Schedules
Setting up a schedule lets you specify hours of operation for your help desk so that Tickets will only be marked overdue during those times.
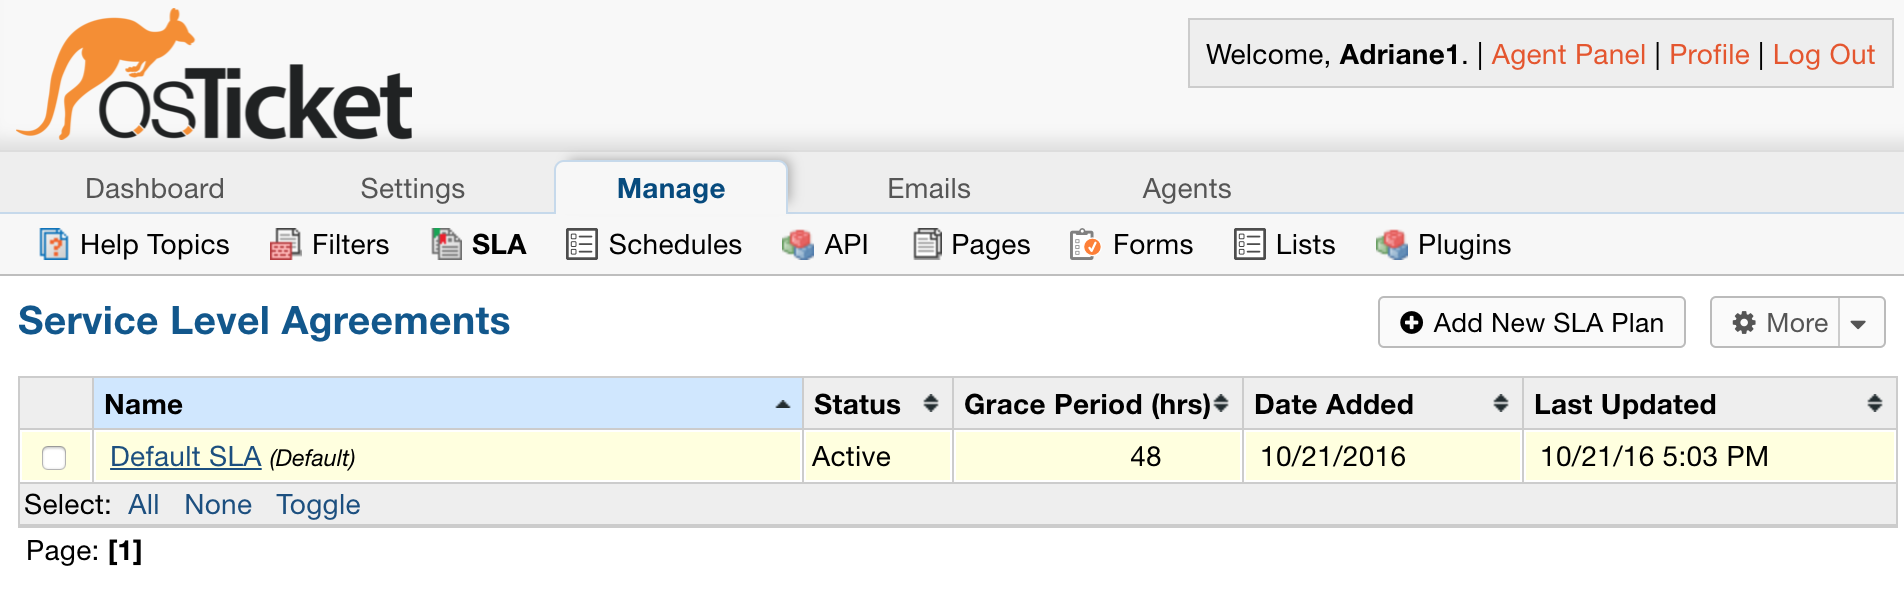
Schedules tie into your helpdesk’s SLA, or service level agreement, which is the amount of time given to respond to a ticket that comes into the helpdesk before it is marked overdue.
You can see the SLA’s you have setup by going to
Admin Panel | Manage | SLA
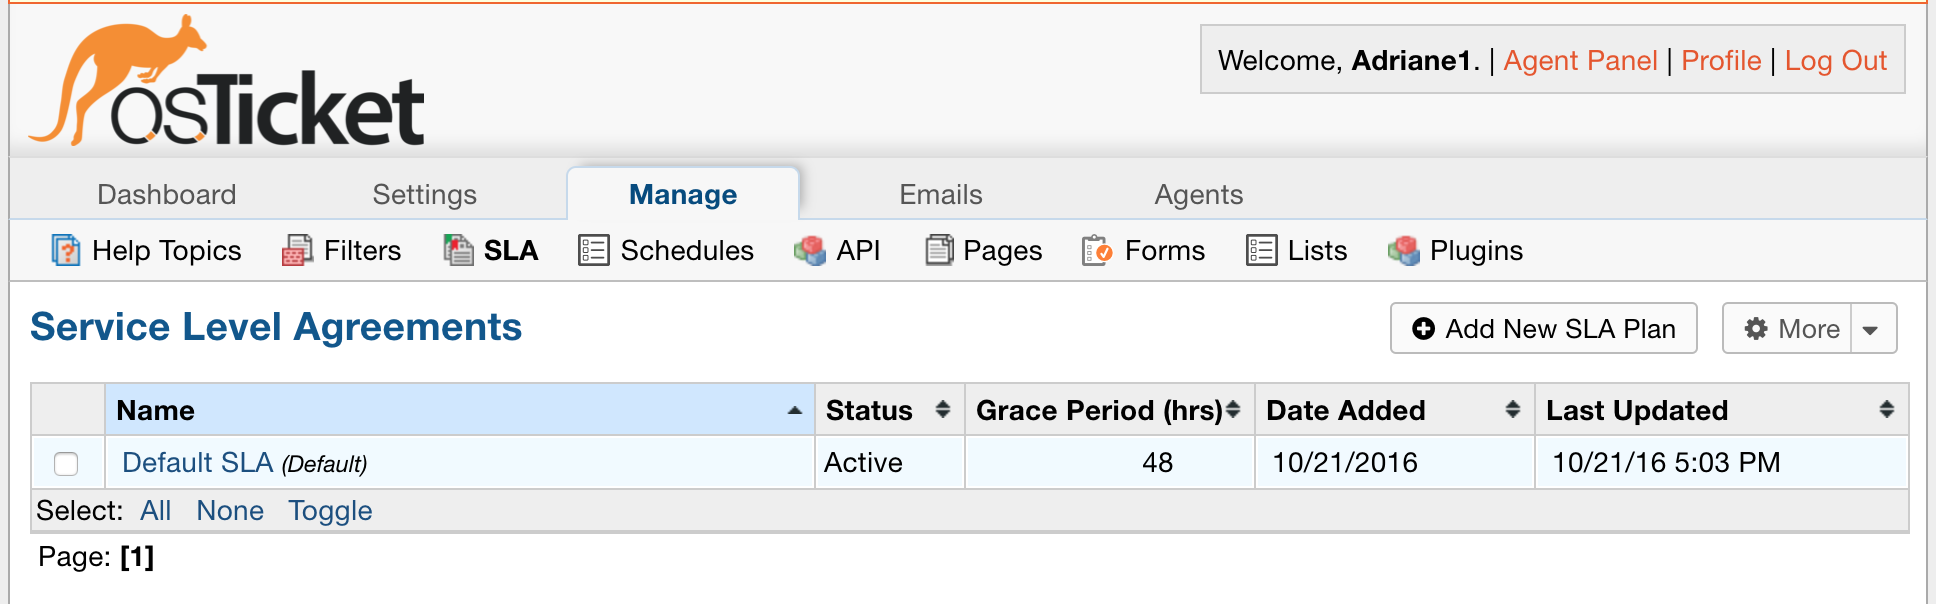
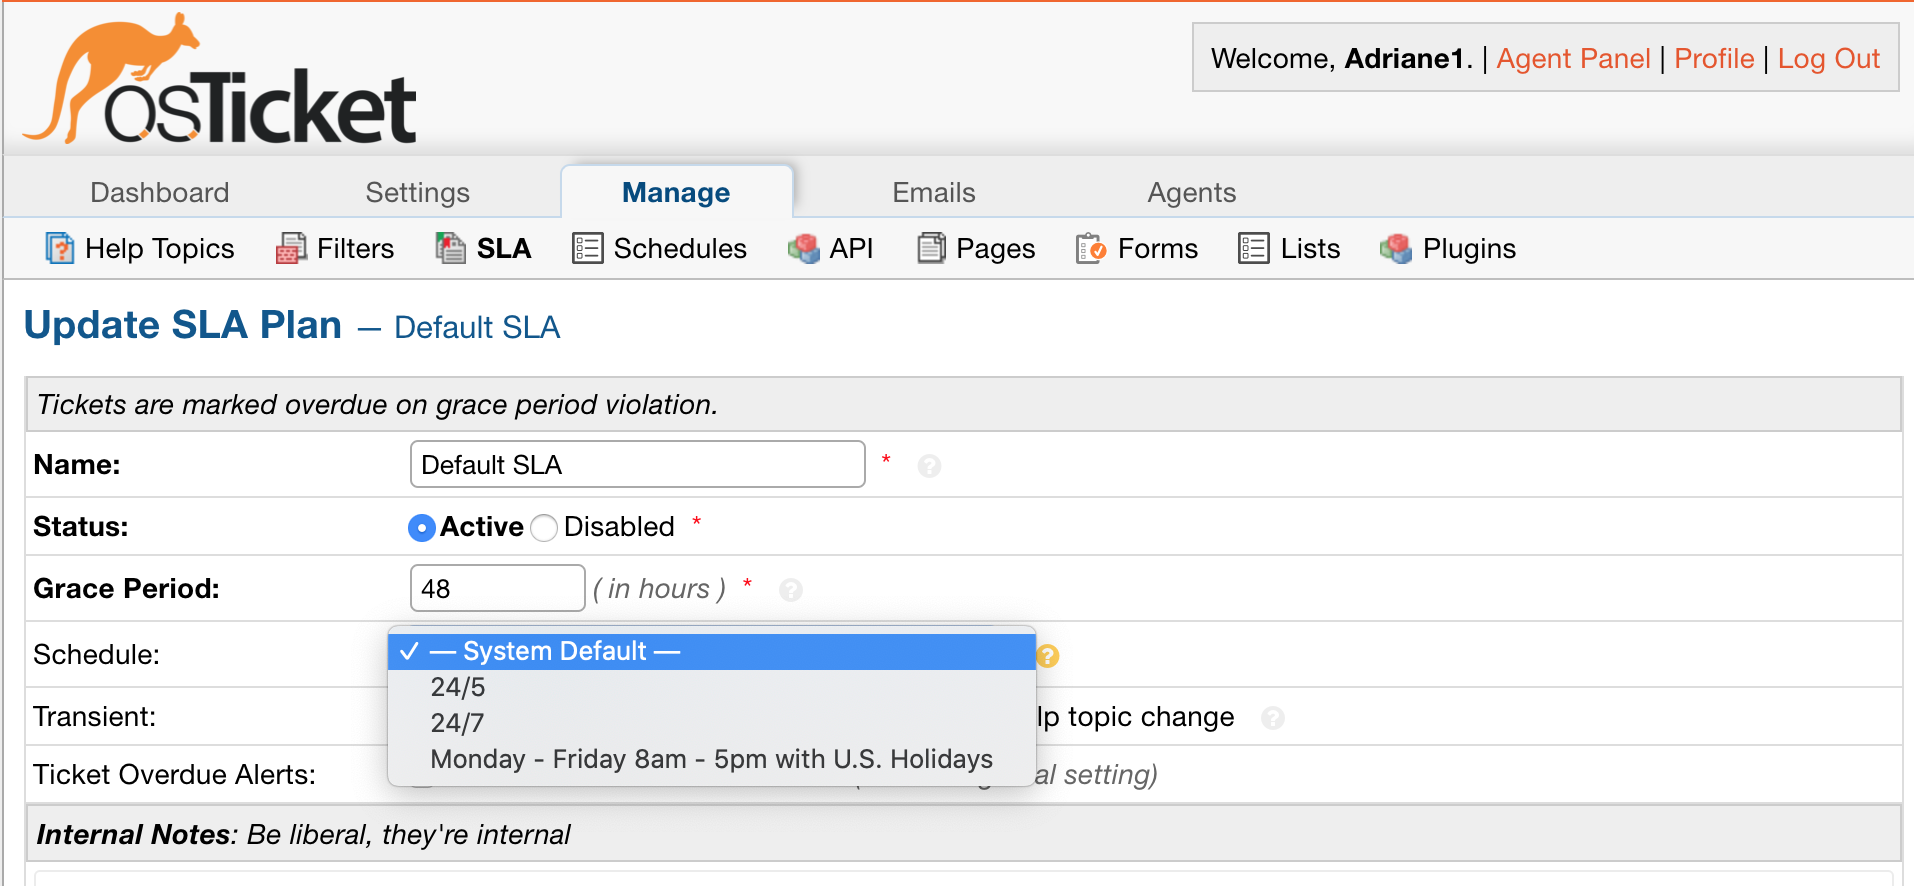
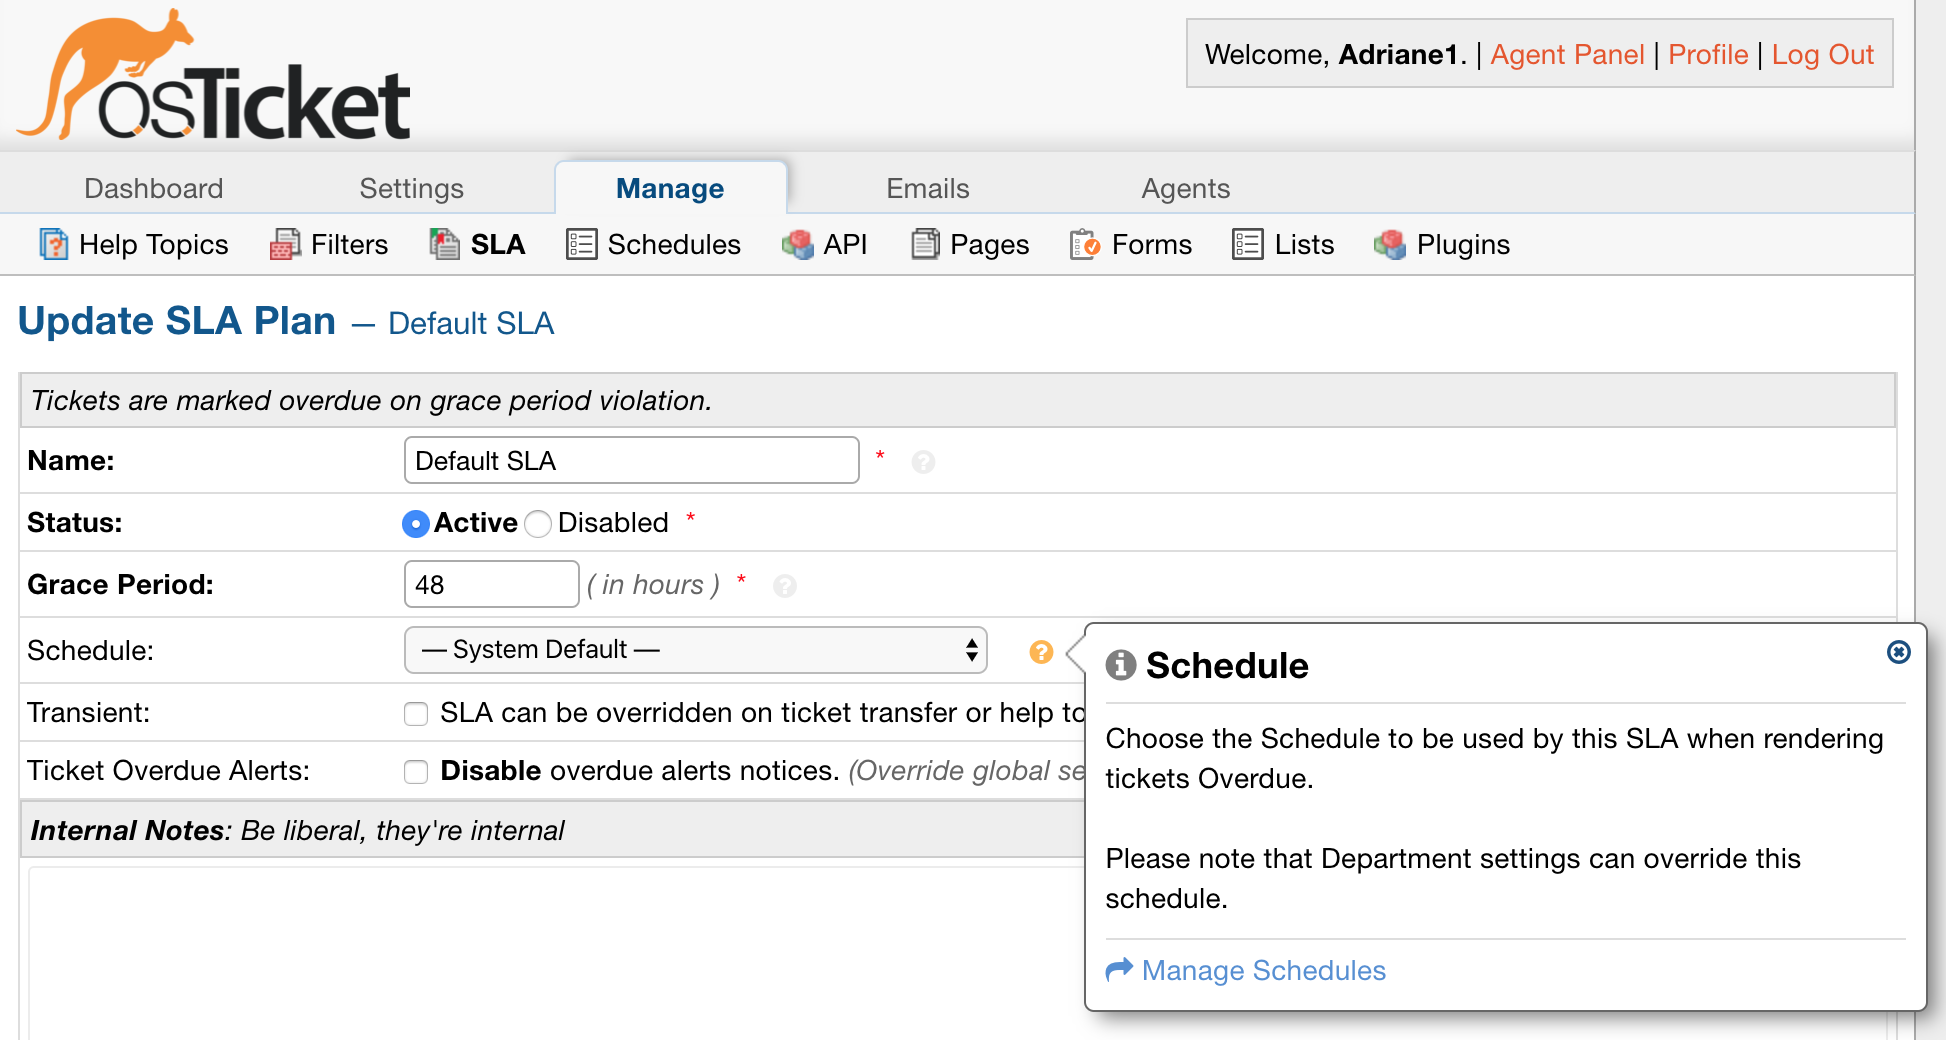
If you assign a Schedule to an SLA, Tickets will only be marked as overdue within the Business Hours specified in that Schedule.
Create a Schedule
Let’s take a look at how to create a schedule.
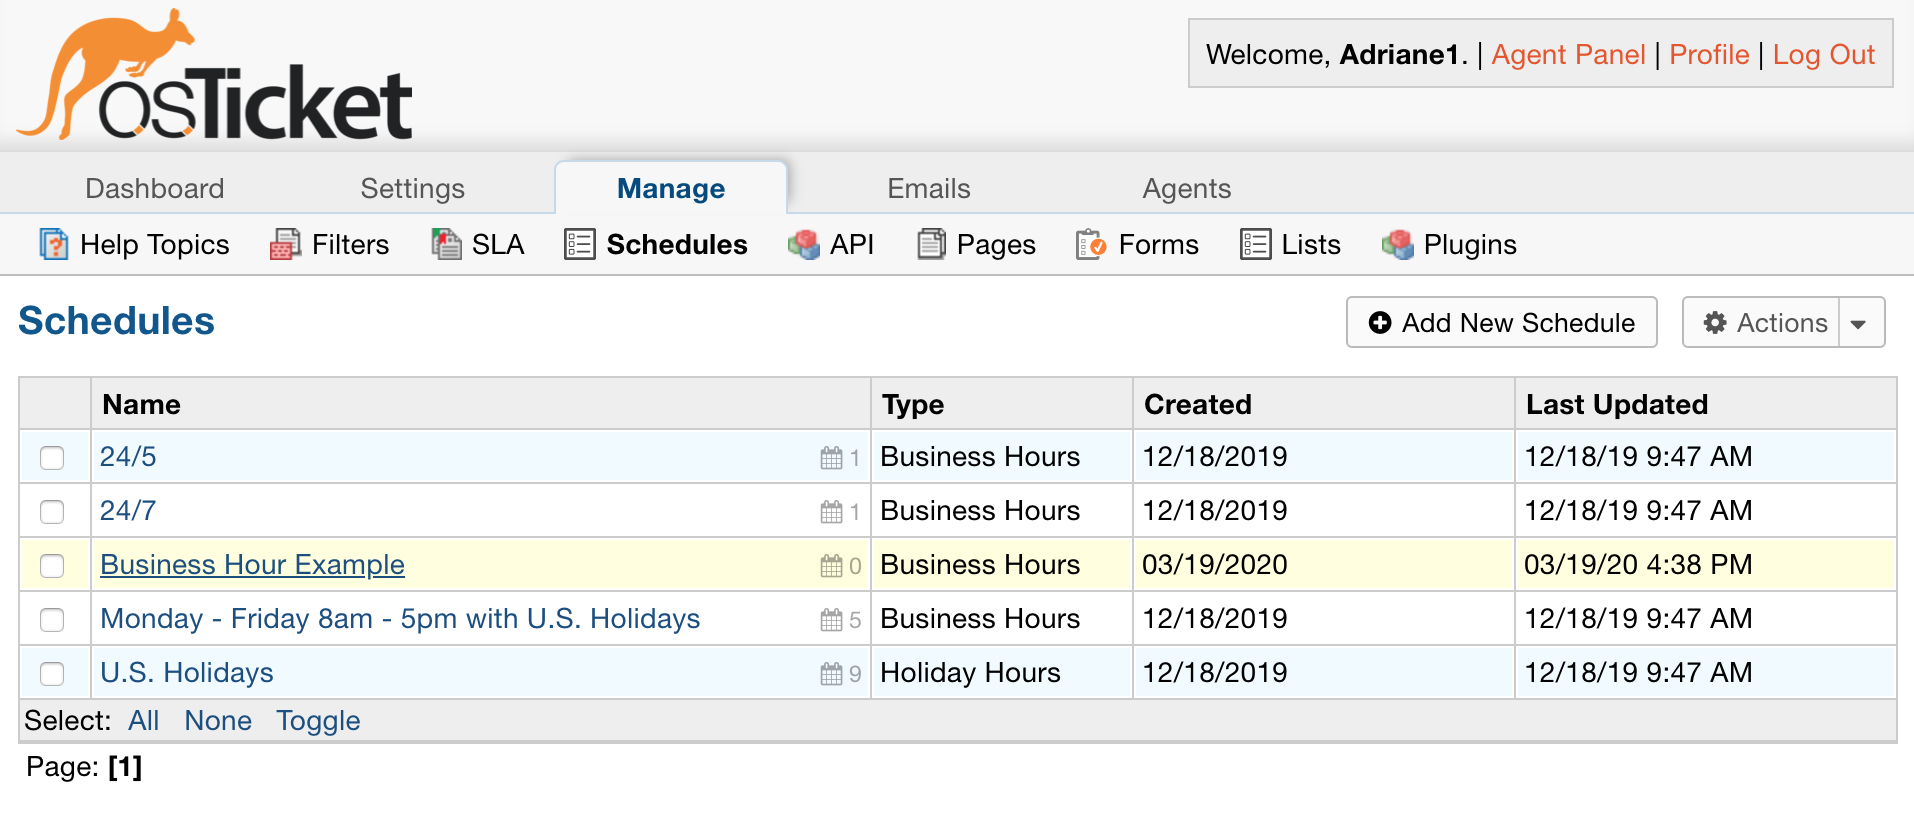
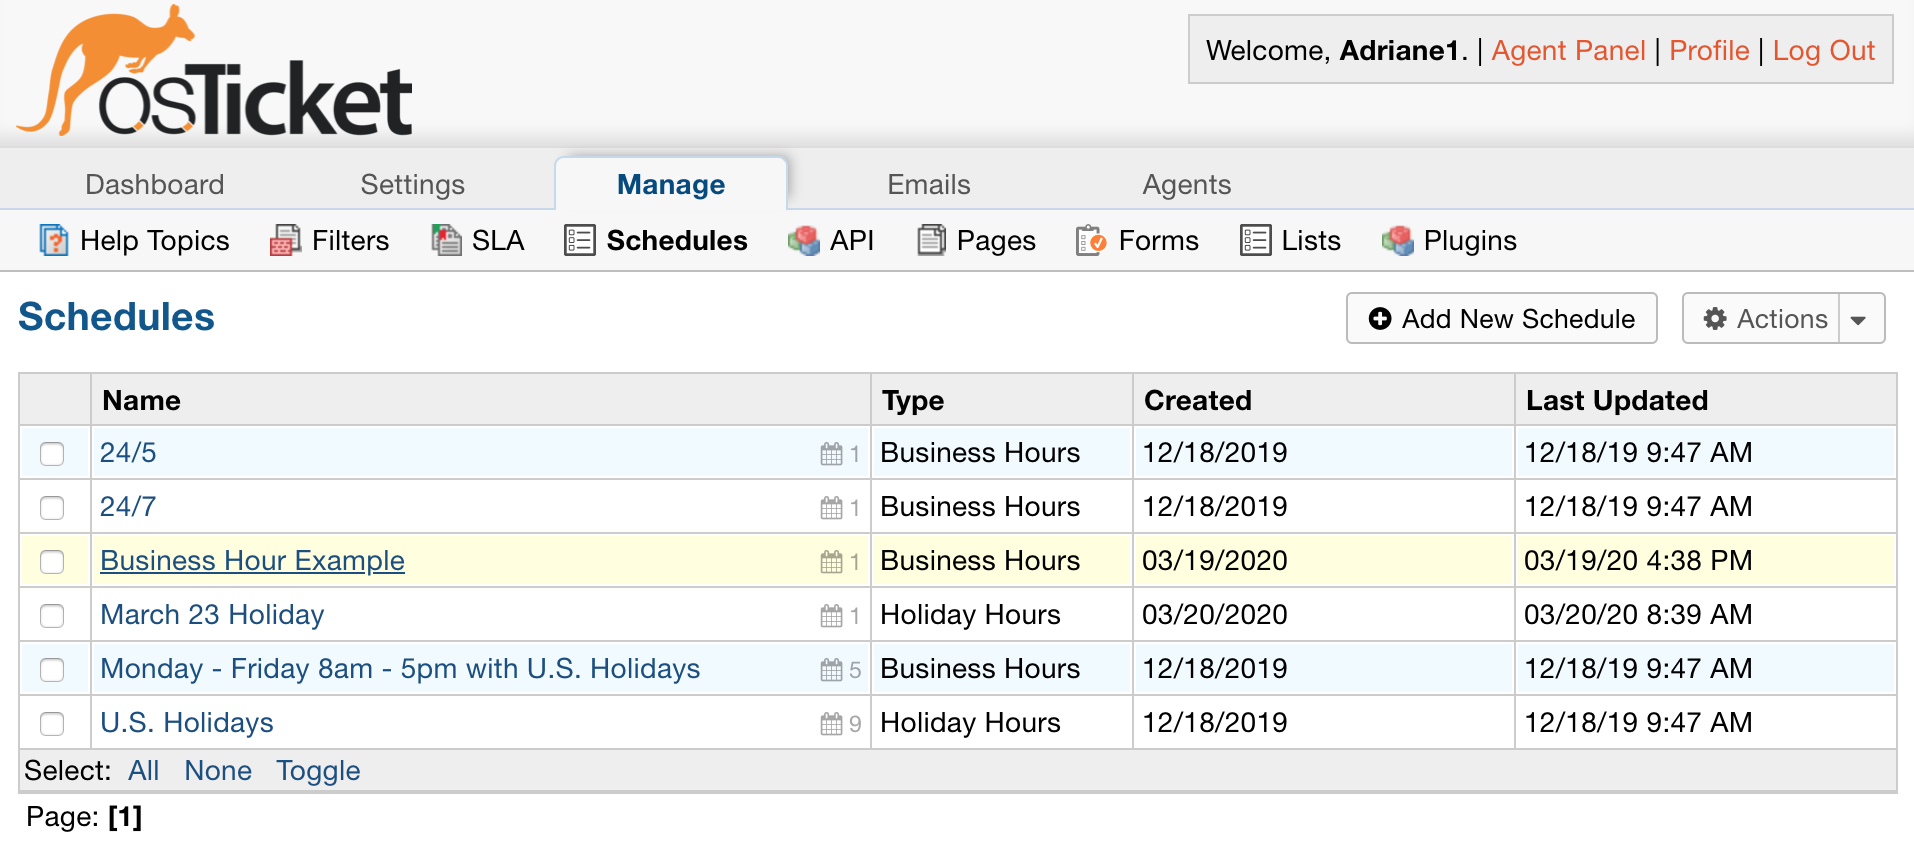
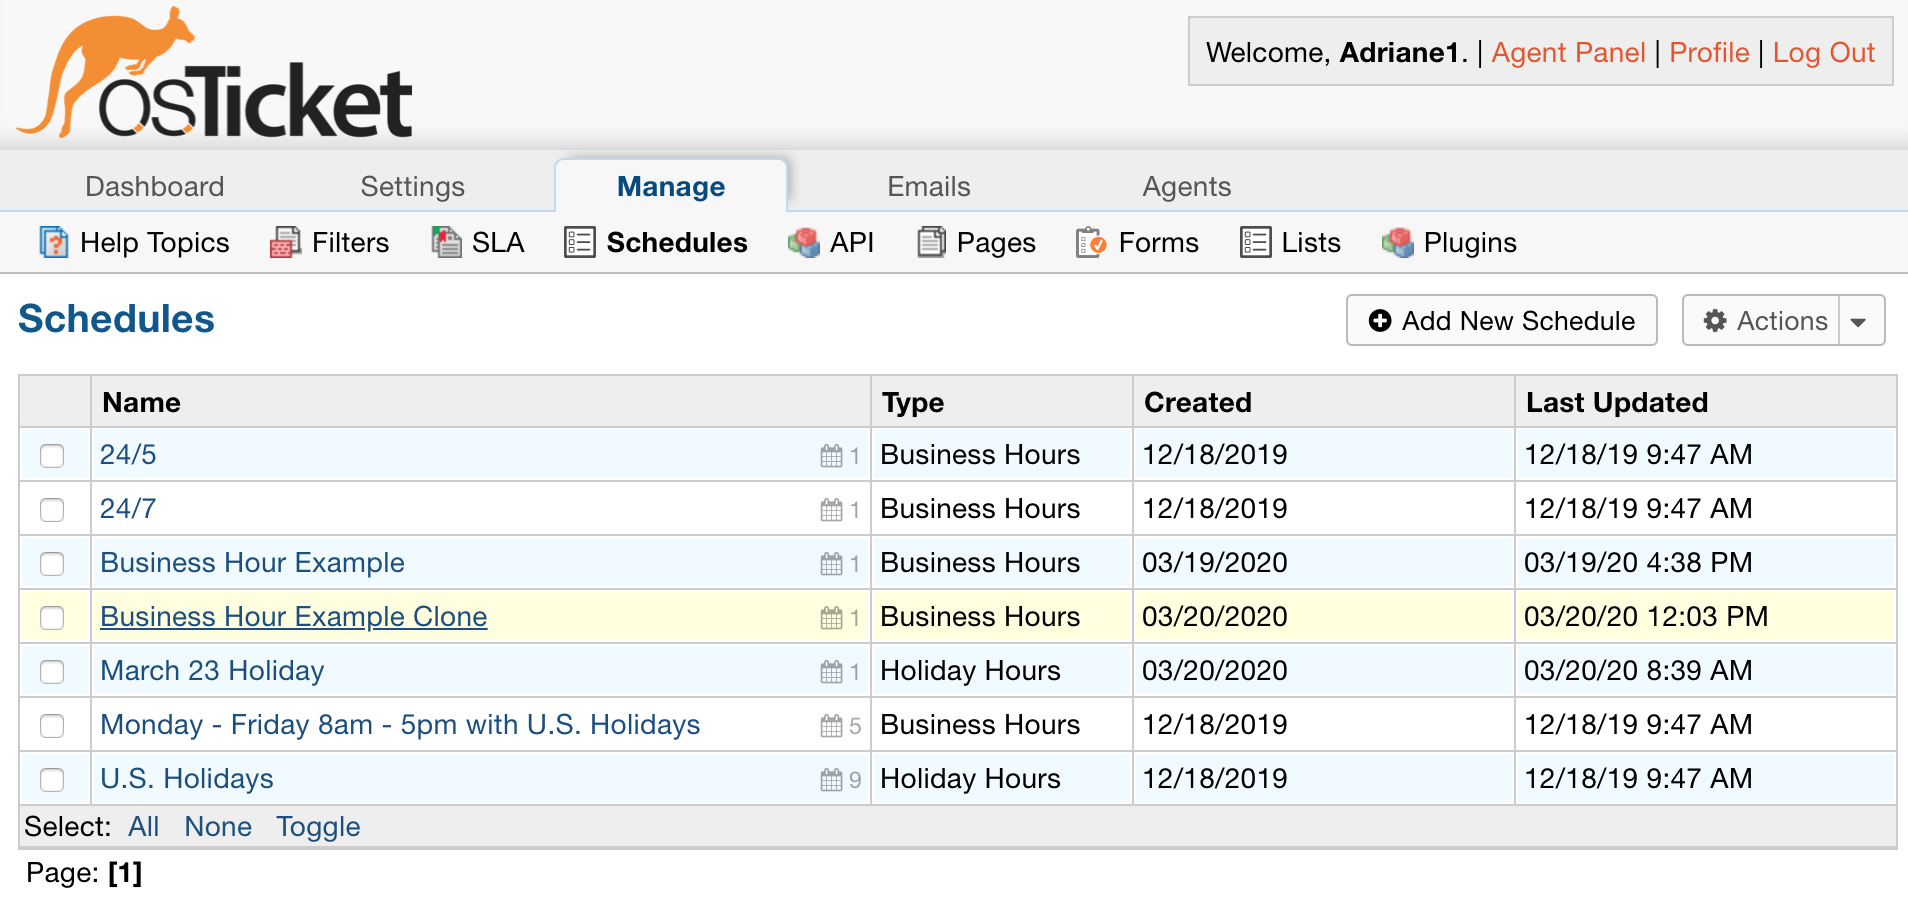
You can create and configure schedules by going to
Admin Panel | Manage | Schedules
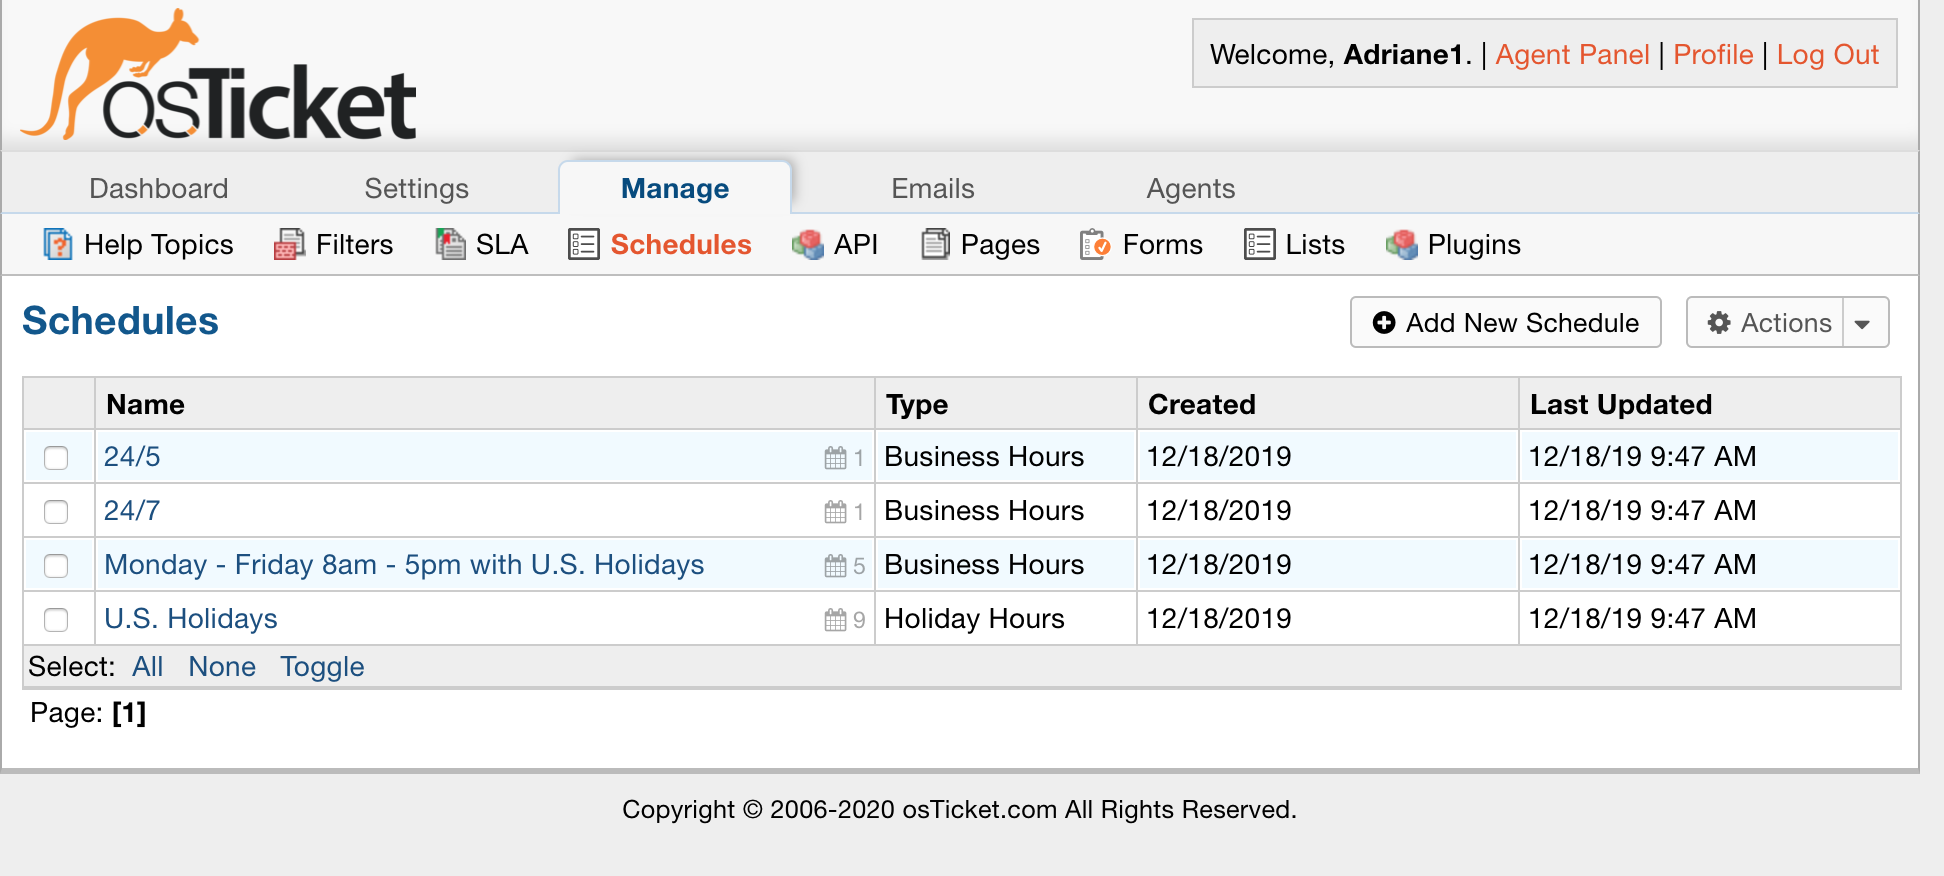
We have several schedules set up by default that can be used or reconfigured to meet your own needs.
There are 2 types of Schedules:
- Business Hours which are the hours in which your helpdesk operates
- Holiday Hours which are special exceptions that should be applied to your normal hours of operation
Business Hours
First, we’ll go over how to create business hours.
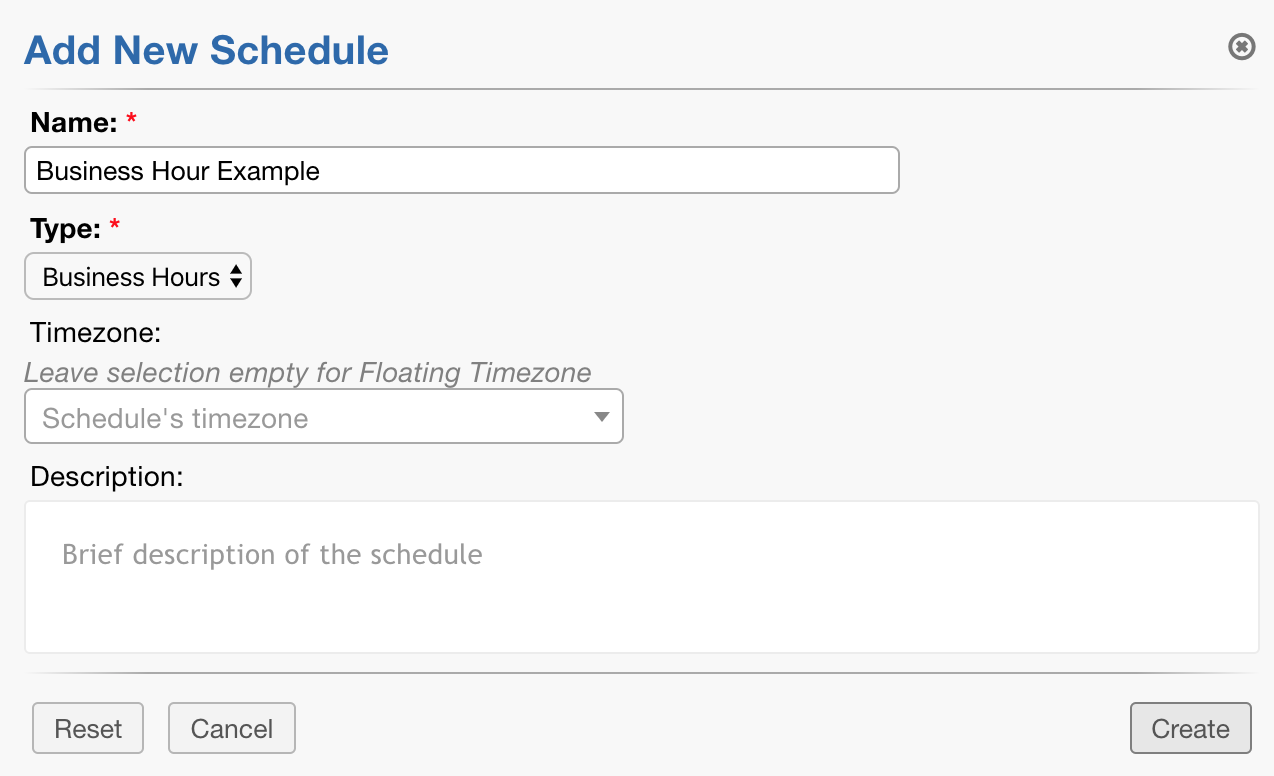
For the timezone, we recommend leaving it blank. This will apply the schedule to the default timezone set in the helpdesk. You can, however, force a specific timezone if you wish.
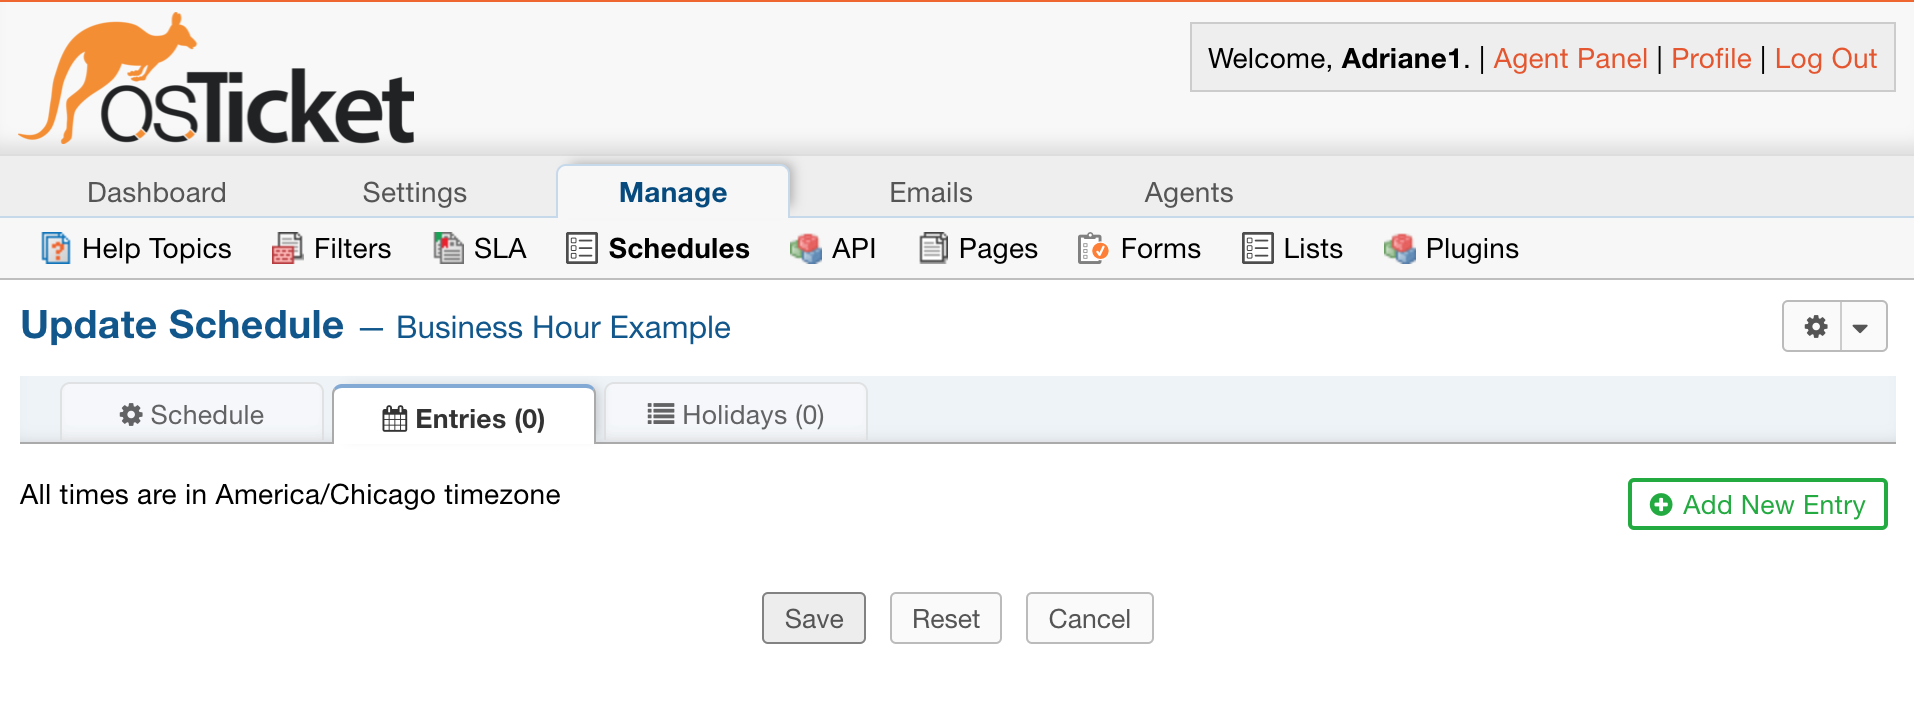
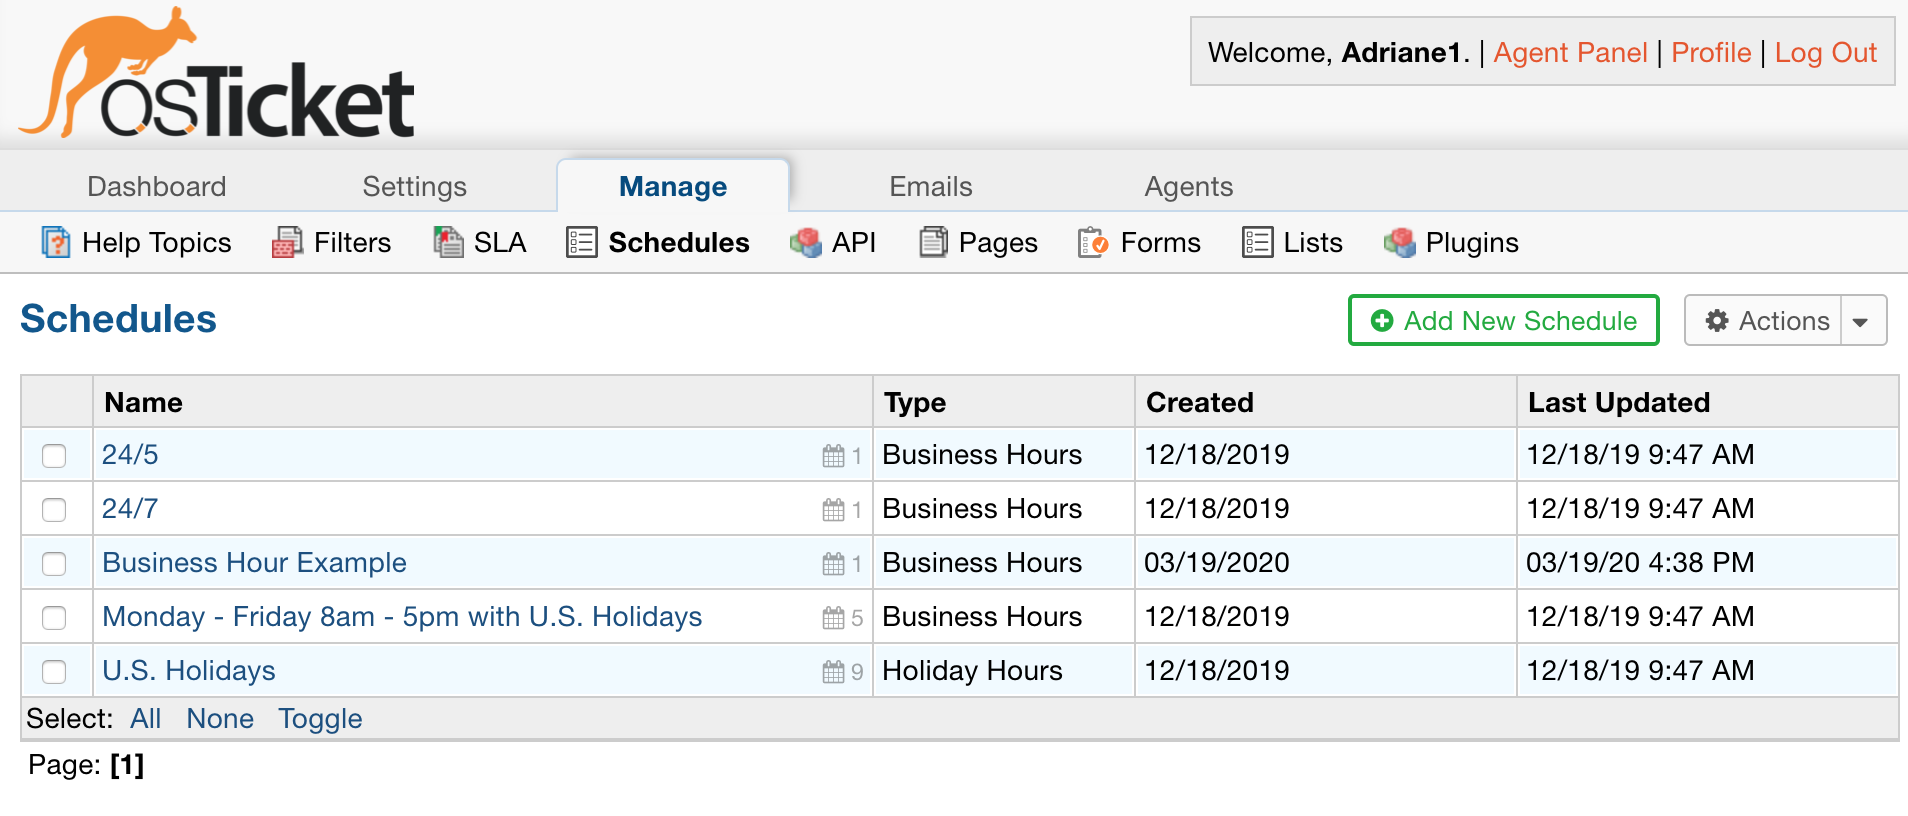
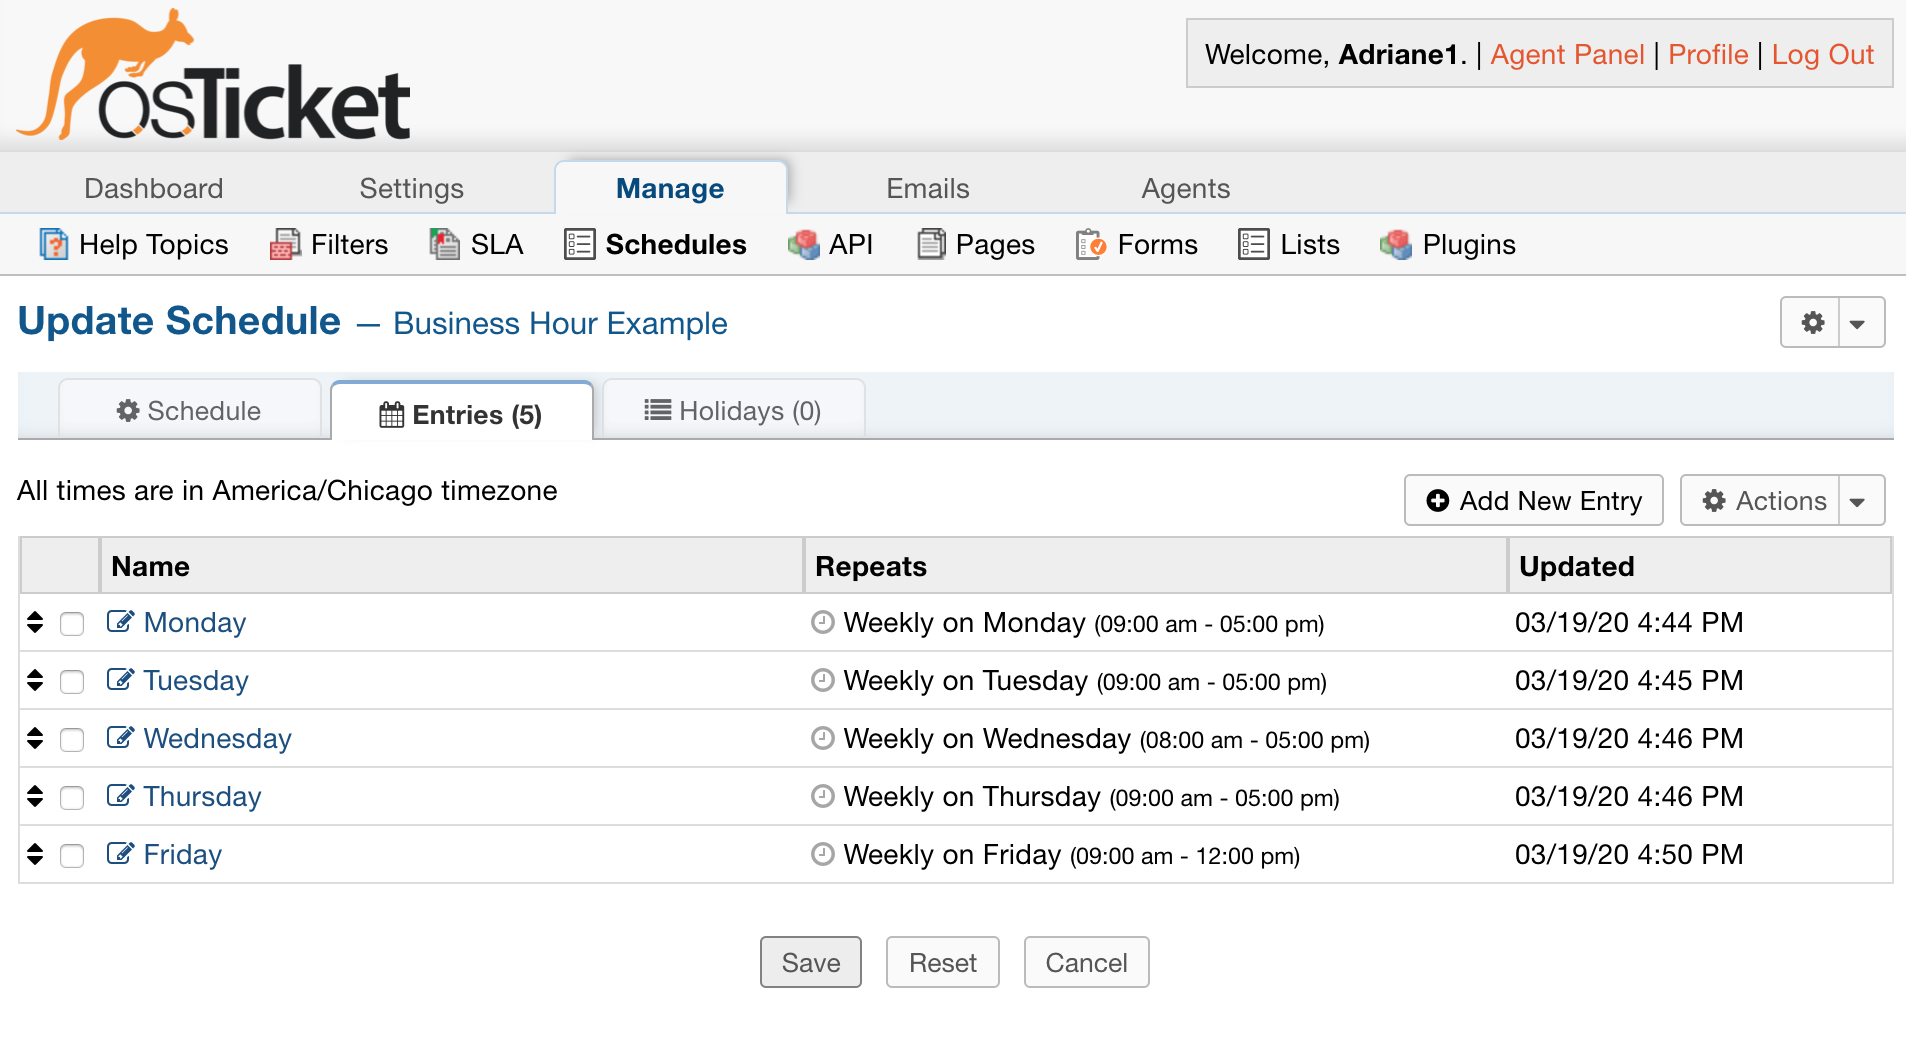
Once your schedule is created, you can add entries to it
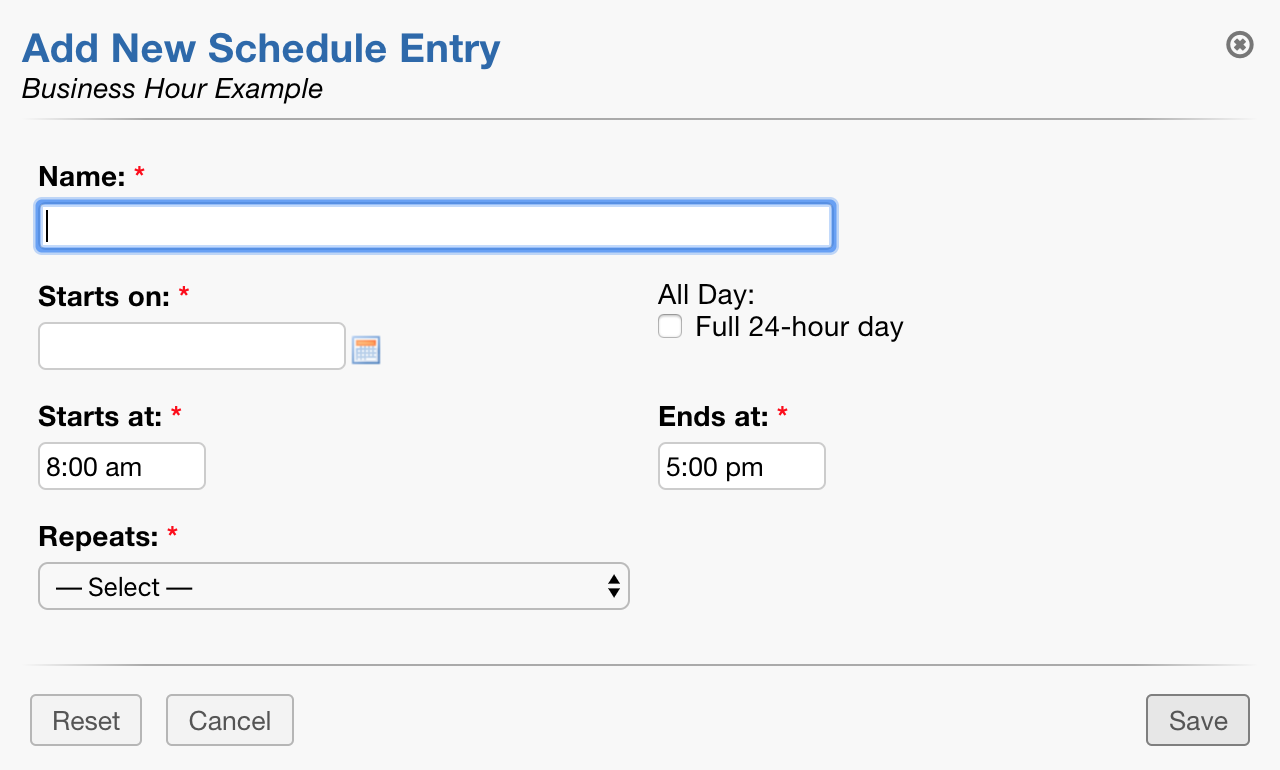
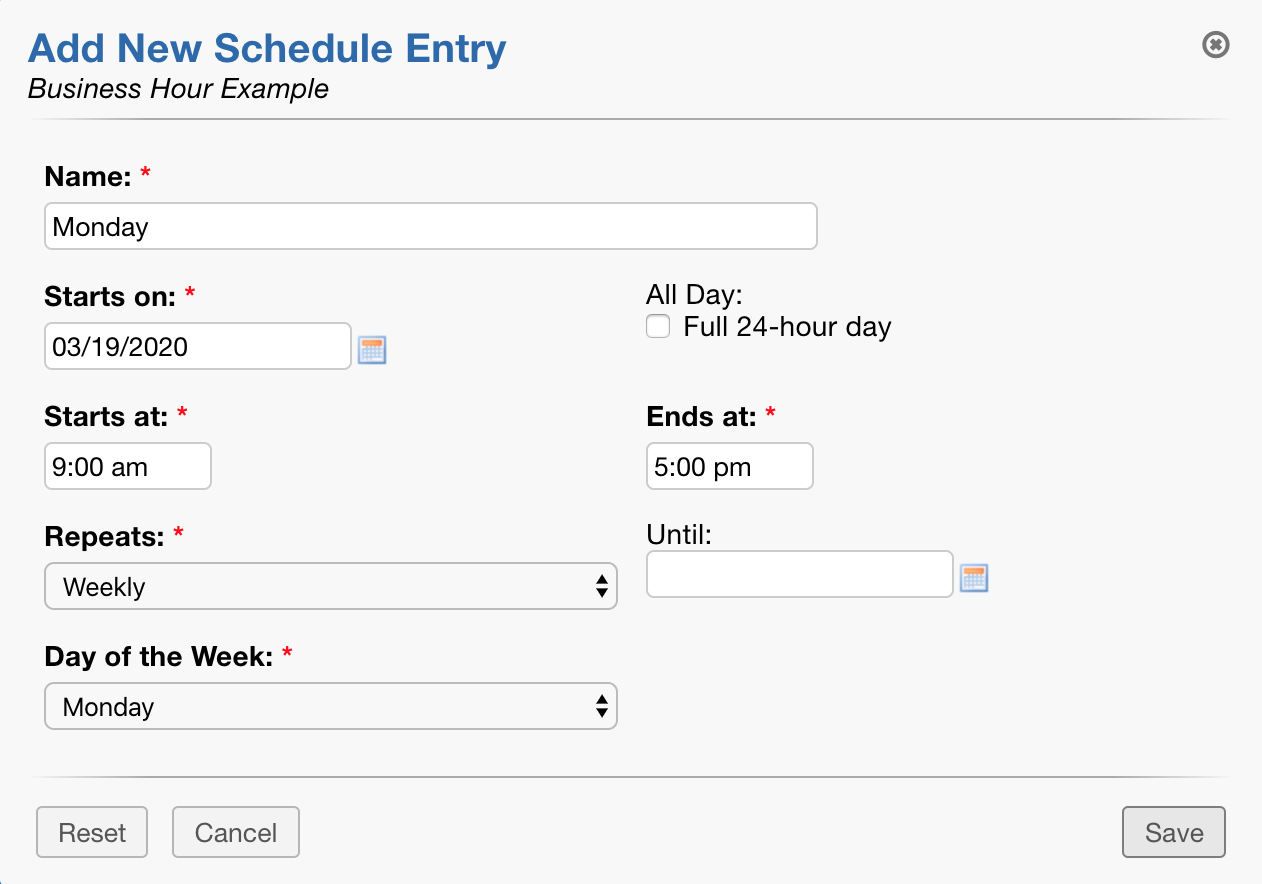
Let’s say your company operates Monday - Friday from 9am to 5pm. To set this up, we can create an entry for weekdays, specifying those times.
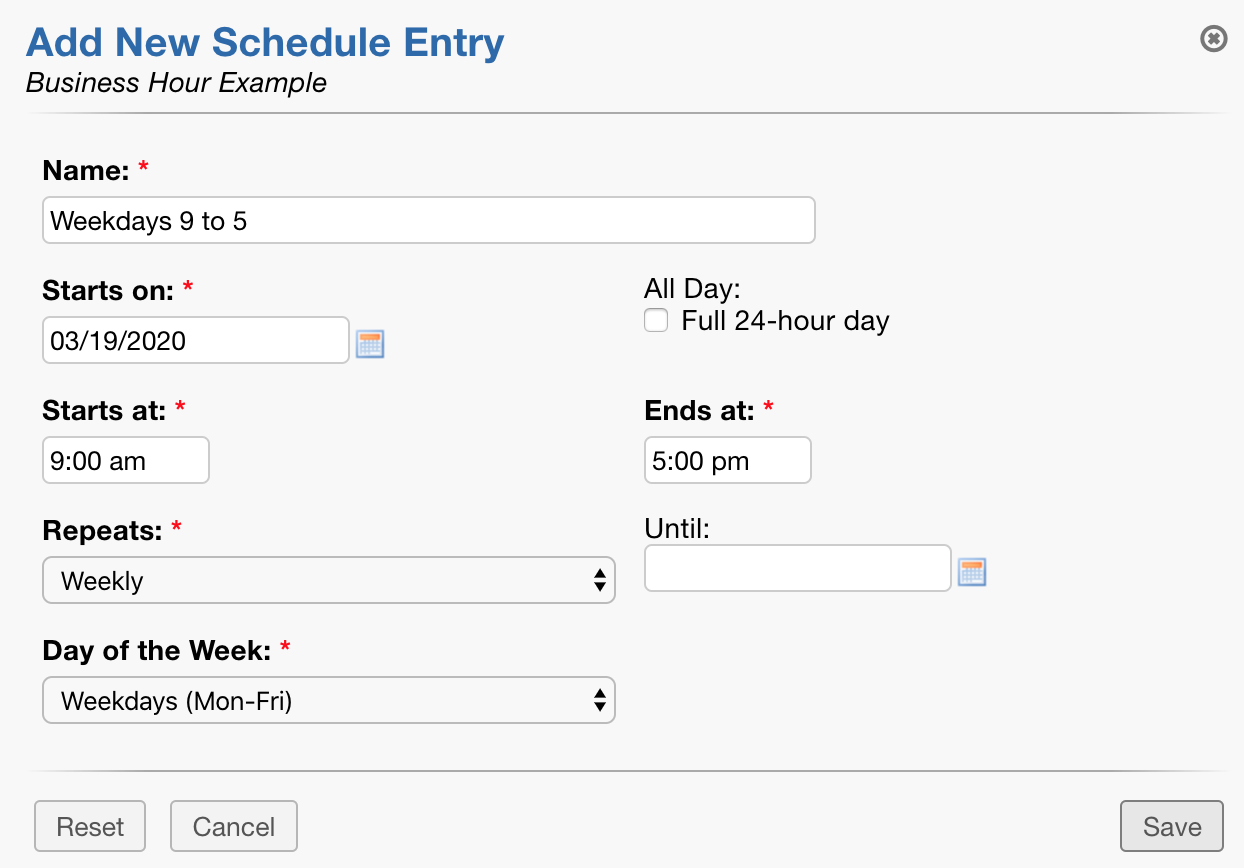
Note: If you need to set up different hours of operation per day, for example, Monday - Thursday 9am to 5pm and Friday 9am to 12pm, you would need to create an entry for each day.
Holiday Hours
After you have specified the hours your helpdesk works, you can specify which hours your helpdesk is not in operation by setting up Holiday Hours.
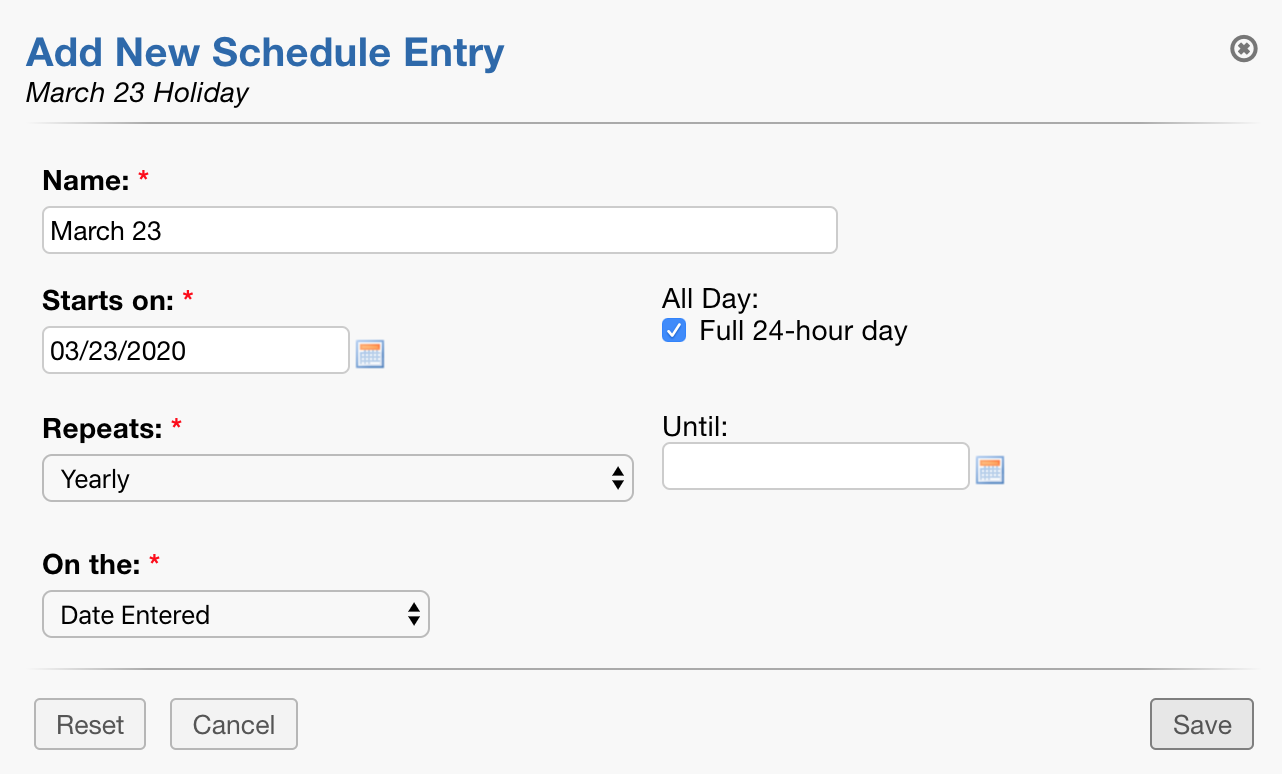
Let’s say that next Monday is a holiday for the company who uses my helpdesk. First, I would need to create the Holiday.

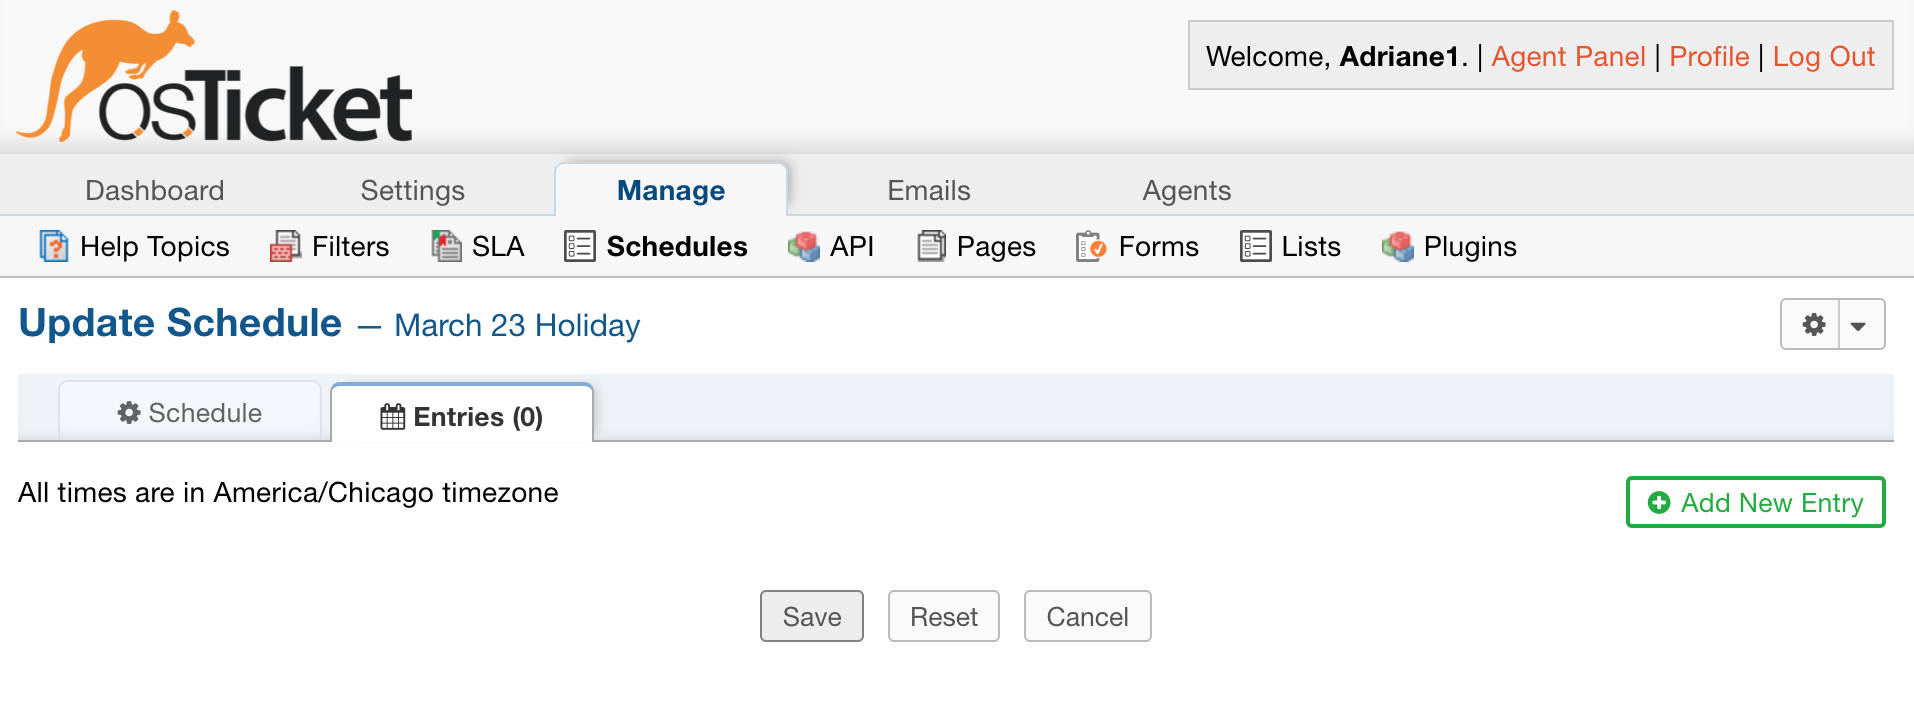
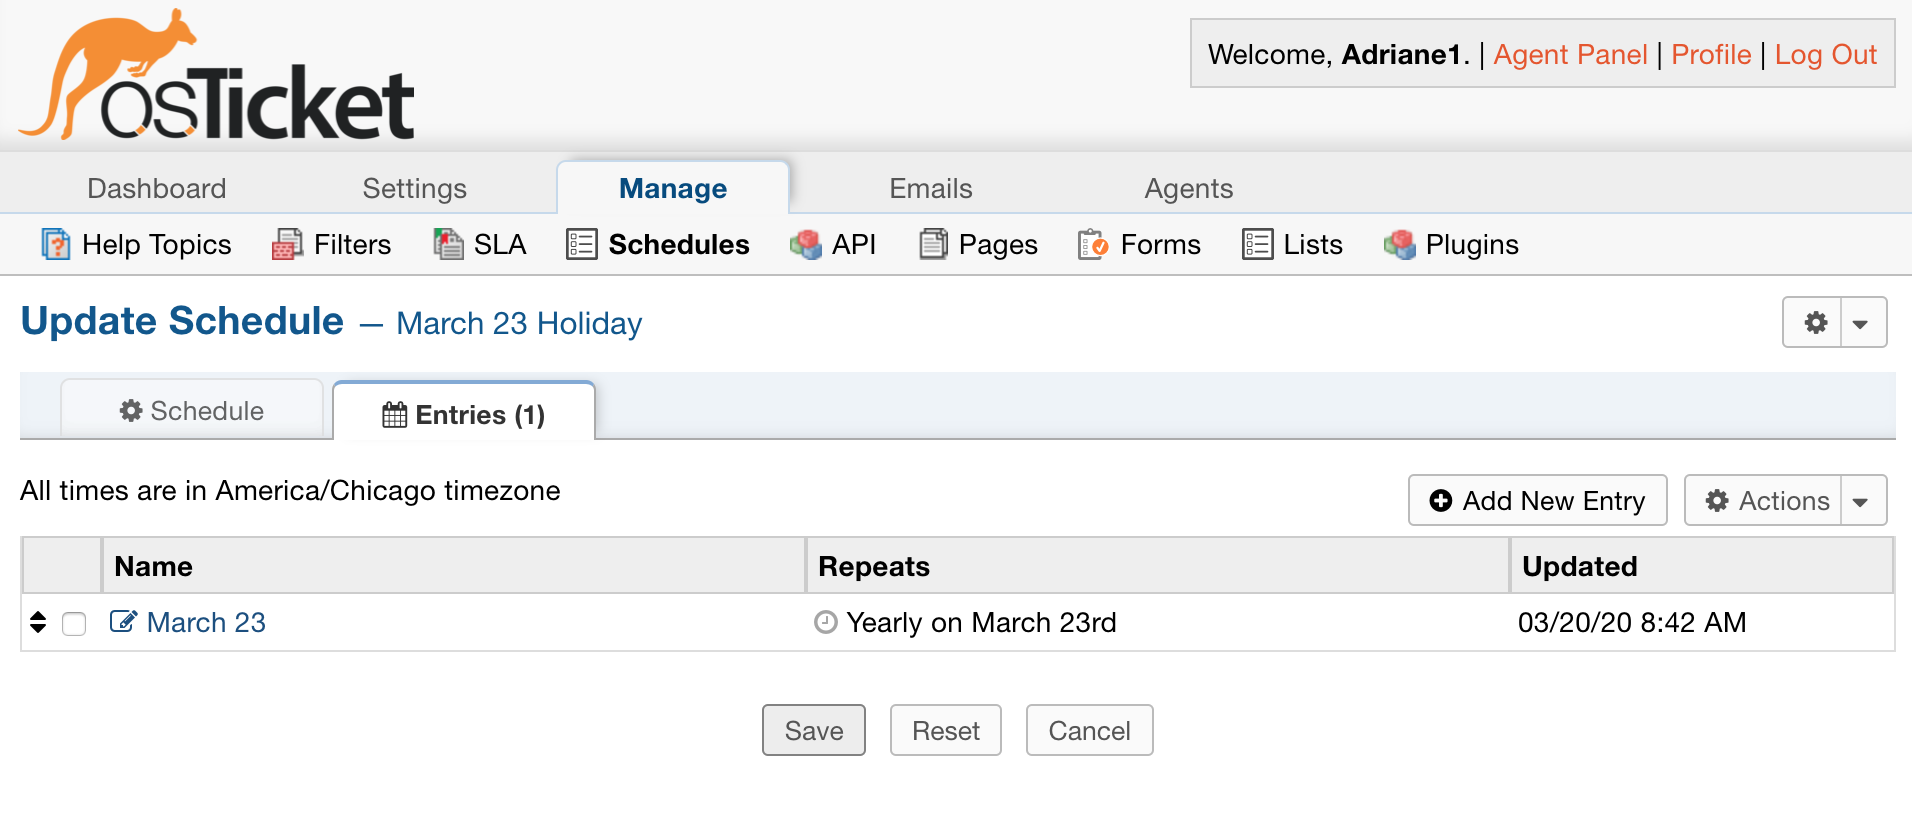
I want this holiday to fall on Monday, March 23rd each year.
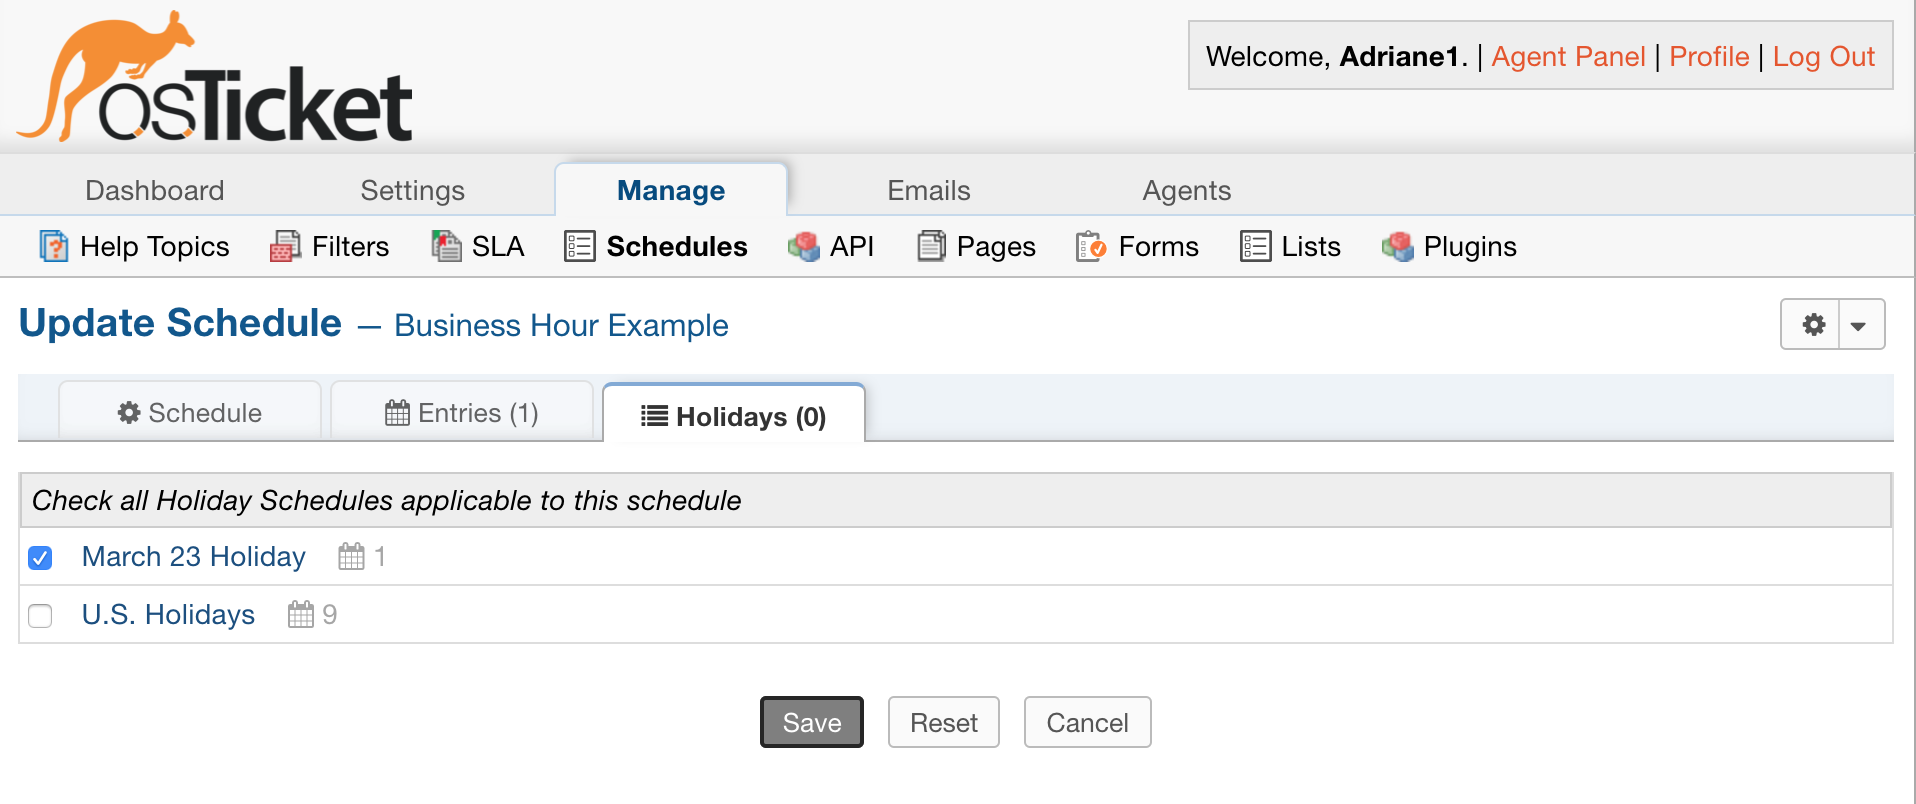
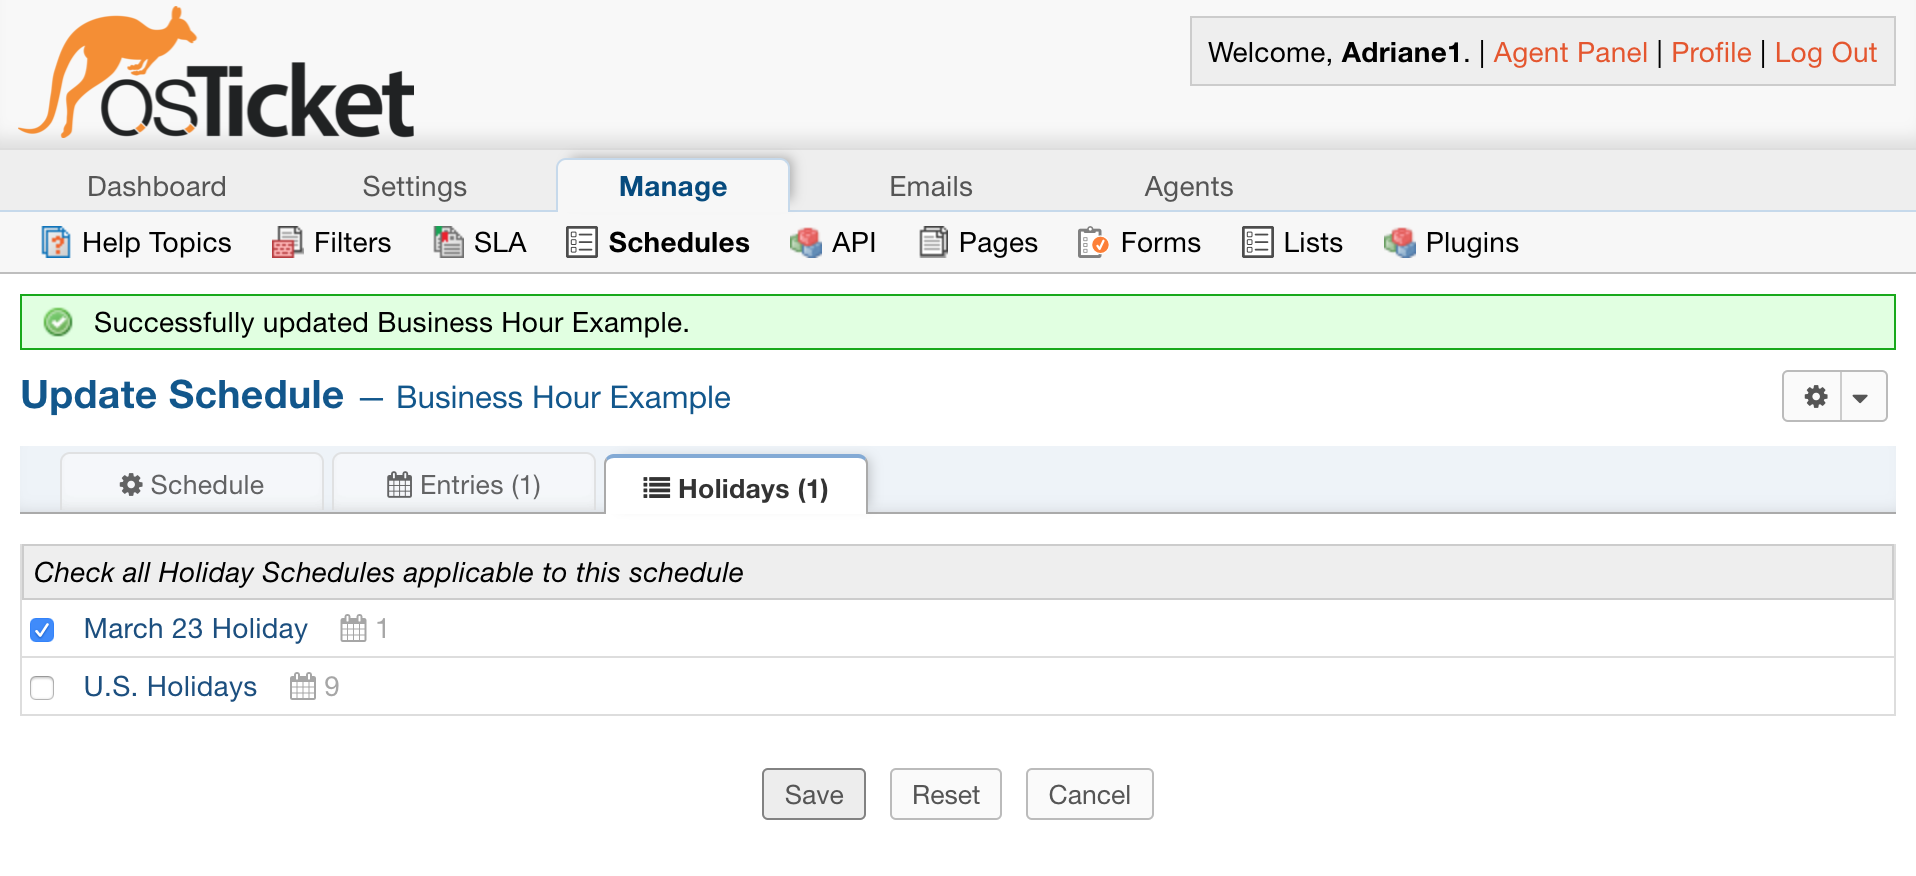
Now that I have the holiday set up, I will apply it to the schedule I have created.
Diagnostics
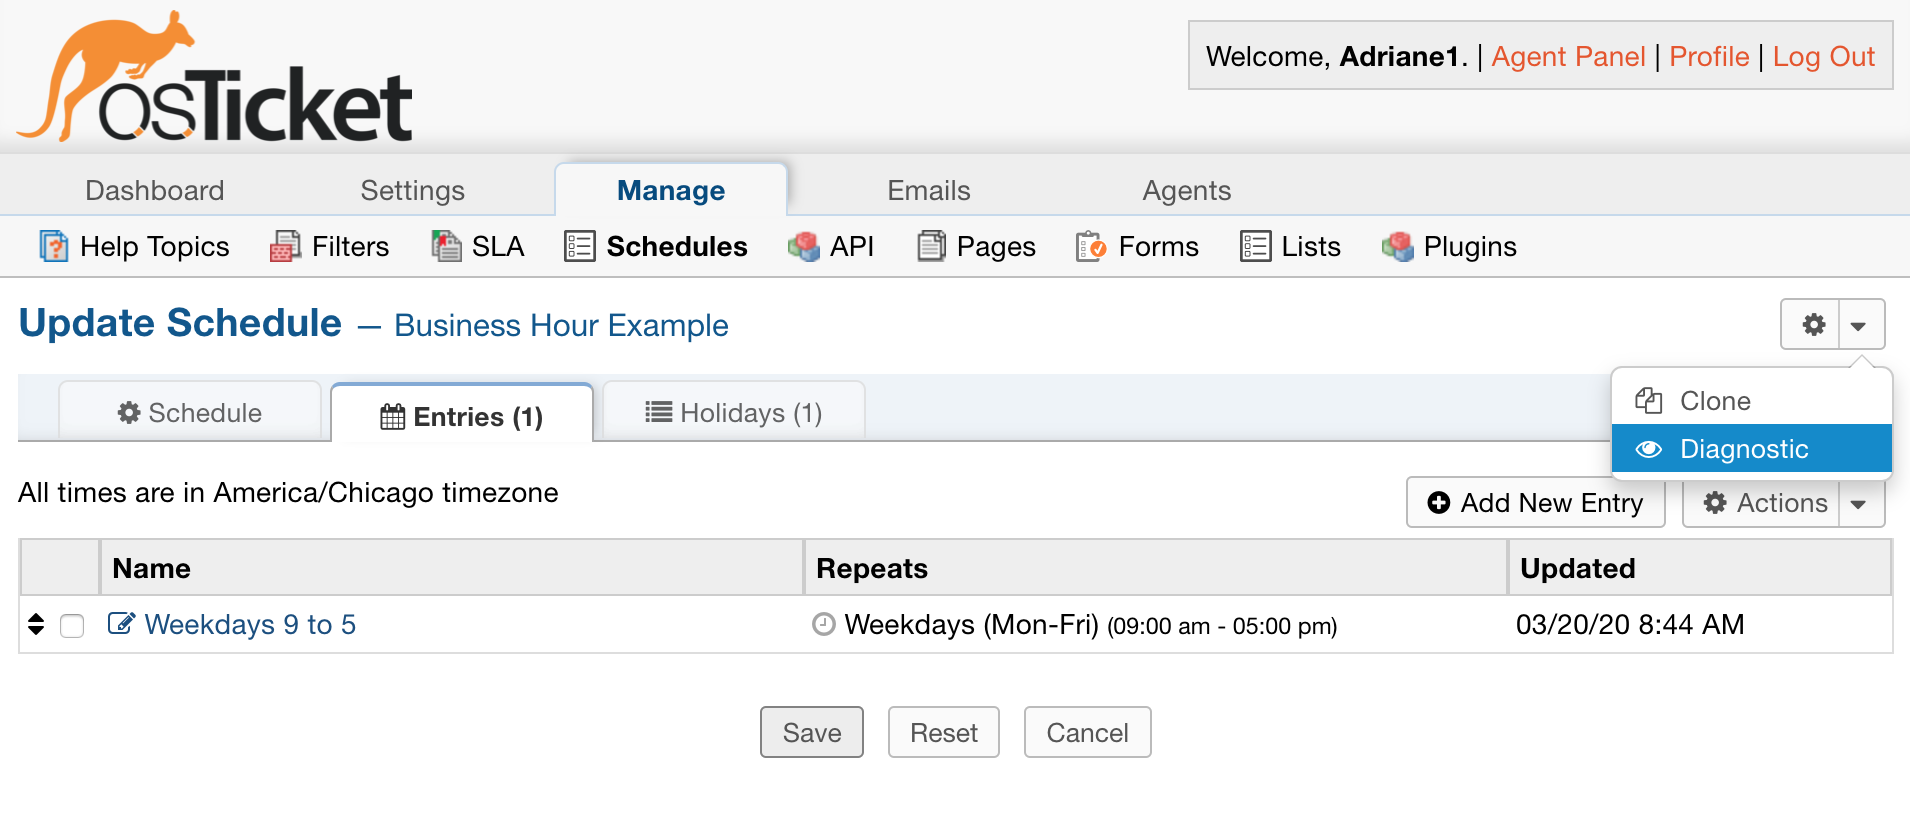
After you have everything configured, you have the option to look at a diagnostic tool to show what your working schedule will look like.

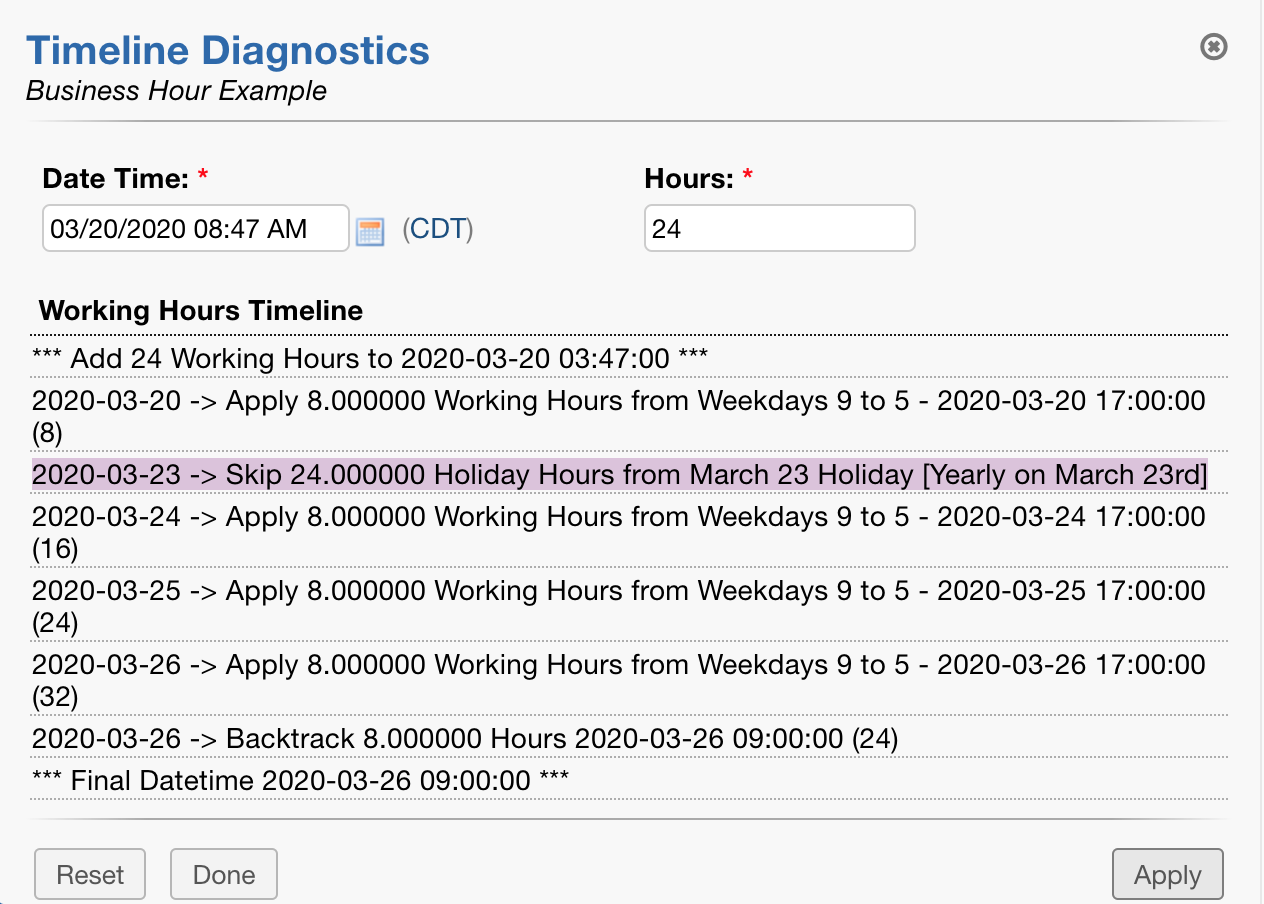
The number of hours you specify will show what you schedule will look like for that number of working hours.
So, if I have 24 hours in the blank, I will see what the next 24 working hours in my helpdesk look like.
As you can see, the schedule shows the holiday we have entered as skipped hours, and it picks up the following day.
Clone a Schedule
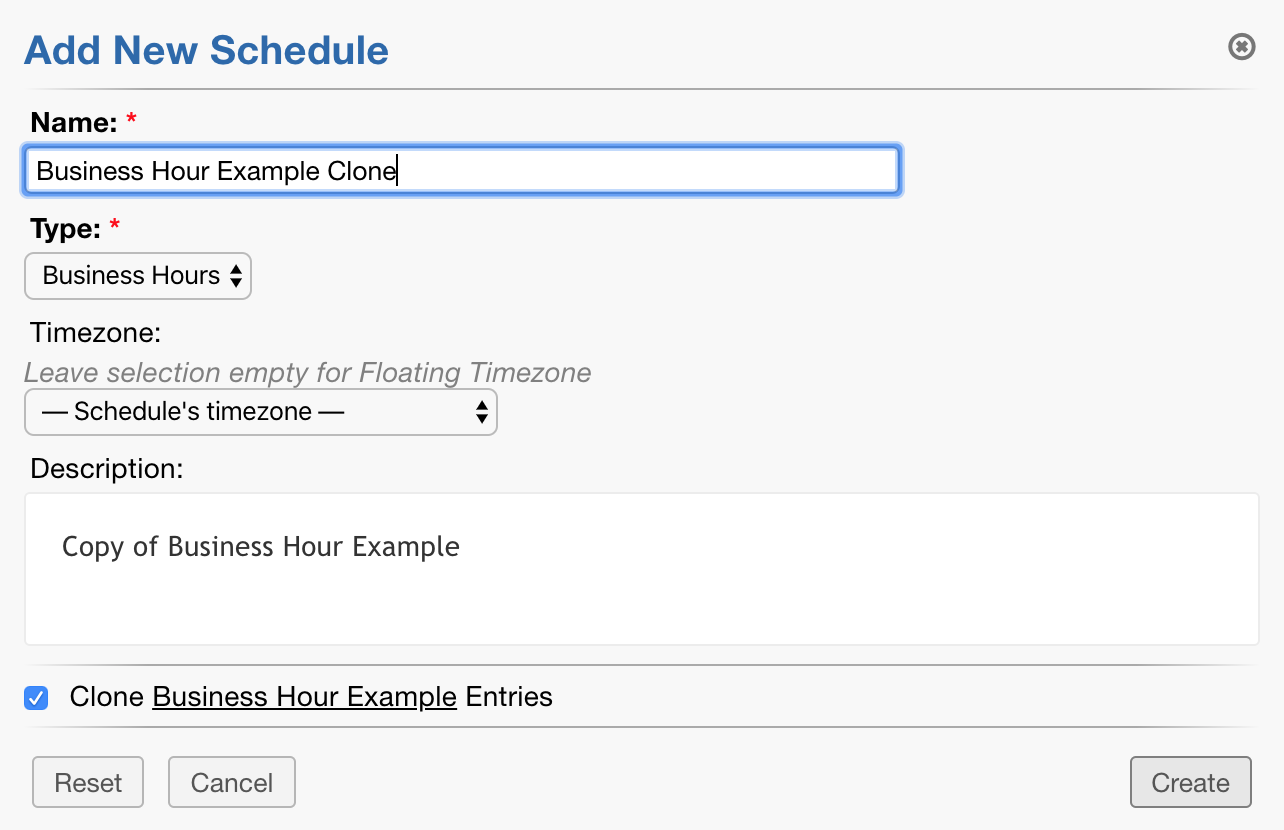
You also have the ability to clone a schedule using the same dropdown

Now that we have built out the schedule and assigned holidays to it, we can specify where the schedule should be used.
Schedules can be assigned in several places in the helpdesk.
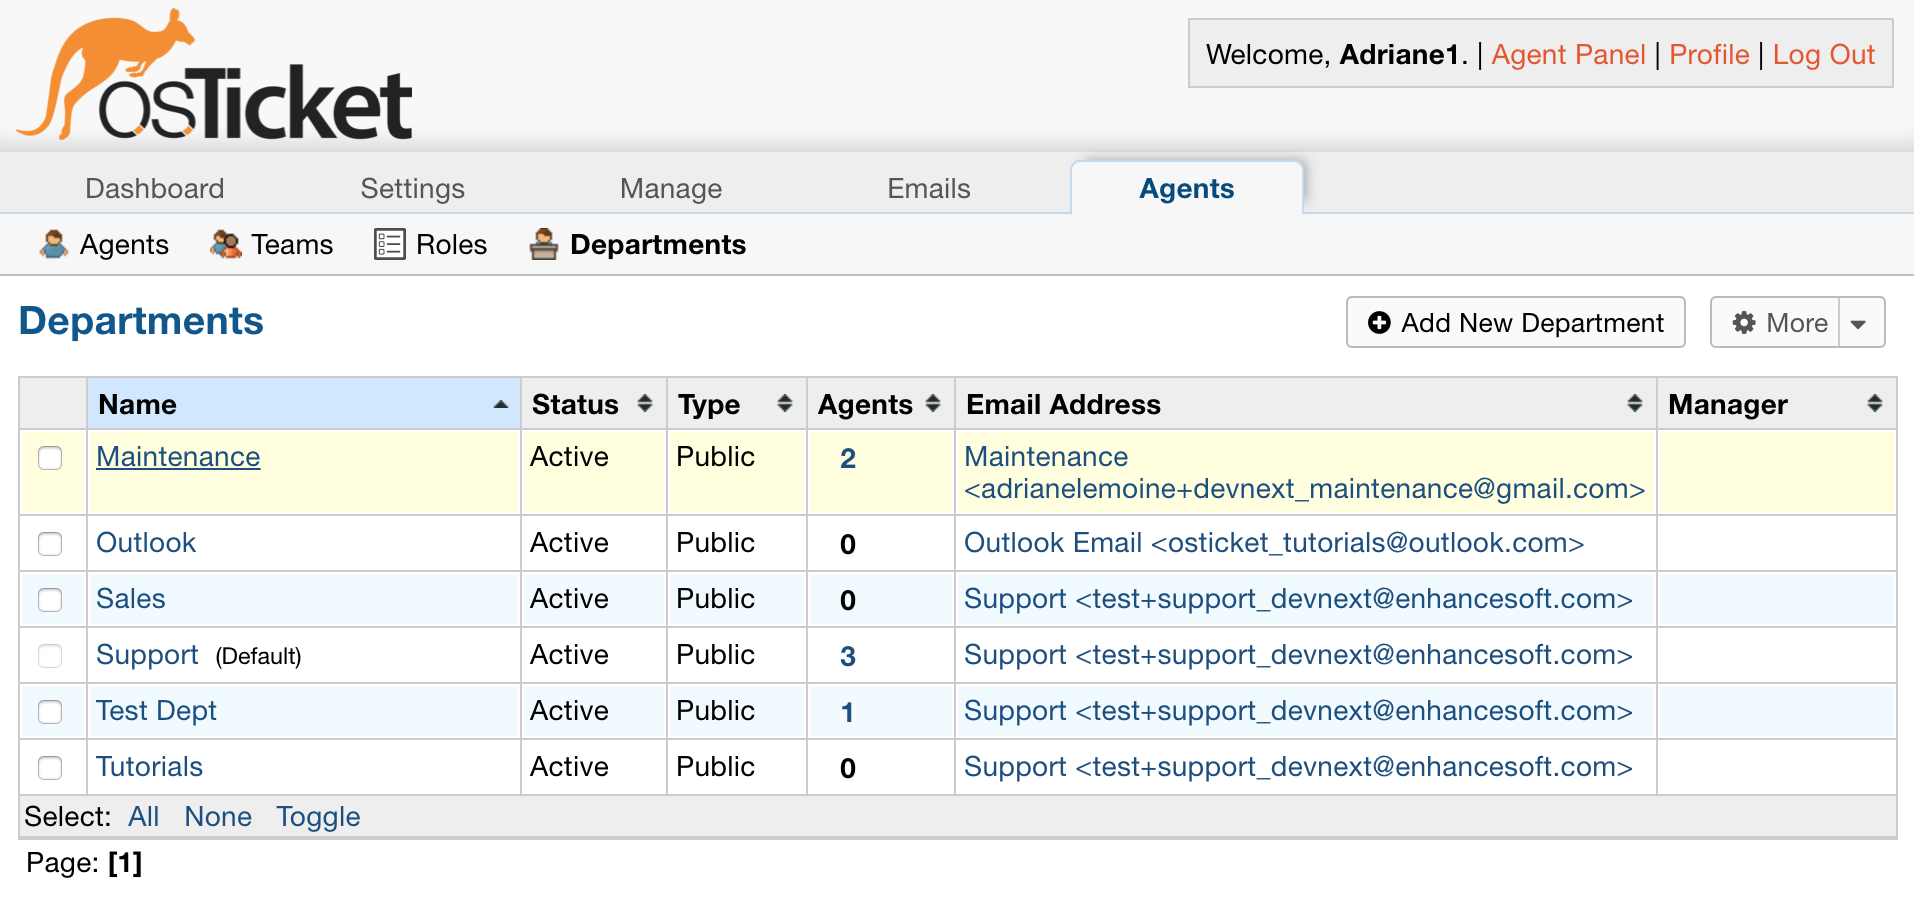
Department Schedule
Departments can be assigned a schedule as well.
Agents | Departments | choose Department
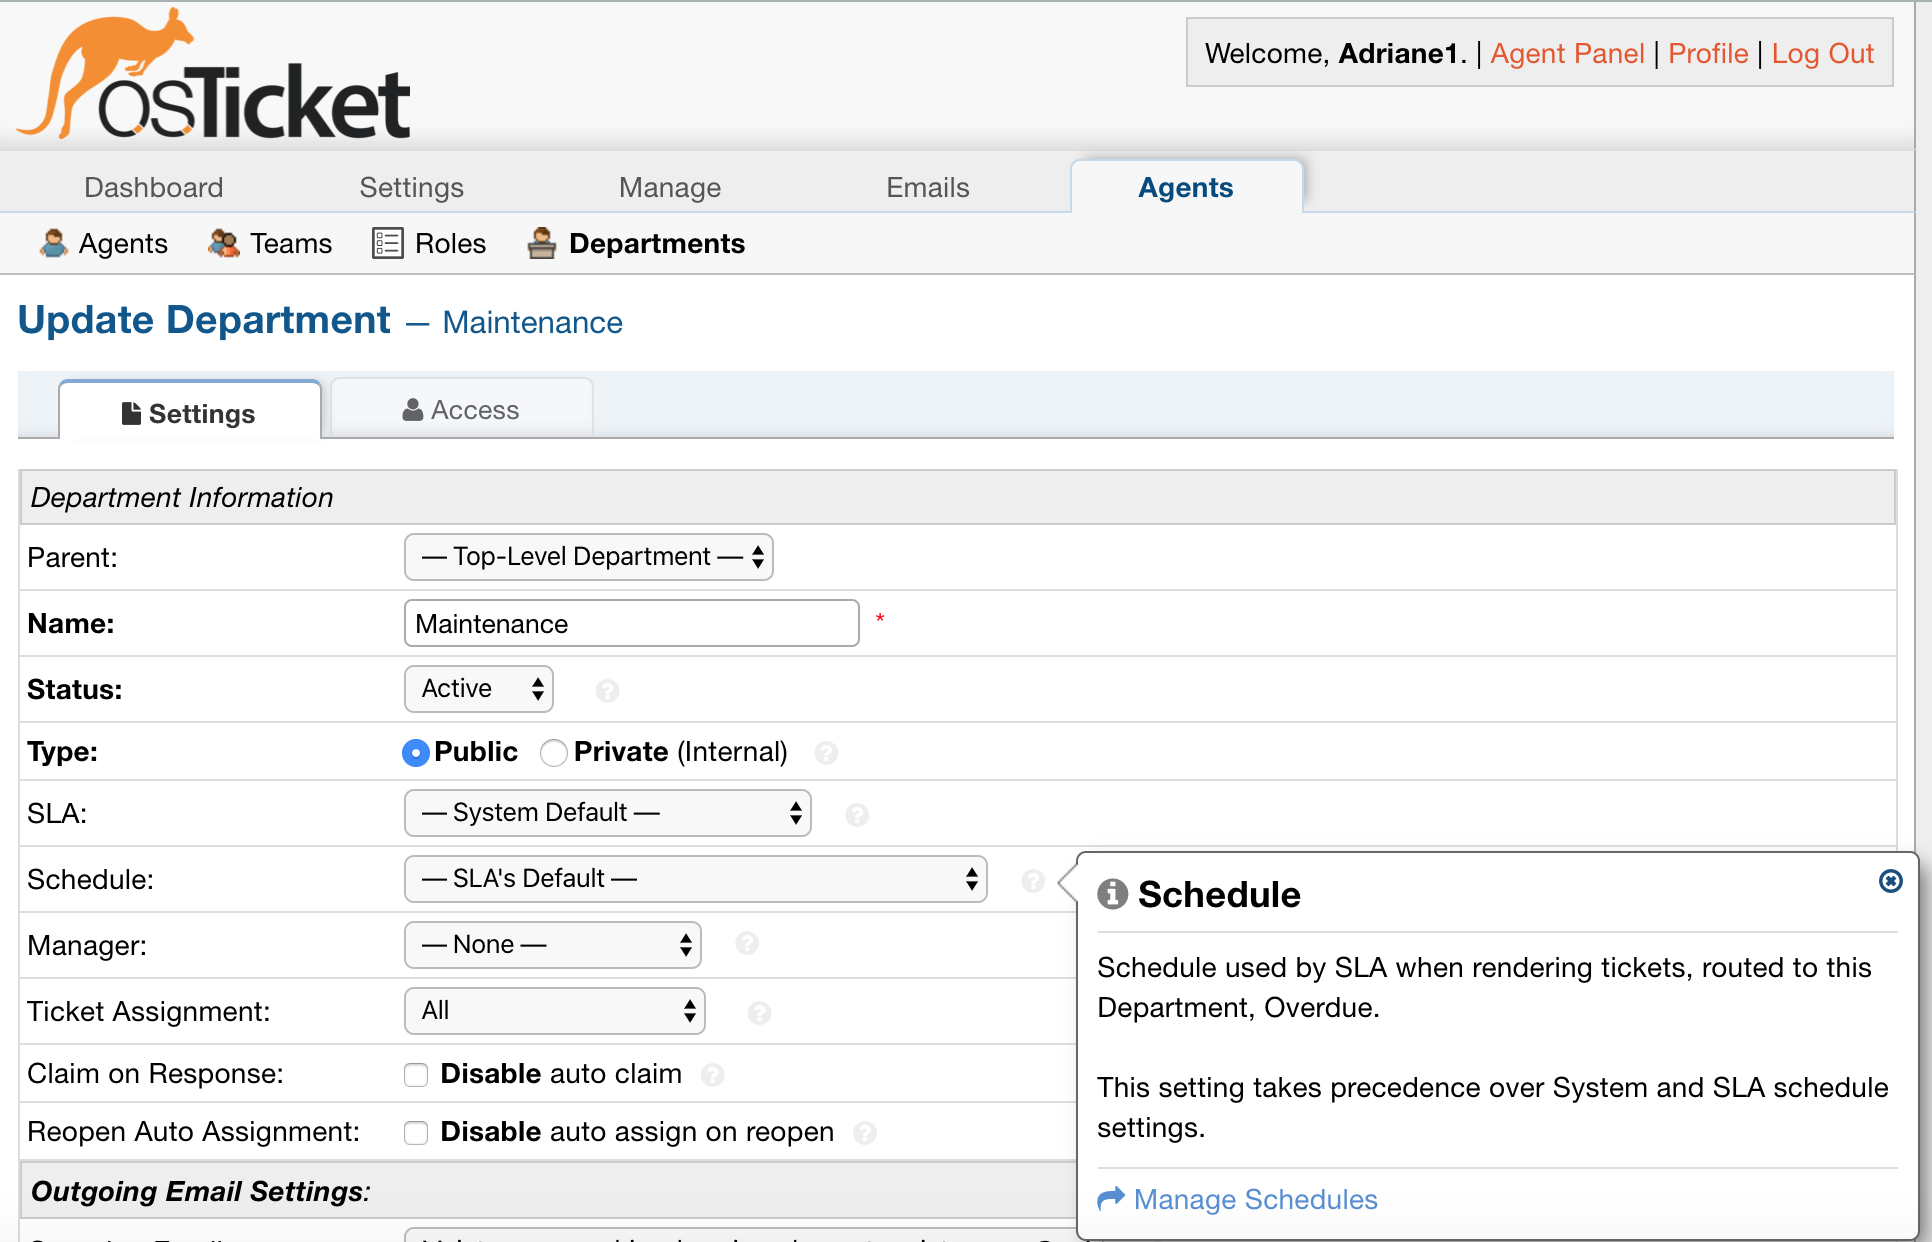
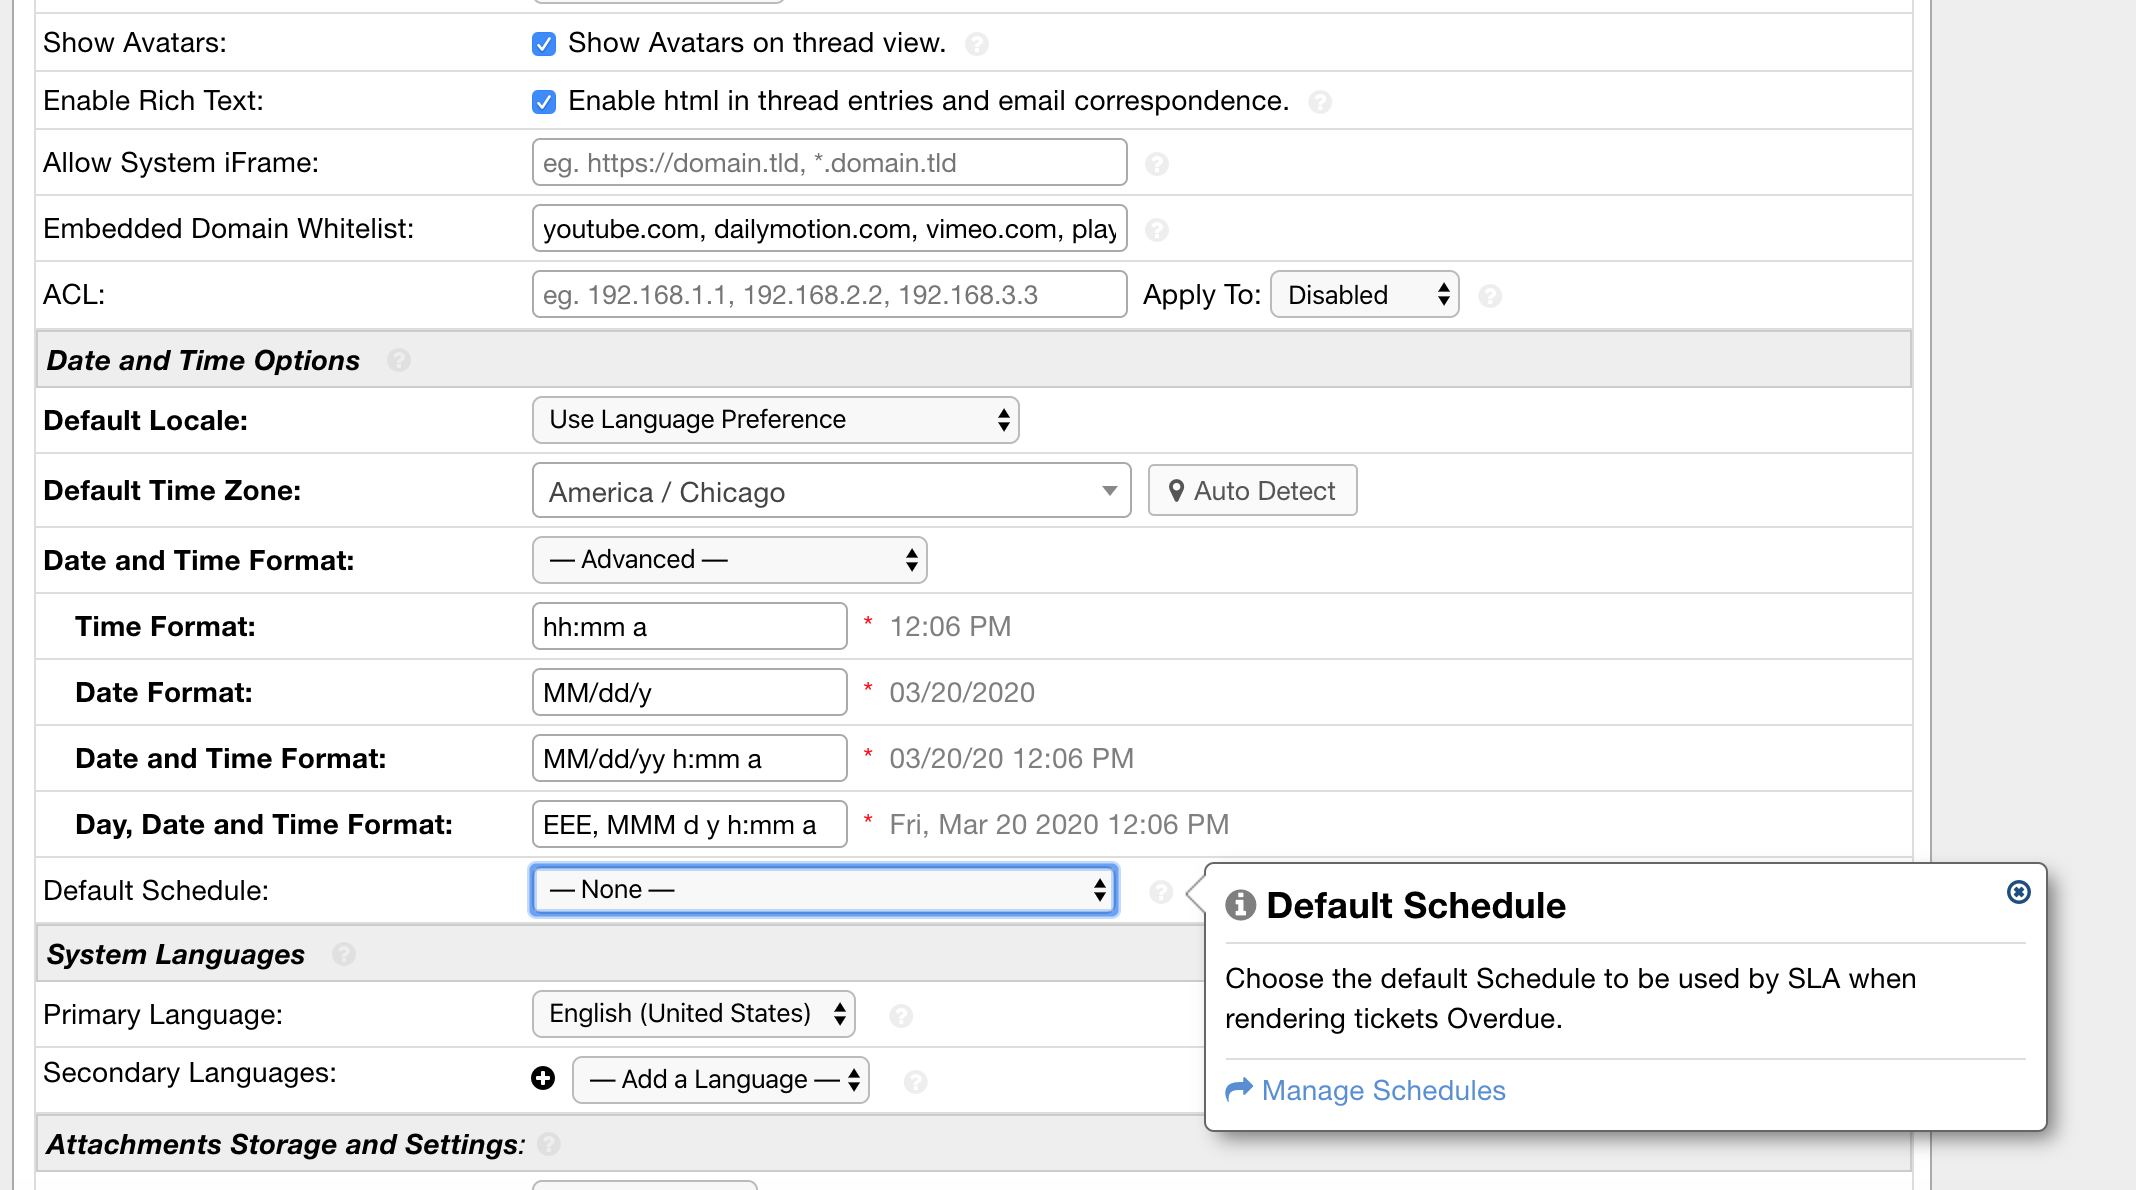
If no Schedule is chosen, the SLA’s default Schedule will be assigned.
If the SLA doesn’t have a Schedule specified, the System Default Schedule will be applied.
If your helpdesk doesn’t have a default Schedule chosen, your Tickets will be marked overdue based on the SLA assigned to the Ticket.